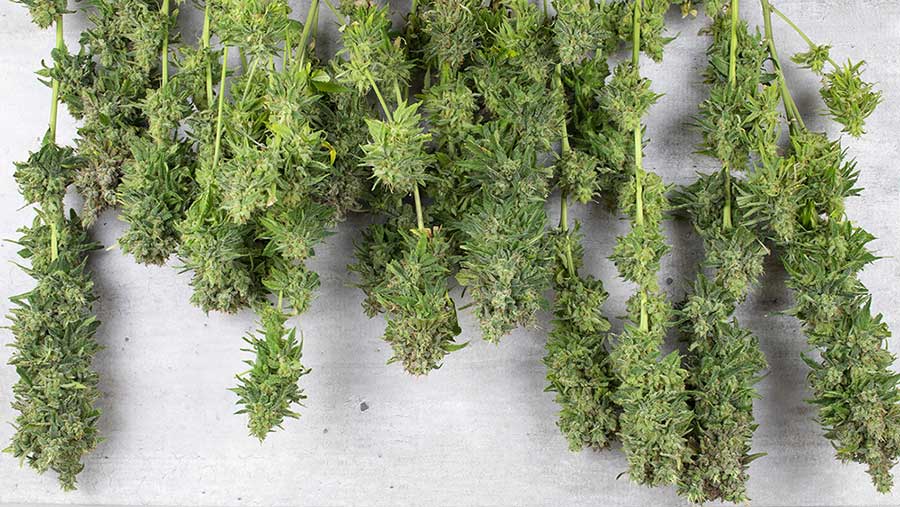
Marijuana comes from the Cannabis sativa (hemp) plant’s dried flowering tops, leaves, stems, and seeds. For hundreds of years, humans have used cannabis for fiber (hemp), seed oils, seeds, medical, and recreational care. There is some evidence that marijuana or some of its components, such as CBD, can help relieve severe pain, inflammation, nausea, and chronic conditions. CBD is only one of at least 120 Trusted Source (cannabinoids) substances found in marijuana, however. People have a lot of health concerns about drug use.
The delta-9-tetrahydrocannabinol (THC) is another main component of cannabis. THC is the main component in cannabis that affects the brain (psychoactive). It acts on particular receptors of the brain, causing necessary changes in mood, depression, suicidal thinking, memory problems, and disruption of normal learning abilities. It can also give rise to dependence. It is also known that the compound increases appetite (informally known as “munchies”) and causes a relaxed state, as well as other effects on the sense of smell, hearing, and sight. THC can also contribute to tiredness. In some cases, hostility may be decreased by THC.
Mostly unclear are the actions of the 120-plus cannabinoidsTrusted Source found in marijuana, but the most effective psychoactive agent reported to date is THC. THC is quickly absorbed into the bloodstream when a person smokes marijuana, entering the brain within minutes. When consumed, the body absorbs THC more gradually, delaying the initiation of action by up to two hours and reducing the impact duration. THC and other cannabis cannabinoids are identical to the body’s cannabinoids. These natural cannabinoids act as neurotransmitters sending chemical messages throughout the nervous system between nerve cells (neurons).
Certain parts of the brain are also affected, adversely affecting balance, posture, agility, and reaction time. This can make driving a car, operating machinery, or engaging in sports or other potentially dangerous physical activity hazardous for a person using cannabis. THC also activates different cannabinoid receptors, which increase dopamine release, a neurotransmitter associated with pleasant feelings. People are using cannabis to get a feeling of elation (a high), elation, and relaxation. Marijuana also generates changes in sensory perception; brighter colors may appear more vivid music, and deeper emotions. Several may have anxious thoughts.
Terms Frequently Used
Even though the only link you need is through videos, you probably know what bongs, joints, and bowls are. Yet, for the first time, visiting a medical or recreational clinic often means finding a whole foreign language.
Here are some of the terms that are commonly used in the Cannabis industry:
- Cannabinoid
The word “cannabinoids” refers to a large group of chemicals found in the cannabis plant. These substances are involved in neurotransmission-related receptors in the cells of the brain. Tetrahydrocannabinol (“THC”) and cannabidiol (“CBD”) are the two renowned cannabinoids. THC is known to produce psychoactive properties in cannabis users; it is the compound that is responsible for the “high” associated with cannabis use. CBD is best known for its health effects, which do not include a portion that is psychoactive. In addition to these two cannabinoids, the different parts of a cannabis plant do contain hundreds of other compounds.
2. Access Point
An access point is a spot where patients with medical marijuana are allowed to purchase or pick up cannabis. The term “access point” is often used with the term “dispensary” somewhat synonymously. In either case, the location pertains to a state-authorized facility that must adhere to strict processes and guidelines.
3. Agitation
In the method of extracting marijuana plants and products, agitation refers to a specific procedure. In agitation, producers use physical contact with marijuana plants for collection and refining to break off trichomes.
4. Backcross
Successful cultivation of cannabis requires extensive botanical and biological expertise, and backcrossing is an official term borrowed from these areas. Cultivators cross a marijuana plant while promoting plant breeding so that one or more desirable characteristics can be passed from a parent to an offspring. This process, in particular, typically involves breeding a plant with one of its parents to reinforce specific genes in rare strains.
marijuana plant while promoting plant breeding so that one or more desirable characteristics can be passed from a parent to an offspring. This process, in particular, typically involves breeding a plant with one of its parents to reinforce specific genes in rare strains.
5. BHO
BHO refers to butane hash oil, a strong concentrate of cannabis extracted from marijuana plants that use butane as a solvent. This contains extremely high levels of THC, can be generated in a variety of ways and can vary in quality. It is also recognized as “honey oil” or “earwax.”
BHO refers to butane hash oil, a strong concentrate of cannabis extracted from marijuana plants that use butane as a solvent. This contains extremely high levels of THC, can be generated in a variety of ways and can vary in quality. It is also recognized as “honey oil” or “earwax.”
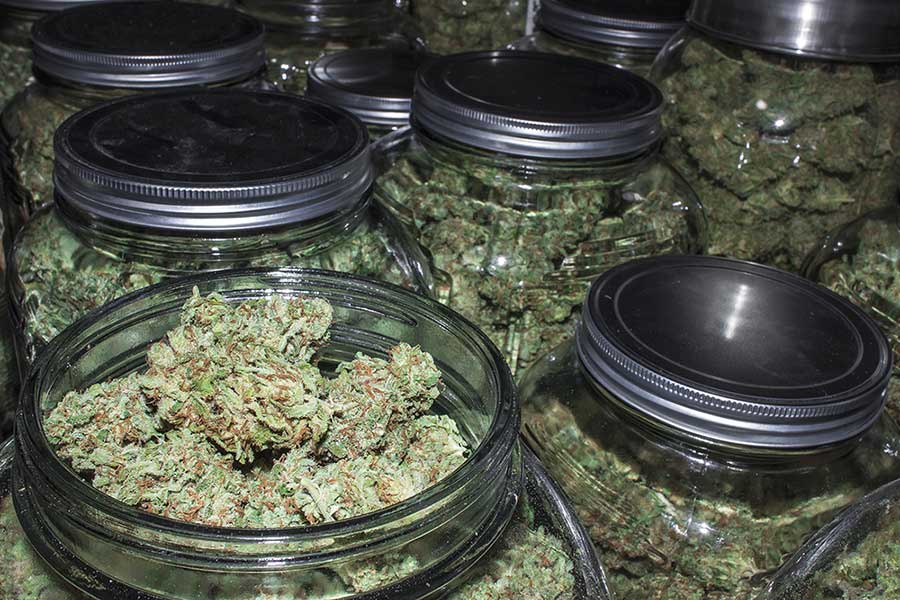
6. Bud
The flower growing on mature plants is the bud of a marijuana plant. Buds contain significant cannabinoid levels, making them a popular extracting choice.
7. Cannabidiol
Cannabidiol, popularly known as CBD, is one of the dozens of cannabis plant molecules known as cannabinoids. In recent years, CBD has become particularly popular due to the belief that it provides health benefits for patients undergoing various diseases, including seizures, pain, arthritis, and more. CBD is unlike THC because it does not contain psychoactive properties, which means that people can use CBD for their medical benefits without feeling “high.” CBD is most widely provided to users through oils, topical products, and tinctures.
8. Concentrate
Concentrates are highly powerful cannabis plant extracts containing cannabinoids such as tetrahydrocannabinol (“THC”). In the production process, all plant material is extracted. Hash, kief, and hash oils are popular concentrate. They are often used in both recreational and medical contexts.
9. Cross
In a process called “crossbreeding” or “crossing,” for short, multiple cannabis plants can be interbred to create a new strain of product. New cannabis varieties are being developed to control factors such as appearance, potency, and more.
10. Crystals
The word “crystals” refers to trichomes, a translucent, crystal-like component of the cannabis plant containing high THC levels. Different concentrates are produced using crystals.
11. Dabbing
While smoking and cannabis-based products continue to be two of the most favored methods of marijuana consumption, a relatively new technique called “dabbing” has become incredibly popular. To “dab,” a user puts a small concentration of marijuana on a hot oil rig pipe; the concentration is vaporized, and the user then inhales the vapor.
12. Decarboxylation
Decarboxylation is a mechanism that is used to turn such inactive cannabinoids into active ingredients such as THC and CBD. The process includes the low-temperature slow heating of cannabis and is widely used to make food.
13. Dispensary
It is known as dispensaries that sell cannabis products. Many dispensaries, including items such as paraphernalia or clothes, can hold more than just cannabis itself. Because legal marijuana sales are controlled differently depending on the U.S. state or province of Canada, the specific requirements and set-up of a dispensary will rely heavily on the location of that dispensary.
14. Edibles
Goods that contain chemicals based on marijuana and are meant to be orally ingested are known as edibles. Baked goods, candy, and soda are among the most popular edible items.
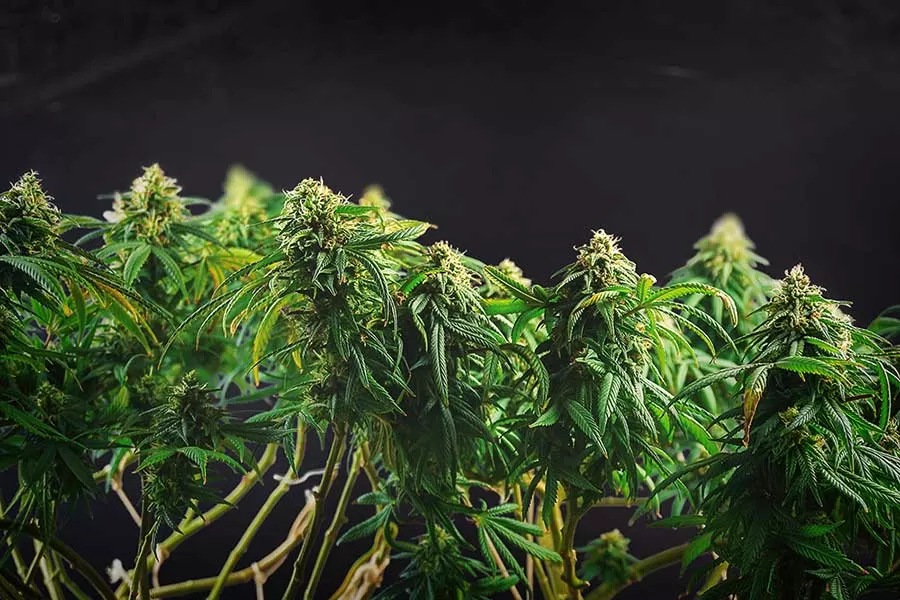
15. Indica
There are three marijuana plant species: indica, sativa, and ruderals. Indica cannabis plants tend to have dense bud clumps, and it is believed that the strain has a sedative effect.
16. Resin
Resin is a term often used interchangeably with trichomes, although in the cannabis industry, it may also have other meanings. The waste left inside is often referred to as resin after a piece of marijuana paraphernalia is used.
17. Sativa
Sativa plants are the highest of all species of cannabis, and often the strain is considered to increase creativity and resources.
18. Trichome
Often known as “cristals,” trichomes on a marijuana plant are resin-producing glands. These have the feel of tiny hairs. Trichomes are responsible for producing cannabinoids for the vast majority of a cannabis plant.
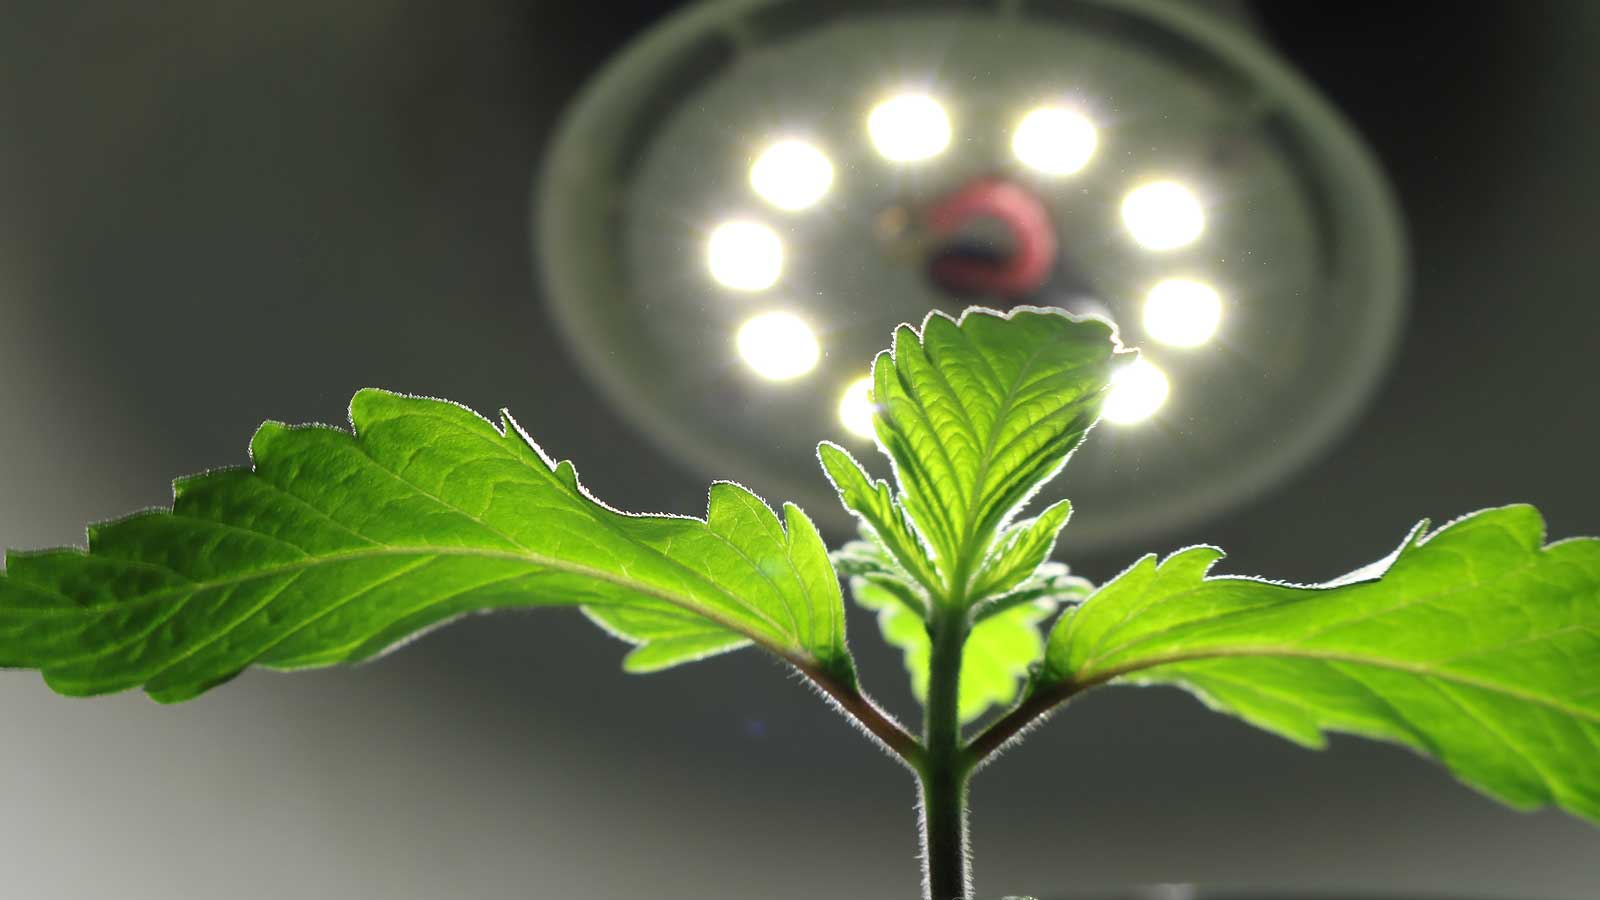
19. Ruderalis
Ruderalis, together with indica and sativa, is one of three cannabis plant species. Ruderalis plants are somewhat larger than indica plants, and flowers alone and without a light cycle stimulus. Ruderalis plants do tend to have higher levels of CBD relative to indica and sativa plants.
20. Kief
Kief is the product of extracting trichomes from a marijuana plant. It is also known as dry sieve hash, a form of marijuana concentrate. Kief usually has high levels of THC.
Importance of Learning about Cannabis
It is very crucial that a person learns about cannabis or at the very least, be oriented about it. At one point in our human lives, we will reach a point wherein we will start to get curious about Cannabis. That is where we utilize the things we have learned about cannabis to have knowledge about its benefits, side effects, and simply its basic impacts. One of the benefits of why we must learn its benefits is to know when we can utilize Cannabis for recreational or therapeutic usage.
Cannabis is undeniably one of the most highly recommended by experts to cure severe cases of stress, loss of appetite, sleep deprivation, and more. One must also learn about its side effects to know the risks of consuming cannabis. Since humans have different pain tolerance, we will never know how a human body may react to cannabis. Enlightening oneself about Cannabis may be one of the wisest decisions an individual can make.