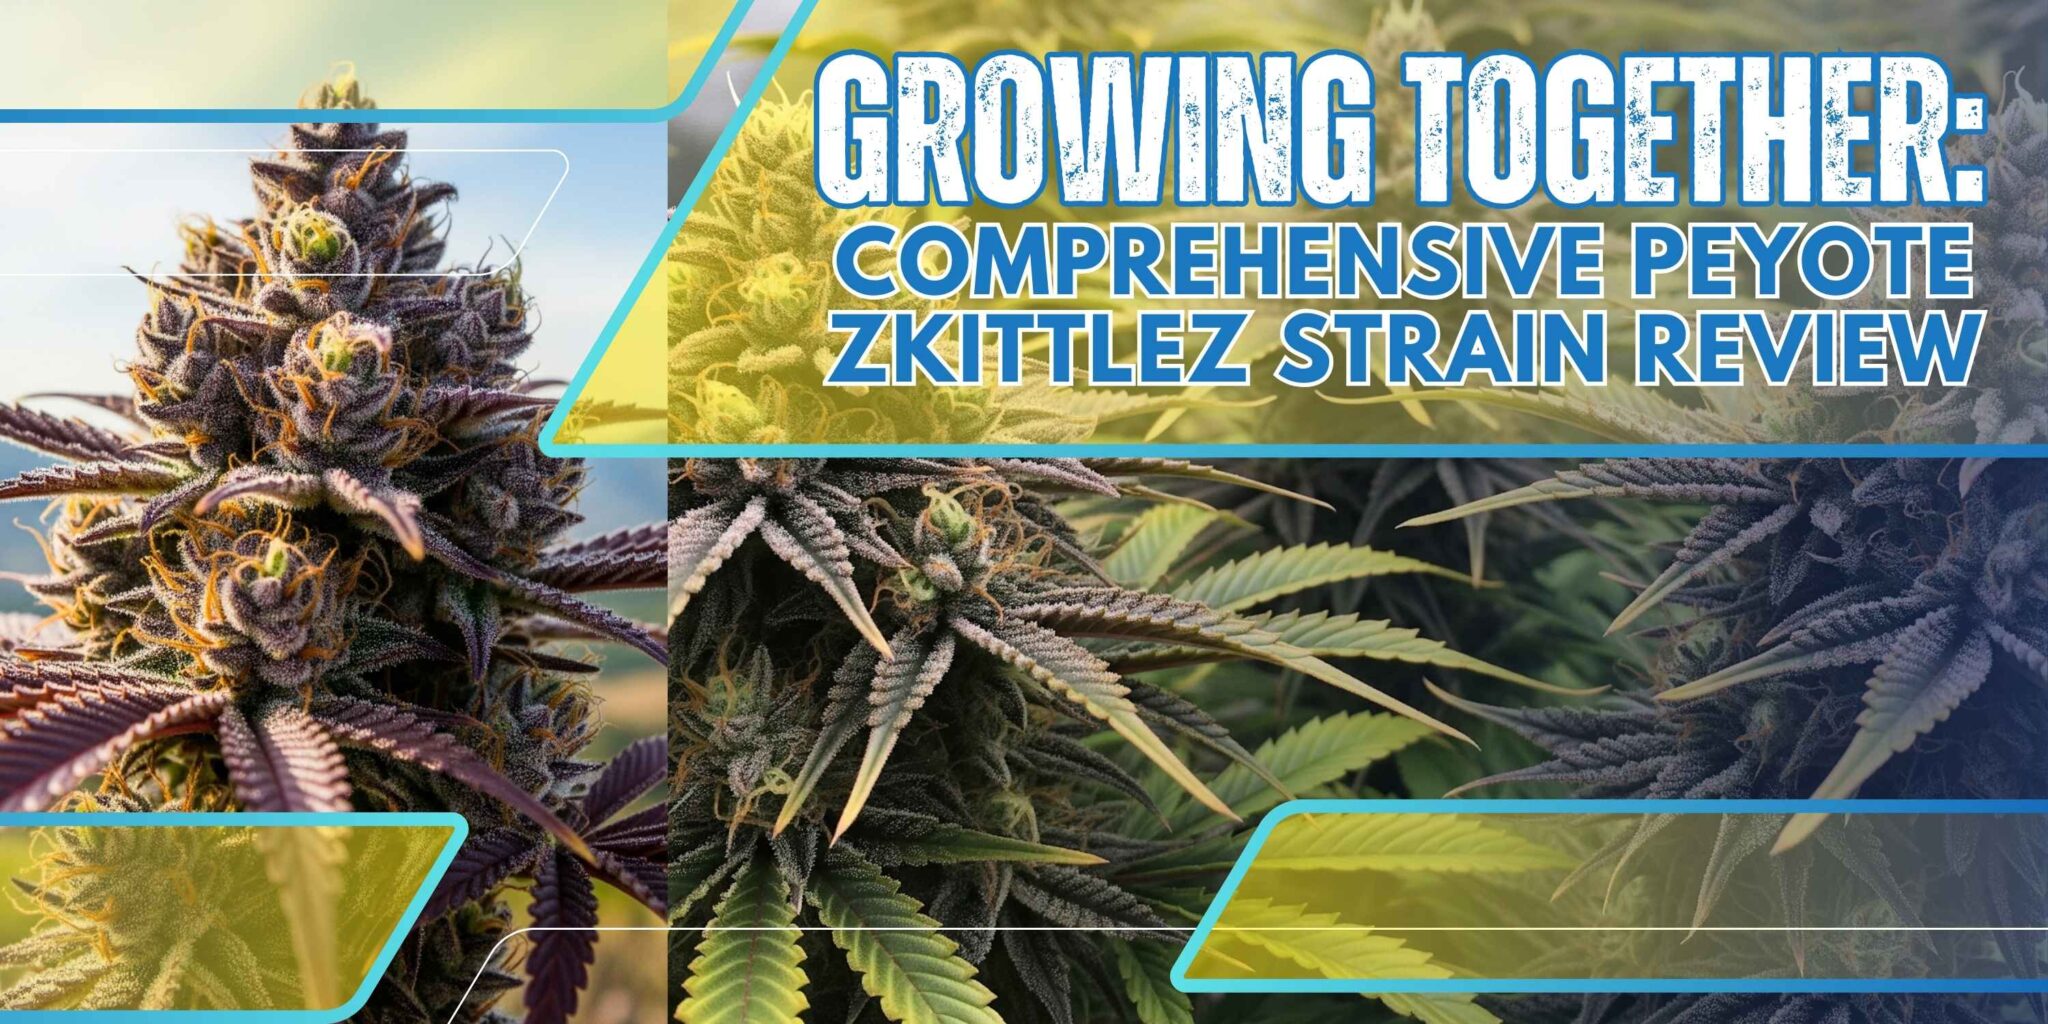
Peyote Zkittlez is a unique cannabis strain that has quickly gained dedicated followers among enthusiasts and patients alike. Its parentage—Zkittlez and Peyote Purple—is an experience for the senses that marries candy sweetness with soothing physical relief. As a hybrid, it is not only recognized for its vibrant flavor but also for its balanced effects that attract both pleasure seekers and patients suffering from stress or pain.
Beauty goes beyond its effects. The growing Zkittlez strain boasts a concentrated terpene profile, visually appealing traits, and high-level performance in a variety of grow conditions. Whether you’re an experienced grower or a connoisseur seeking your next favorite bloom, this one is capable of impressing. Below, we discuss its genetics, terpene profile, grow potential, and medical applications with the level of detail required to meet expert standards.
Genetic Heritage and Lineage
Peyote Zkittlez’s intense lineage is a purposeful cross of two of the most superior strains, both with individual strengths. Zkittlez is an Indica-dominant hybrid from Grape Ape and Grapefruit, with tropical fruit terps and a mellow high that elevates mood without weighing heavily on sedation. Peyote Purple is a highly Indica cross from Bubba Kush genetics and characterized by its dense purple color, tight structure, and severe, soothing body effects.
All together, these genetics create a hybrid that’s somewhat Indica (about 60/40), offering both mind clarity and body relaxation. The result is a strain that is strong yet not too sedating, perfect for switching day to night. It’s an excellent example of the way controlled breeding can create a strain that balances therapeutic with dynamic recreational qualities.
Aroma, Terpenes & Flavor Profile
Peyote Zkittlez is laden with terpenes, both shaping its pleasant aroma and contributing to its psychoactive and therapeutic effects. Myrcene adds earthy, musky notes that contribute to the relaxing nature of the strain. Limonene adds citrus bite, brightening up the strain and making it mood-enhancing. Caryophyllene, a peppery terpene with anti-inflammatory properties, contributes to physical relief, with Pinene adding pine sophistication that enhances focus and clarity.
When you first catch a whiff of Peyote Zkittlez, there is no confusion. It lands on the nose with a fruity candy smell that is reminiscent of a fruit punch bowl—tropical fruit, tart citrus, and soft earth beneath. When you take a drag, the flavor is just as good—berry juice-tasting, sugary citrus, and a soft herbal background. The exhale is silky with a soft mix of earth and spice that drapes playfully over the tongue, so every puff is rich and satisfying.
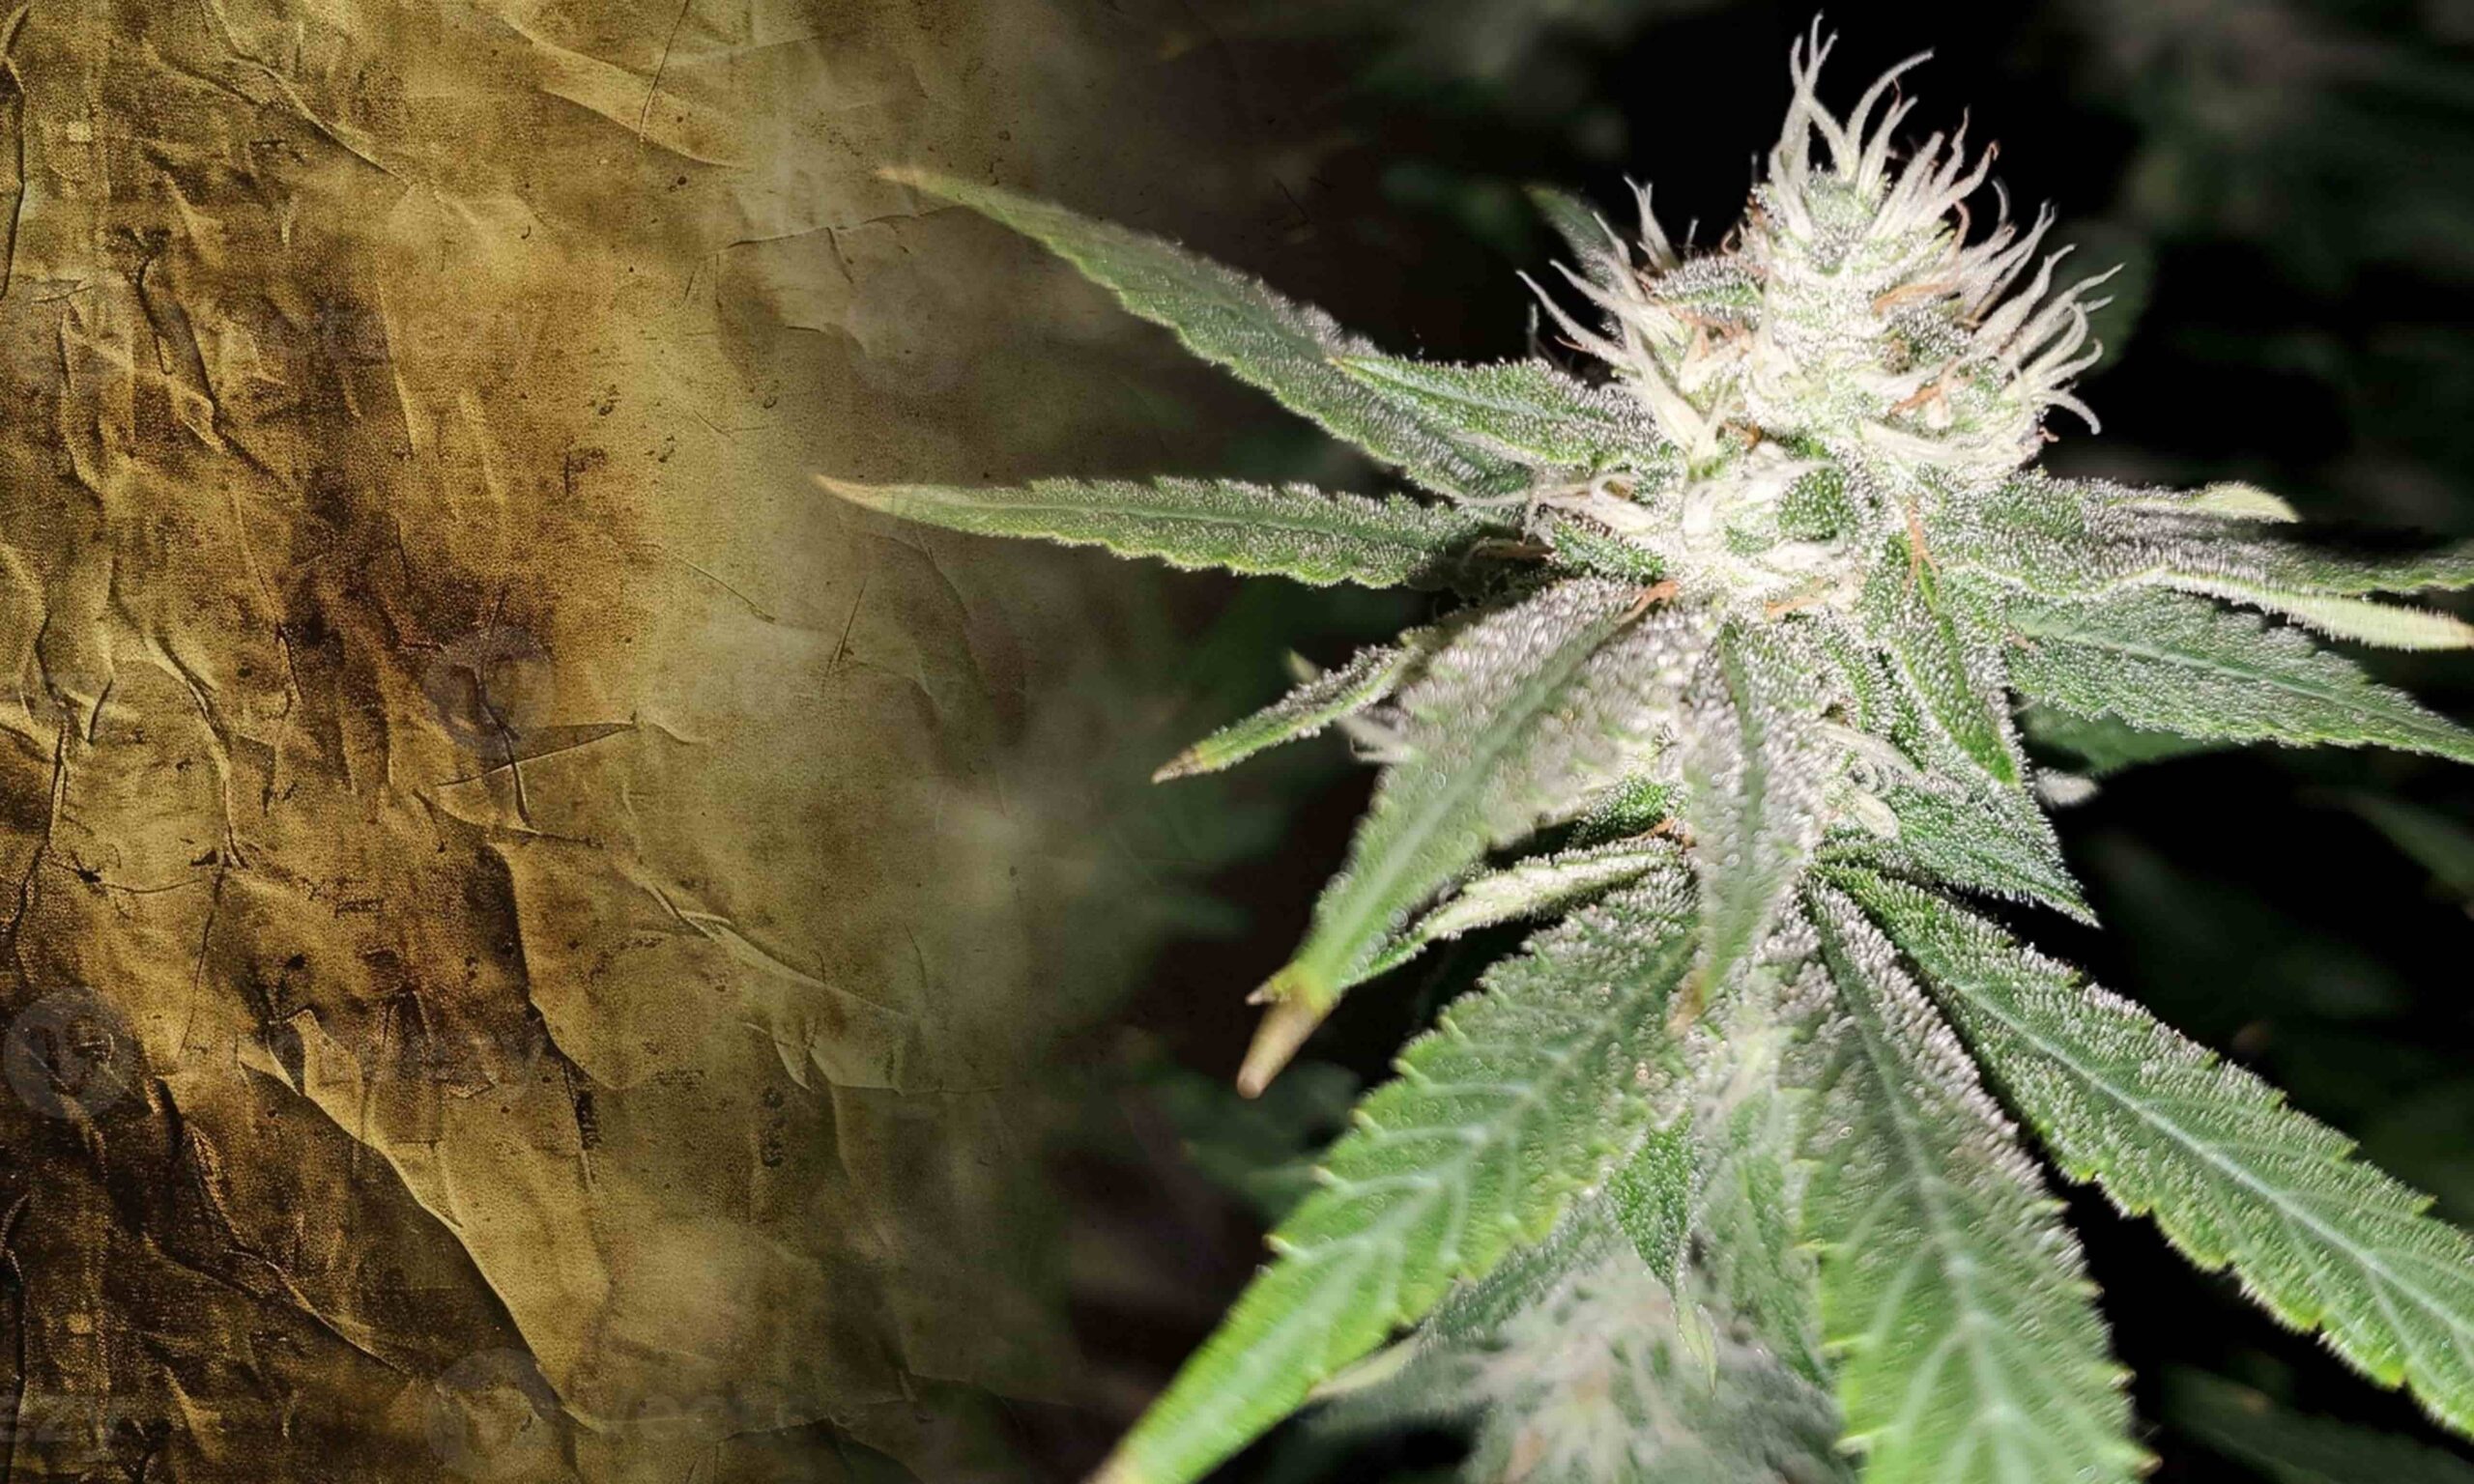
Appearance & Bud Structure
Peyote Zkittlez is most definitely an eye-catcher. Buds tend to be thick and rounded, covered by a thick coating of trichomes that leaves them frosted and radiant. These crystals also reflect the potency and resin production capabilities of the strain, making it an ideal candidate for concentrate extraction. Coloration is perhaps its most distinctive feature—expect a mosaic of rich green, purple, and sometimes near-black hues interspersed with blazing orange pistils.
Apart from beauty, Peyote Zkittlez’s build is also robust. The heavy calyxes and dense type are mold- and bug-resistant when grown correctly, especially indoors. Its tight internodal spacing also guarantees a denser yield per square meter, which is ideal for growers who want beauty, aroma, and density all in one package.
Effects & Potency
Peyote Zkittlez’s high is extremely pleasant and begins with a rolling of euphoria and minor cerebral stimulation. Within some minutes, the majority of consumers experience intensified sensation, imagination, and a feeling of slight focus. Peyote Zkittlez is thus perfect for things that will be amplified by minor involvement, such as listening to music, enjoying nature, or casual socializing. As the high builds, it transitions easily into a warm body relaxation that calms tension without couchlock.
It’s THC concentration typically ranges between 20% and 25%, so it’s powerful but not debilitating when used recreationally. While the lowest possible CBD percentage might limit its short-term neurological application, its entourage effect of whole-plant cannabinoids and terpenes increases mental clarity and body relaxation. Its duration of action is approximately 2 to 3 hours, with a nice window for most users without excess comedown or residual sleepiness.
Cultivation Overview
Growing Peyote Zkittlez is a good investment for intermediate-level growers who are willing to provide moderate maintenance. Peyote Zkittlez grows well indoors as well as outdoors, although indoor growing typically yields more resinous and potent colorful flowers. Indoor flowering time ranges from 8 to 10 weeks, while outdoor harvesting typically comes in early October in temperate regions.
Peyote Zkittlez prefers temperatures of 20–26°C steadily and relative humidity of 40–60%, especially during flowering. Regular pruning keeps the canopy’s density in check and increases air movement, preventing the possibility of mold. Since it has tight bud formation, air is required. Adequate training practices like LST (Low Stress Training) will ensure light penetration increases and significantly boost yield. Up to 550 g/m² indoor or over 600 g/plant outdoor under optimum conditions.
Harvest, Cure & Storage
Timing and technique are the secrets to harvesting Peyote Zkittlez. As trichomes begin to cloud with amber, it’s time to begin flushing—ideally two weeks before harvest. Flushing gets rid of any remaining nutrients and pushes the cleanliness of the smoke to the limit. Curing after harvest in an 18–22°C, dark, well-ventilated area with 50% humidity preserves flavor and prevents mold.
Curing should begin as soon as the buds are dry. Buds are kept in glass jars, opened daily for the first two weeks to permit moisture release (“burping”), and less frequently after that. Gradual curing preserves and smooths out the terpene profile, provides smooth smoke, and enhances potency. Peyote Zkittlez will maintain its quality for a year if stored properly in airtight containers, out of light and heat.
Best Ways of Getting It In
For the whole flavor and effect profile of Peyote Zkittlez, vaporizing is ideal. Having the dry herb vaporizer set at 180–210 °C will cause cannabinoids and terpenes to be stimulated and not burned, which produces a cleaner and more potent experience. This method preserves the fruit-like taste and allows the subtlety of its terpene blend to dominate.
Older methods of smoking, like glassware or joints, are more immediate and traditional. For advanced users, concentrates of hash, rosin, or live resin derived from Peyote Zkittlez can provide a powerful rendition of its effects. These should be left to the experienced users, as the concentrated versions are loaded with much higher levels of THC.
Safety, Side‑Effects & Tolerance
Though it’s even higher, Peyote Zkittlez is a potent strain and should be handled carefully, especially for beginners. The most common side effects are cottonmouth and dry eyes, but they can easily be prevented by staying hydrated. In higher doses, THC-sensitive users may experience brief dizziness, a fast heart rate, or nervousness, so a small amount with a dose increase is the best option.
As with all strong cannabis strains, tolerance can build up very quickly when smoked daily. In order to maintain potency and prevent desensitization, users may take tolerance breaks every other week. This recharges the endocannabinoid system and maintains long-term efficacy both for recreational use and medical treatment.
Peyote Zkittlez Compared to Similar Hybrids
Peyote Zkittlez takes its position among hybrid strains with a delicate mix of energetic and calming effects, more versatile than heavier Indicas like Peyote Purple or more euphoric strains like Gelato. It is more seriously relaxing physically and hotter in the flavor kick than parent Zkittlez. Gelato #33 generates more social, giggly euphoria, whereas Peyote Zkittlez targets calmness and focus.
This does render it a compelling choice for those looking for a functional daytime option that transitions smoothly into relaxation without the heavy sedation of high-THC Indicas. Its ability to balance Zkittlez’s sweet delight with Peyote’s earthy grounding is what sets it apart in an increasingly saturated market of hybrids.
Final Thoughts & Recommendations
Peyote Zkittlez is a superior hybrid that scores equally on flavor, potency, medicinal value, and physical attractiveness. It offers an elevated experience for nearly any kind of user—artists who require focus-promoting elevation, sufferers who need natural alleviation from symptoms. Its appeal is in its rich personality: sweet with earthy tones, heady but calming, always irresistible.
Growers will love its smooth-flowing bloom cycle and high yield, while consumers will love its lively effects and rich terpene profile. Whether consumed in flower or ionized concentrate form, Peyote Zkittlez is a top-performing hybrid that delivers across the board. We highly recommend it as a must-have strain for connoisseurs, home growers, and medical consumers.