Cannabis trichomes are the microscopic resin factories of the plant that create the cannabinoids, terpenes, and flavonoids. As growers and connoisseurs are concerned about quality, trichome knowledge is the foundation of optimizing growing and harvesting methods. In this post, we dissect all aspects of cannabis trichomes to equip growers with the information necessary to maximize potency, flavor, and yield.
What Are Trichomes? The Biological Importance of Cannabis Plants
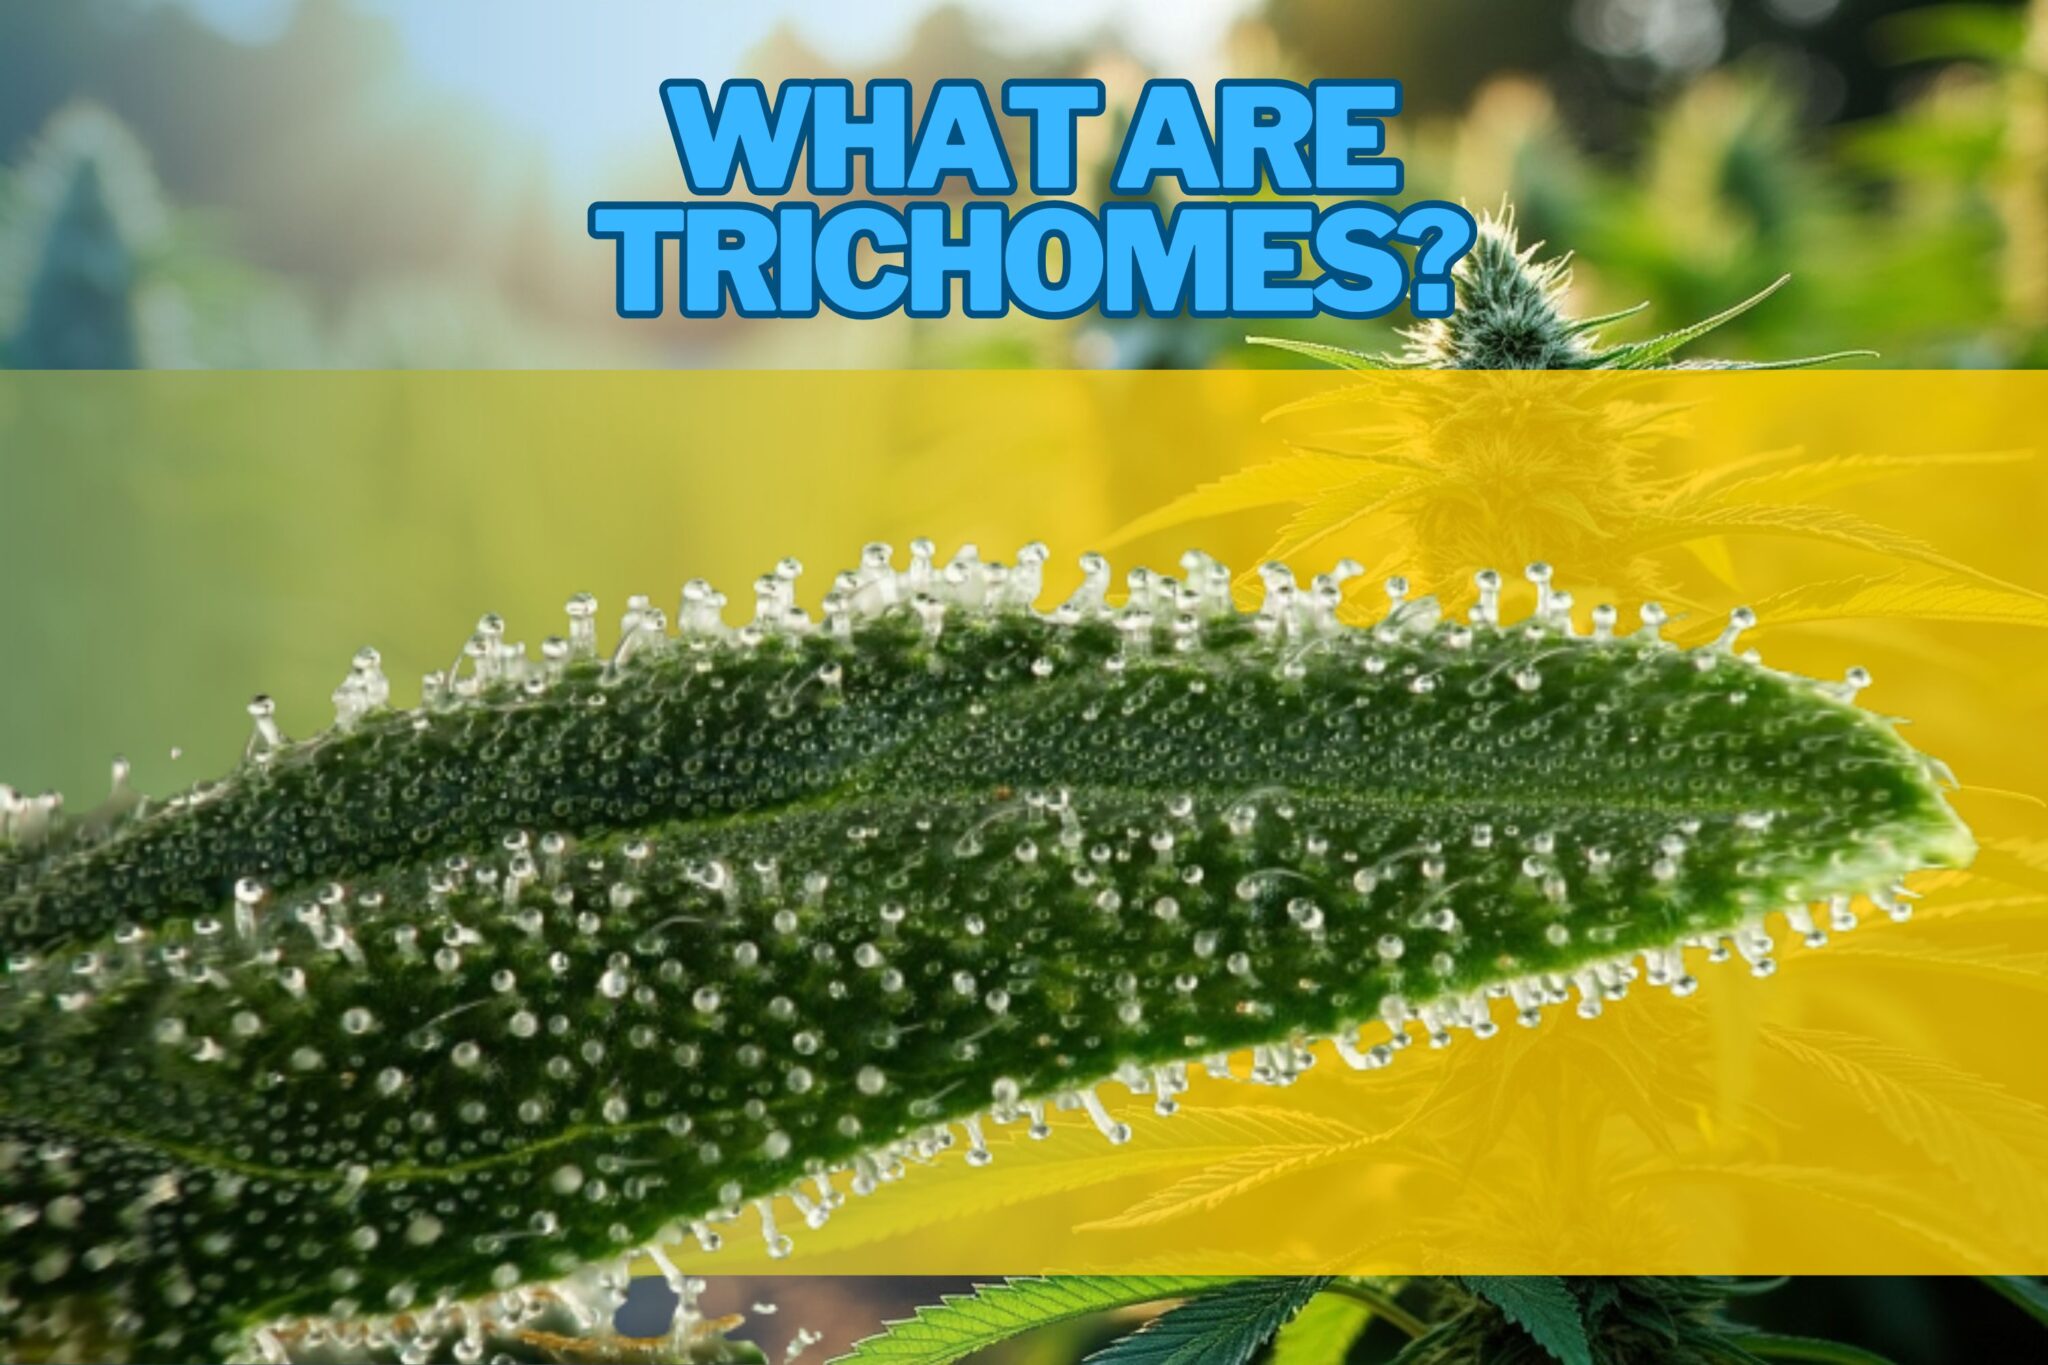
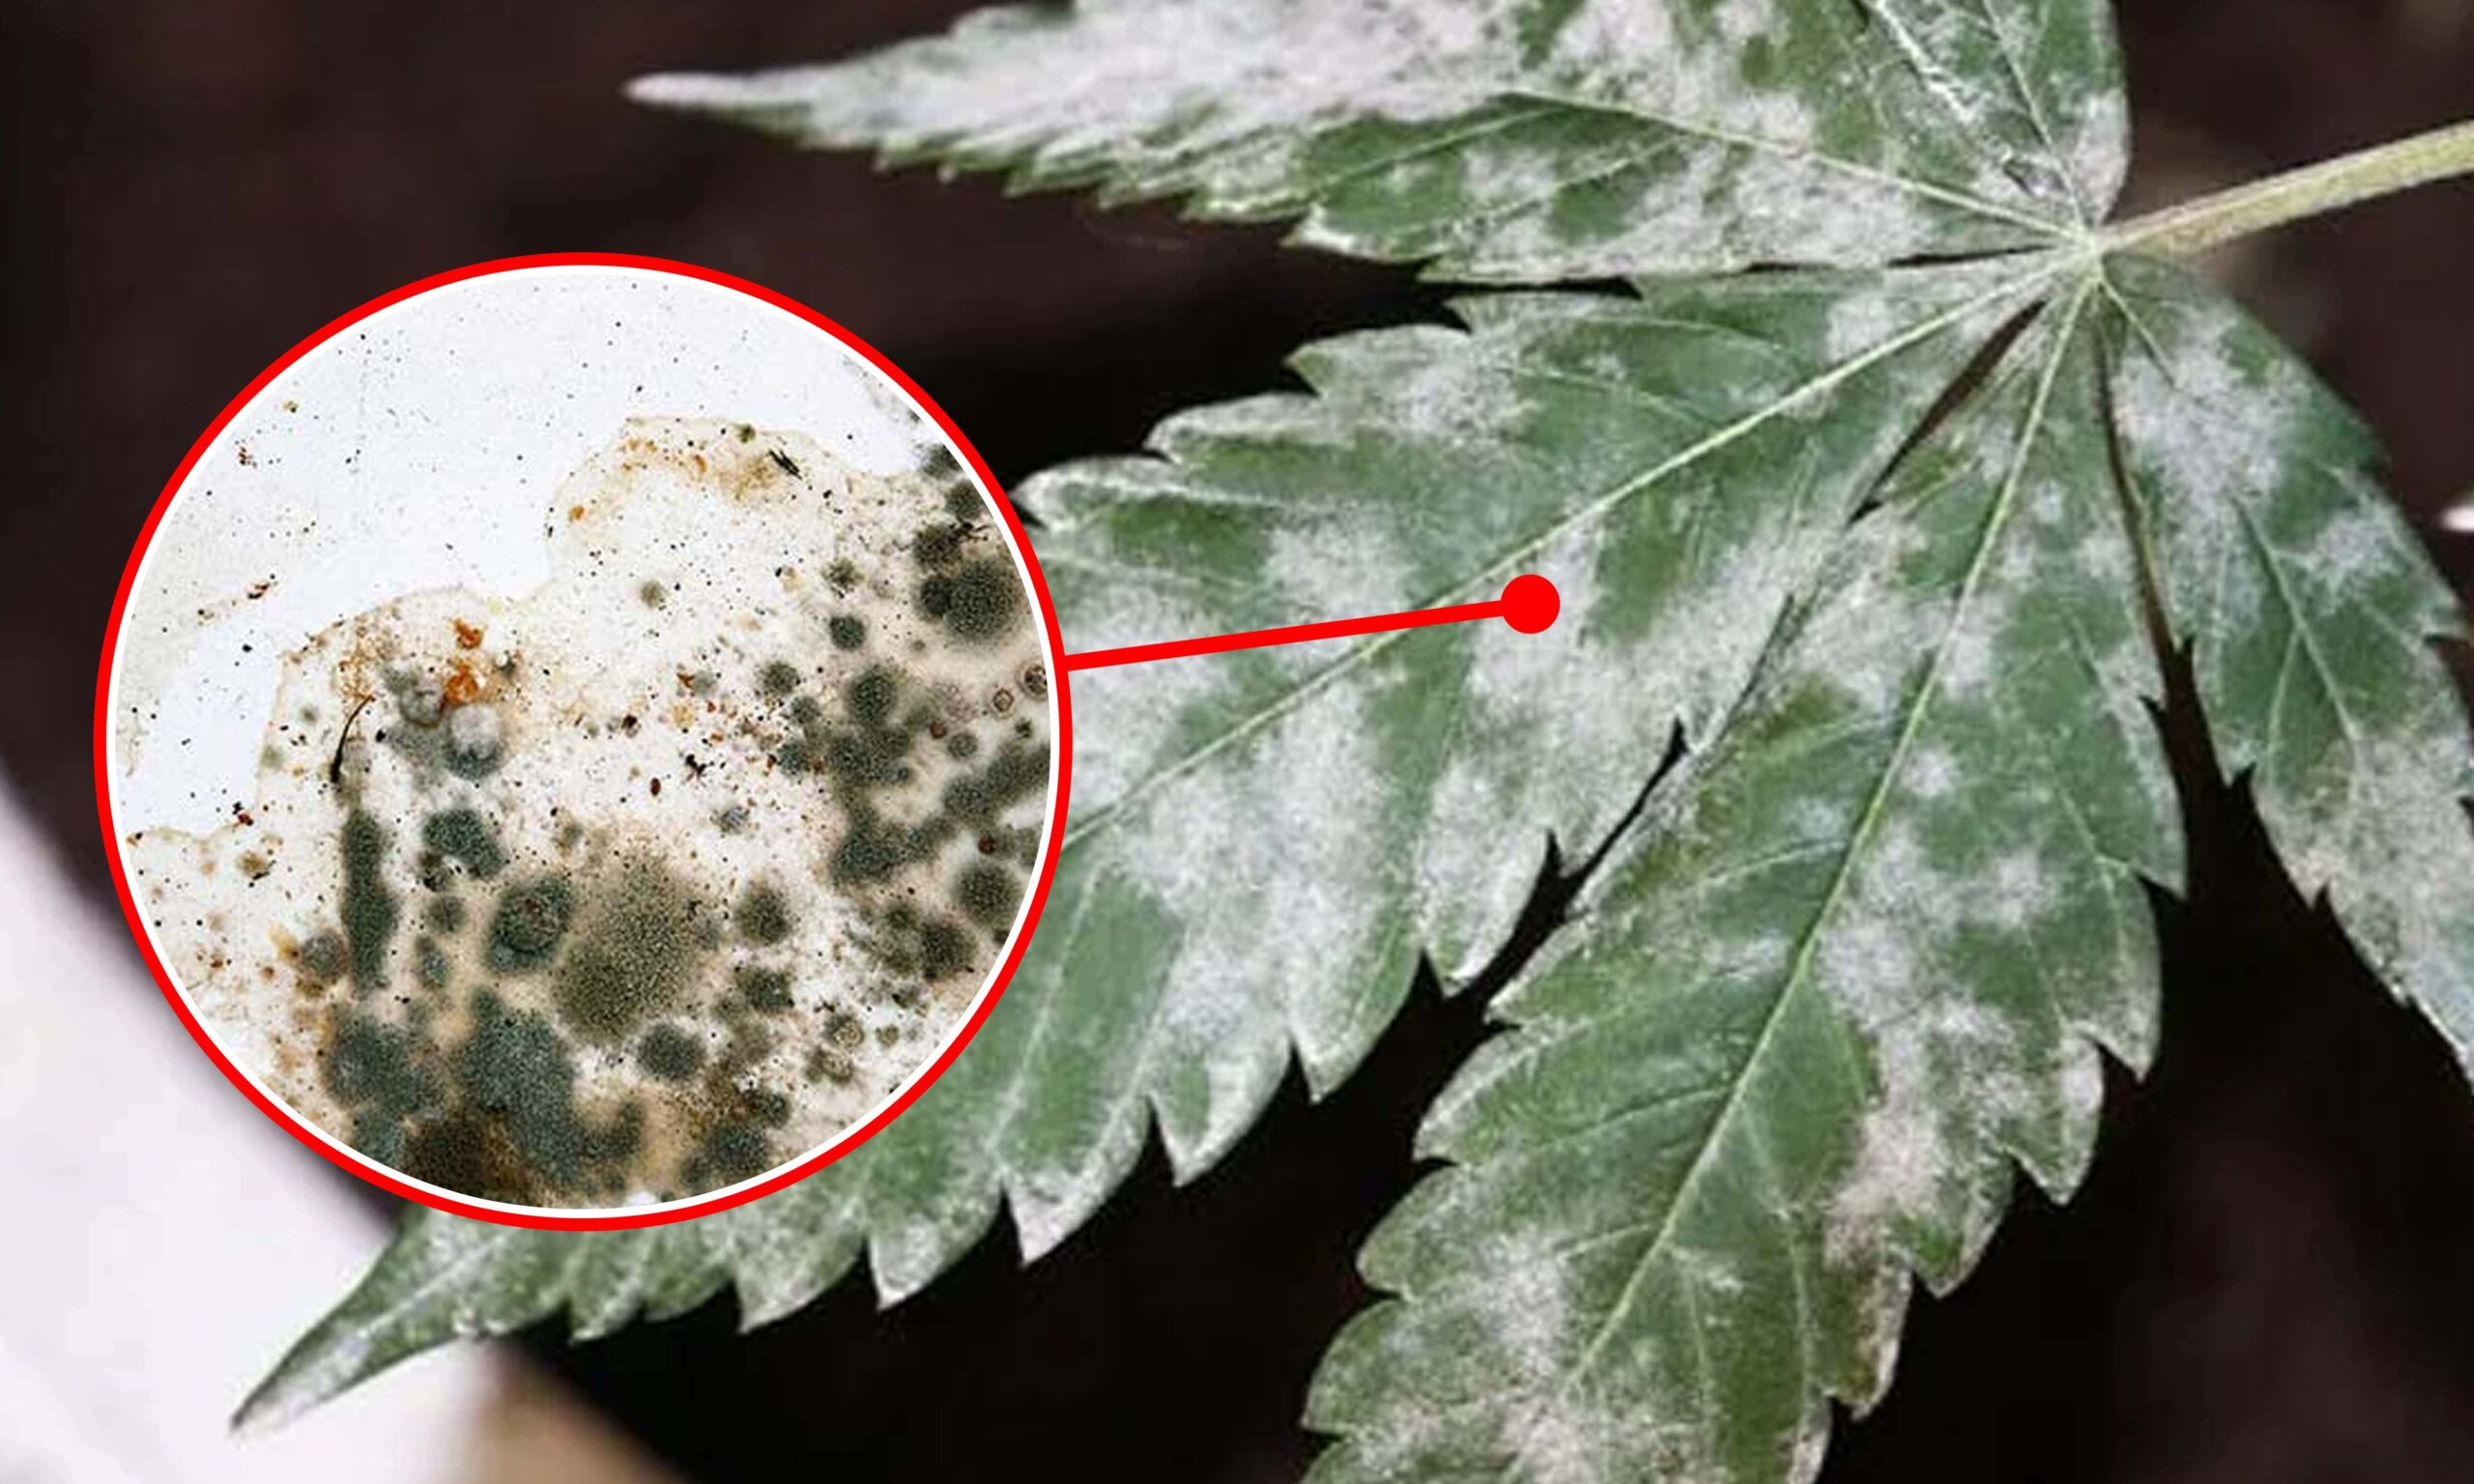
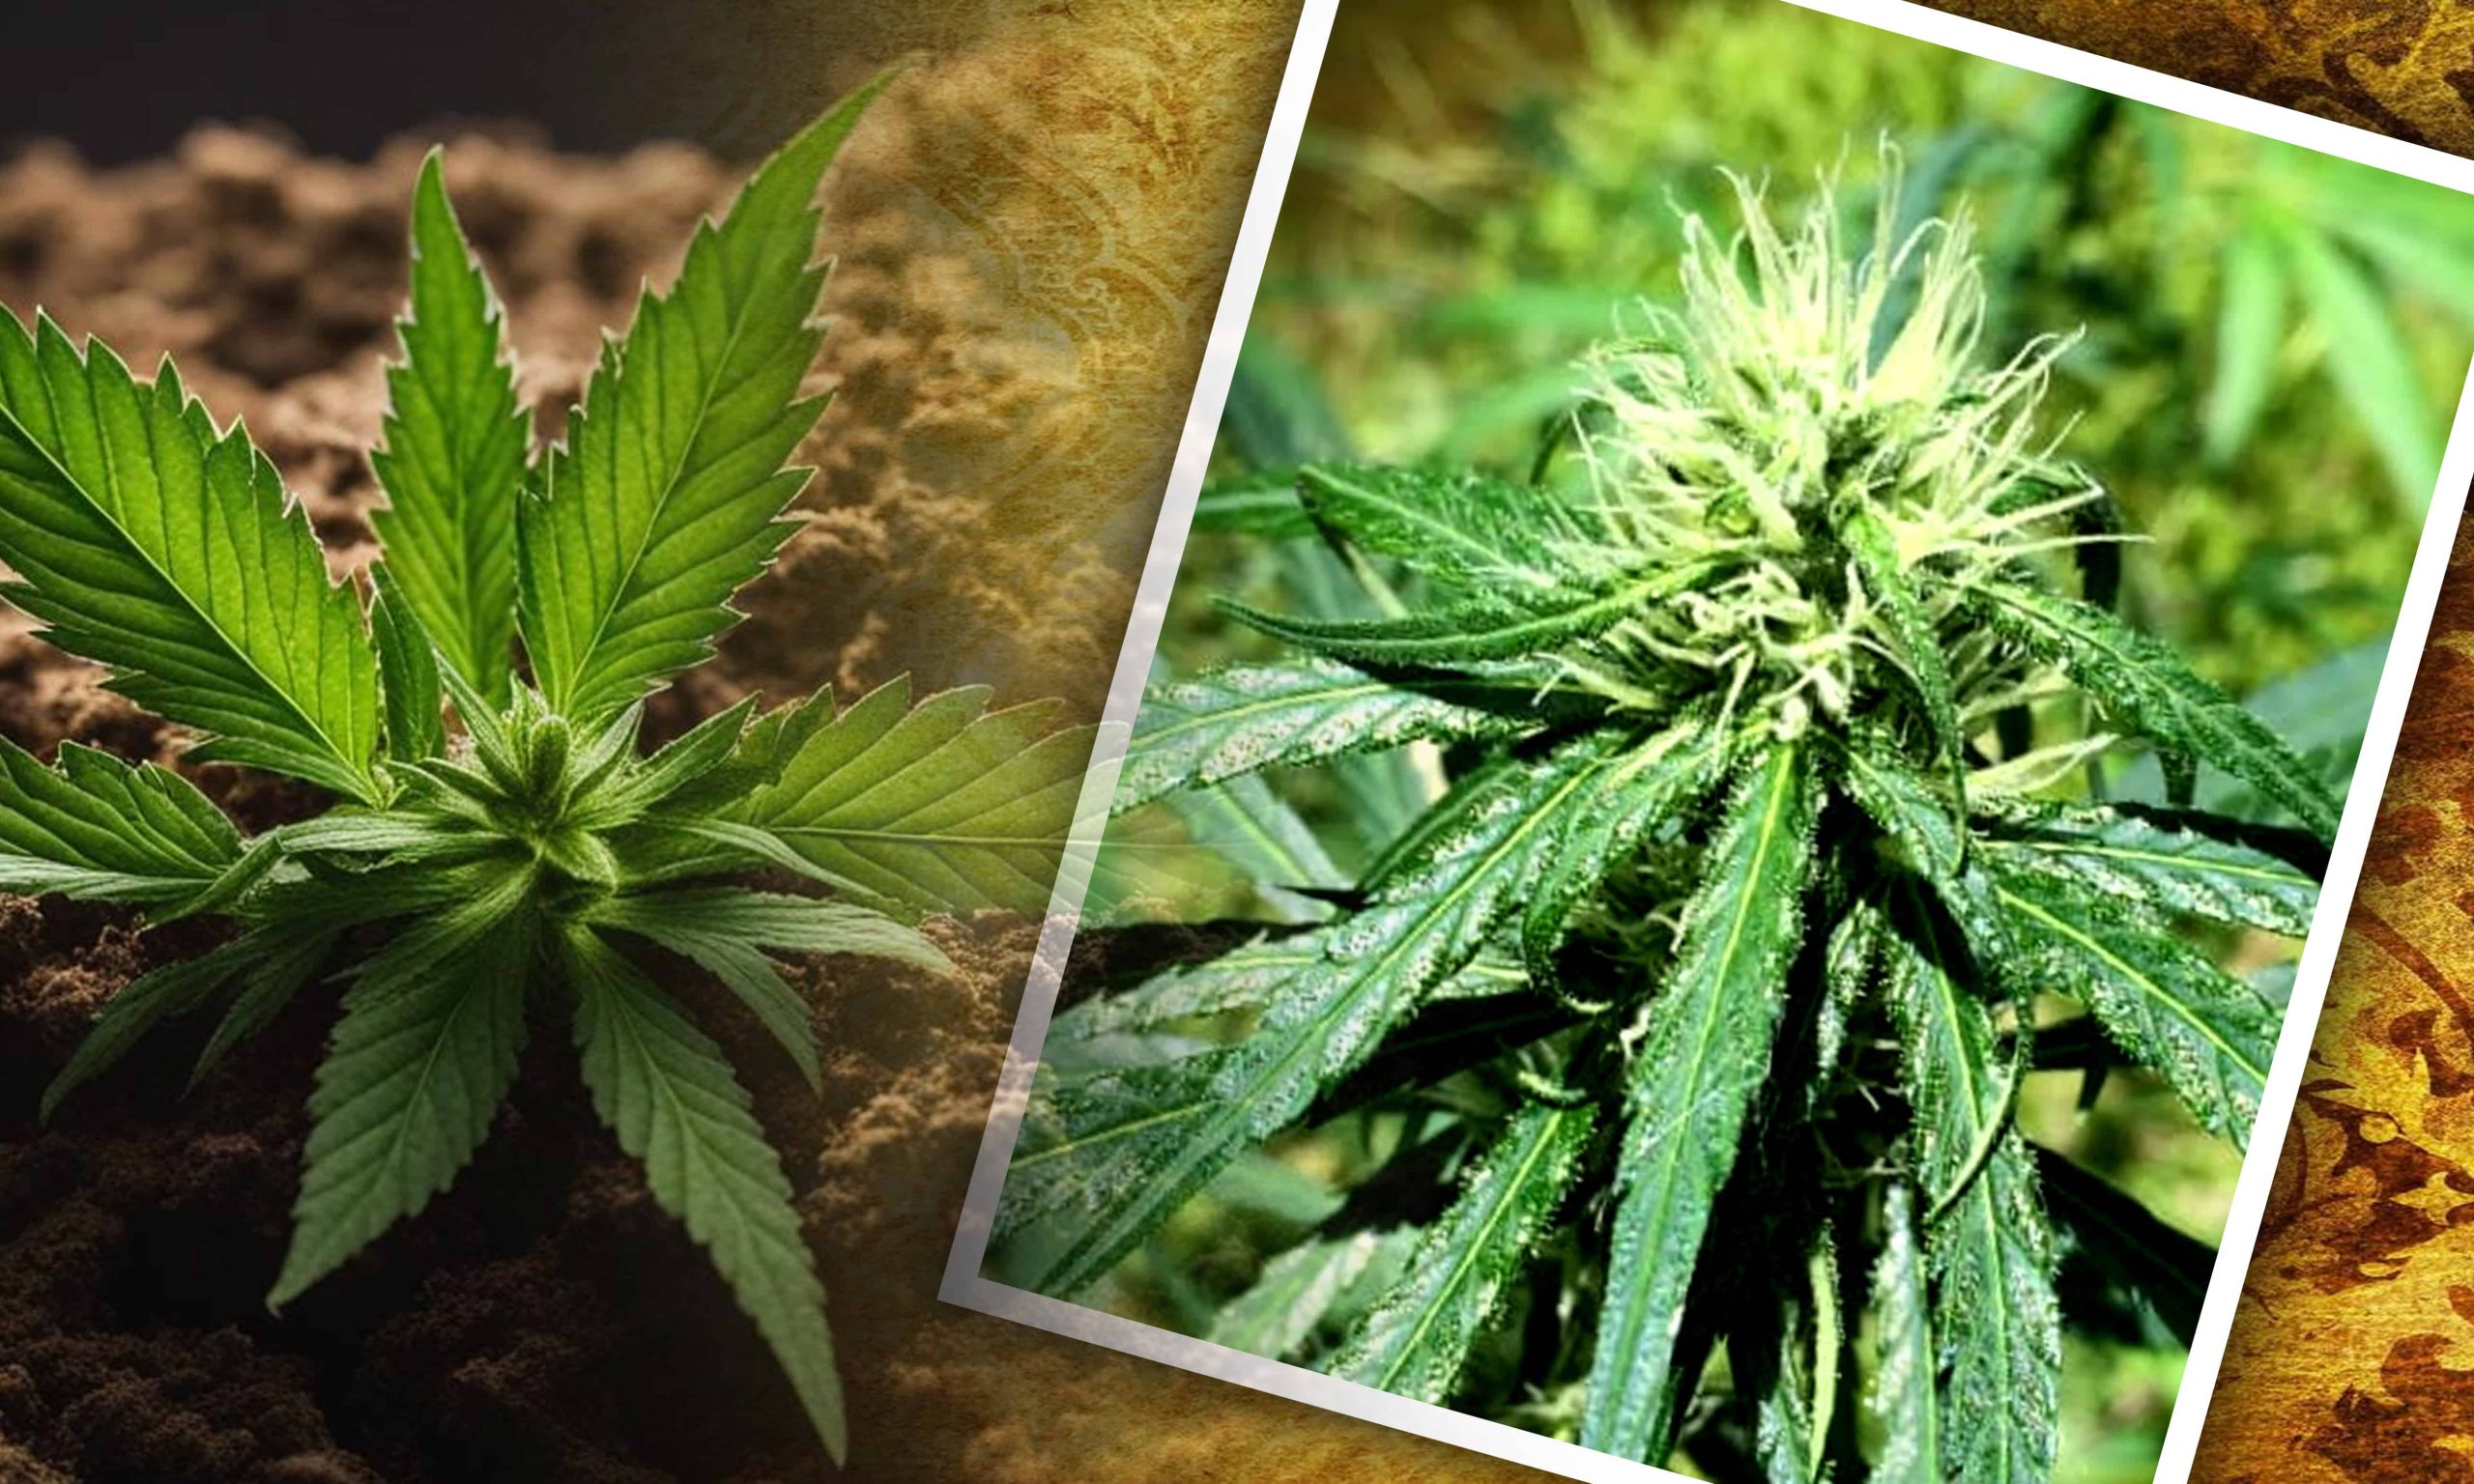
Trichomes are tiny, glandular outgrowths that are locations of chemical synthesis and defense. They are resinous structures that are densely covered on female cannabis flowers and adjacent sugar leaves so that the plant is protected against predators and environmental stresses such as insects, fungal diseases, and ultraviolet (UV) light. Their resinous secretion acts as a deterrent against herbivores and also prevents water loss by sealing the epidermal cells, creating a survival advantage for the plant under stressful conditions.
Biochemically, trichomes are where the biosynthesis of terpenes and cannabinoids occurs. It all starts with precursor molecules synthesized within the gland cells and continues through enzymatic processes that yield the unique chemical profiles that define each strain of cannabis. For the grower, trichomes are the tangible signals of potency, communicating critical information regarding the plant’s health and stage of ripeness. Their density and condition can directly influence the quality and market value of the harvested crop.
The Three Principal Types of Cannabis Trichomes
Cannabis can produce numerous varieties of trichomes, and each differs by morphology and biochemical activity according to their development stage and role in the plant’s life cycle.
1. Bulbous Trichomes
Bulbous trichomes are the shortest and most abundant on the entire plant but contribute little to the production of cannabinoids. Although they produce low resin yields, they form a protective micro-layer on the plant’s surface that may restrict water loss and shield from minor abrasions. Due to their microscopic size, they are virtually invisible to the human eye, but due to sheer numbers, they constitute an important component of the outer defense of the plant.
2. Capitate-Sessile Trichomes
The intermediate-sized trichomes have the glandular head directly attached to the epidermis. They enlarge during the early flowering stage, triggering excessive resin secretion. They fill the gap between the protective role of bulbous trichomes and the high cannabinoid production of mature glands. Cultivators note the appearance and density of capitate-sessile trichomes as signals that the crop is reaching a critical resin-forming stage.
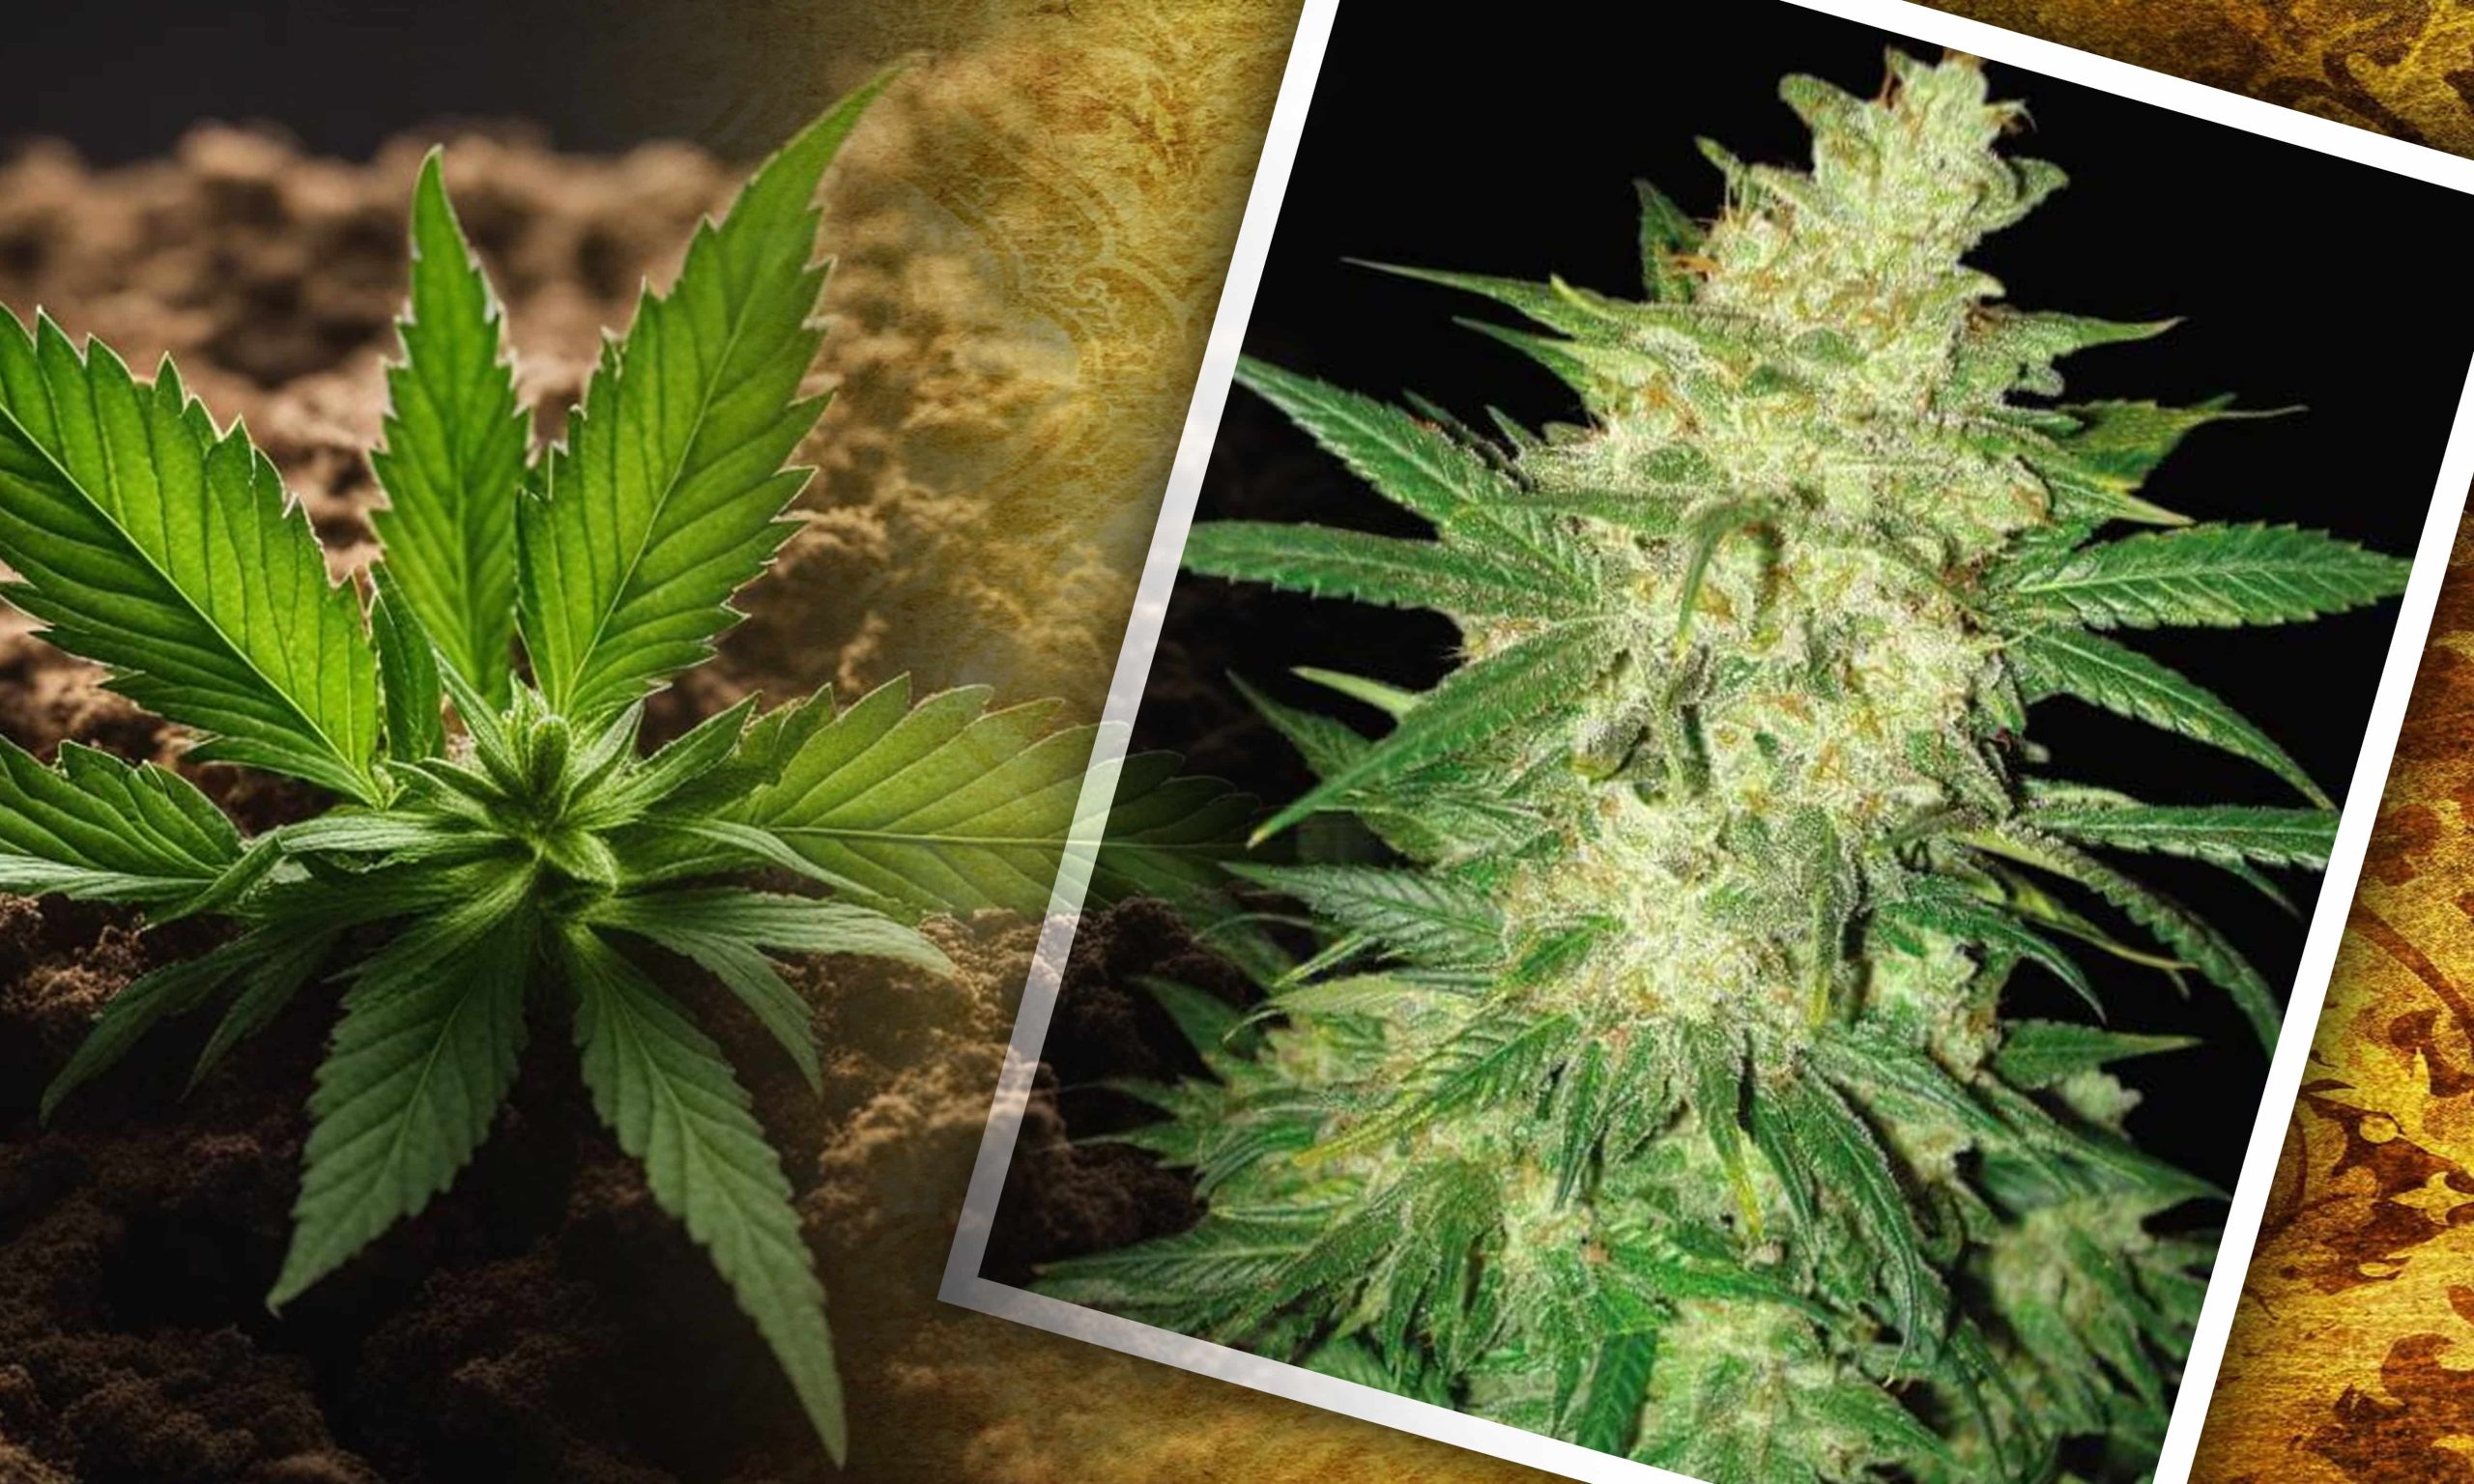
3. Capitate-Stalked Trichomes
The strongest and most prominent capitate-stalked trichomes are the hallmark of quality cannabis blooms. Their enlarged stalk raises the resin gland above the plant’s surface, exposing it maximally to environmental stimulants, inducing resin production. These glands produce most of the THC, CBD, and aromatic terpenes, which directly control the psychoactive and medical action of the plant. Their density and color are the most important indicators of optimal harvest time.
The Trichome Life Cycle: Maturation Stages and Harvest Indicators
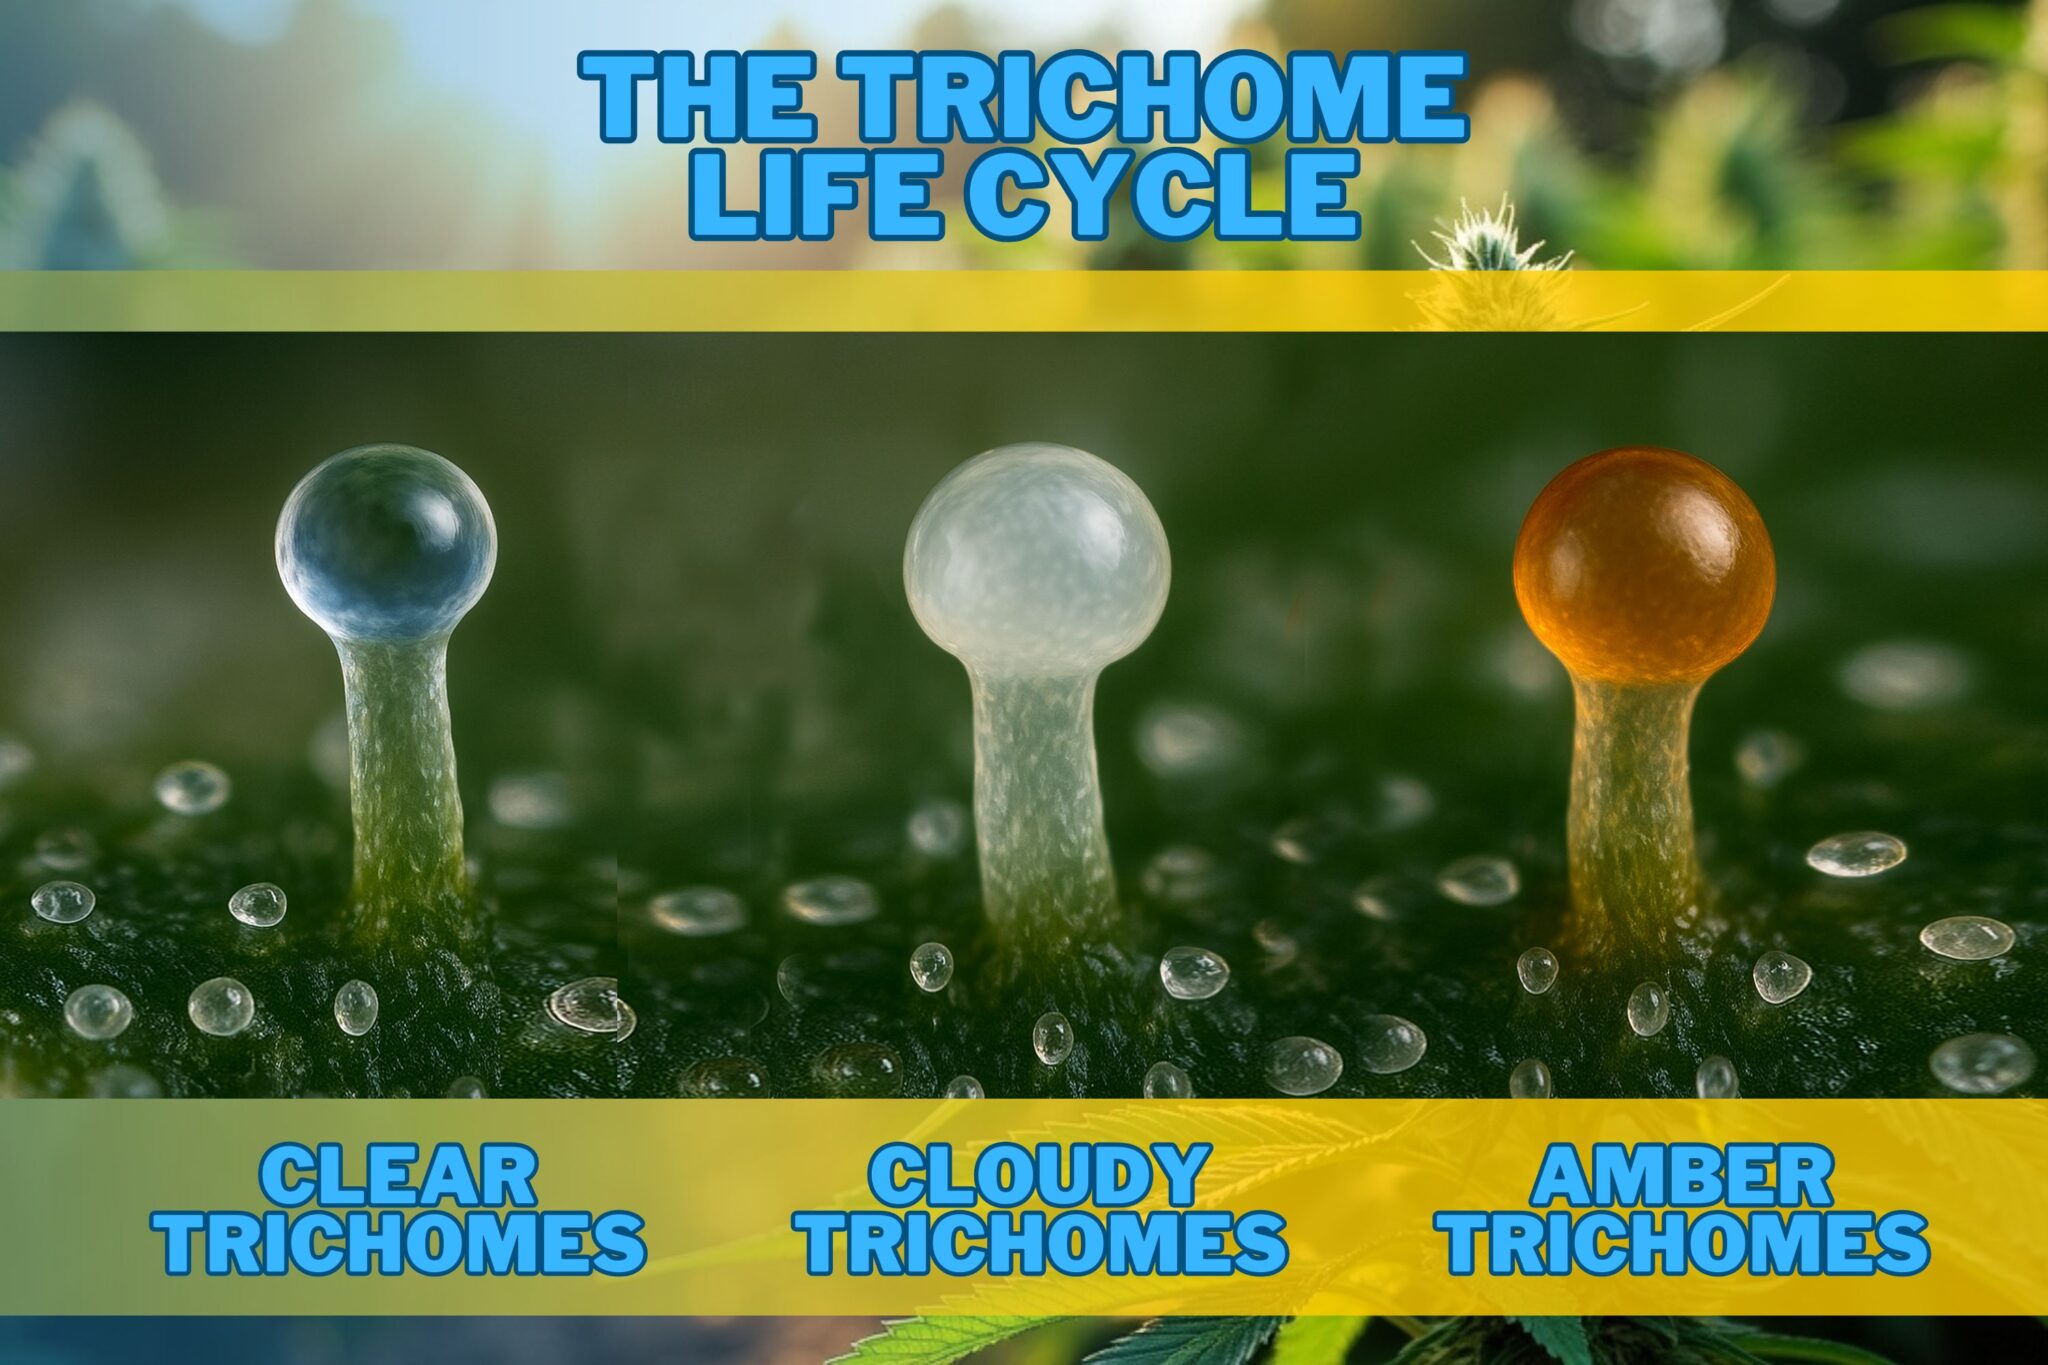
Cannabis trichomes undergo a predictable visual transformation that is a positive indicator of cannabinoid maturity and potency. Growers use these color transitions to identify the precise harvest time.
Clear Trichomes
In this initial phase, the glandular heads appear glassy and clear, indicating that cannabinoids are still in the process of development. When flowers are picked too early, they will have immature psychoactive characteristics and muted aromas. In this stage, the plant focuses on cell division and resin gland formation, laying the groundwork for cannabinoid deposits.
Cloudy or Milky Trichomes
As trichomes mature, the heads puff up and become clouded with resin containing cannabinoids, signaling the highest THC concentration. This is the best time to harvest for the highest potency as well as terpene profile. Also, the decrease in viscosity of the resin enhances the plant’s UV resistance as well as its susceptibility to infestation. Cultivators typically harvest when 70–90% of trichomes have become cloudy so that they obtain the optimal combination of psychoactivity and flavor.
Amber Trichomes
When trichomes turn amber, some of the THC oxidizes into cannabinol (CBN), and it is associated with sedation and a mellow body high. It is the phase preferred by medical users for relaxing effects or those who want to avoid intense cerebral activity from THC. Amber trichomes also indicate the imminent completion of the plant’s natural life cycle, during which cannabinoids begin to degrade and terpene profiles shift.
The Role of Trichomes in Cannabinoid and Terpene Biosynthesis
Trichomes are biosynthetic factories. In their glandular heads, enzymatic networks transform precursor molecules into complex phytochemicals.
-
- THCA, CBDA, and CBGA are synthesized via polyketide pathways before decarboxylation
- Myrcene, limonene, and pinene terpenes are synthesized via the mevalonate and MEP pathways.
- Flavonoids and anthocyanins, responsible for pigmentation and antioxidant activity, also build up in the trichomes
Research has proven that trichomes have specialized plastids and glandular vesicles where enzyme-catalyzed processes take place. These processes also help the plant resist oxidative stress and control the product’s strength and taste. In addition, the entourage effect of the synergistic interaction between terpenes and cannabinoids is dependent on healthy and diverse trichome growth.
Optimizing Trichome Production: Cultivation Best Practices
To cultivate cannabis rich in trichomes, growers must implement precise environmental and nutritional controls that promote resin gland production while minimizing stress that degrades quality.
Light Intensity and Spectrum
Correct light exposure is critical to triggering trichome development. It has been established through research that UVB light supplementation increases resin secretion as plants respond to UV stress by producing defense cannabinoids and terpenes. New LED full-spectrum light replicates the natural sunlight spectrum and allows for accurate adjustment, therefore providing growers with optimal trichome density while managing heat output.
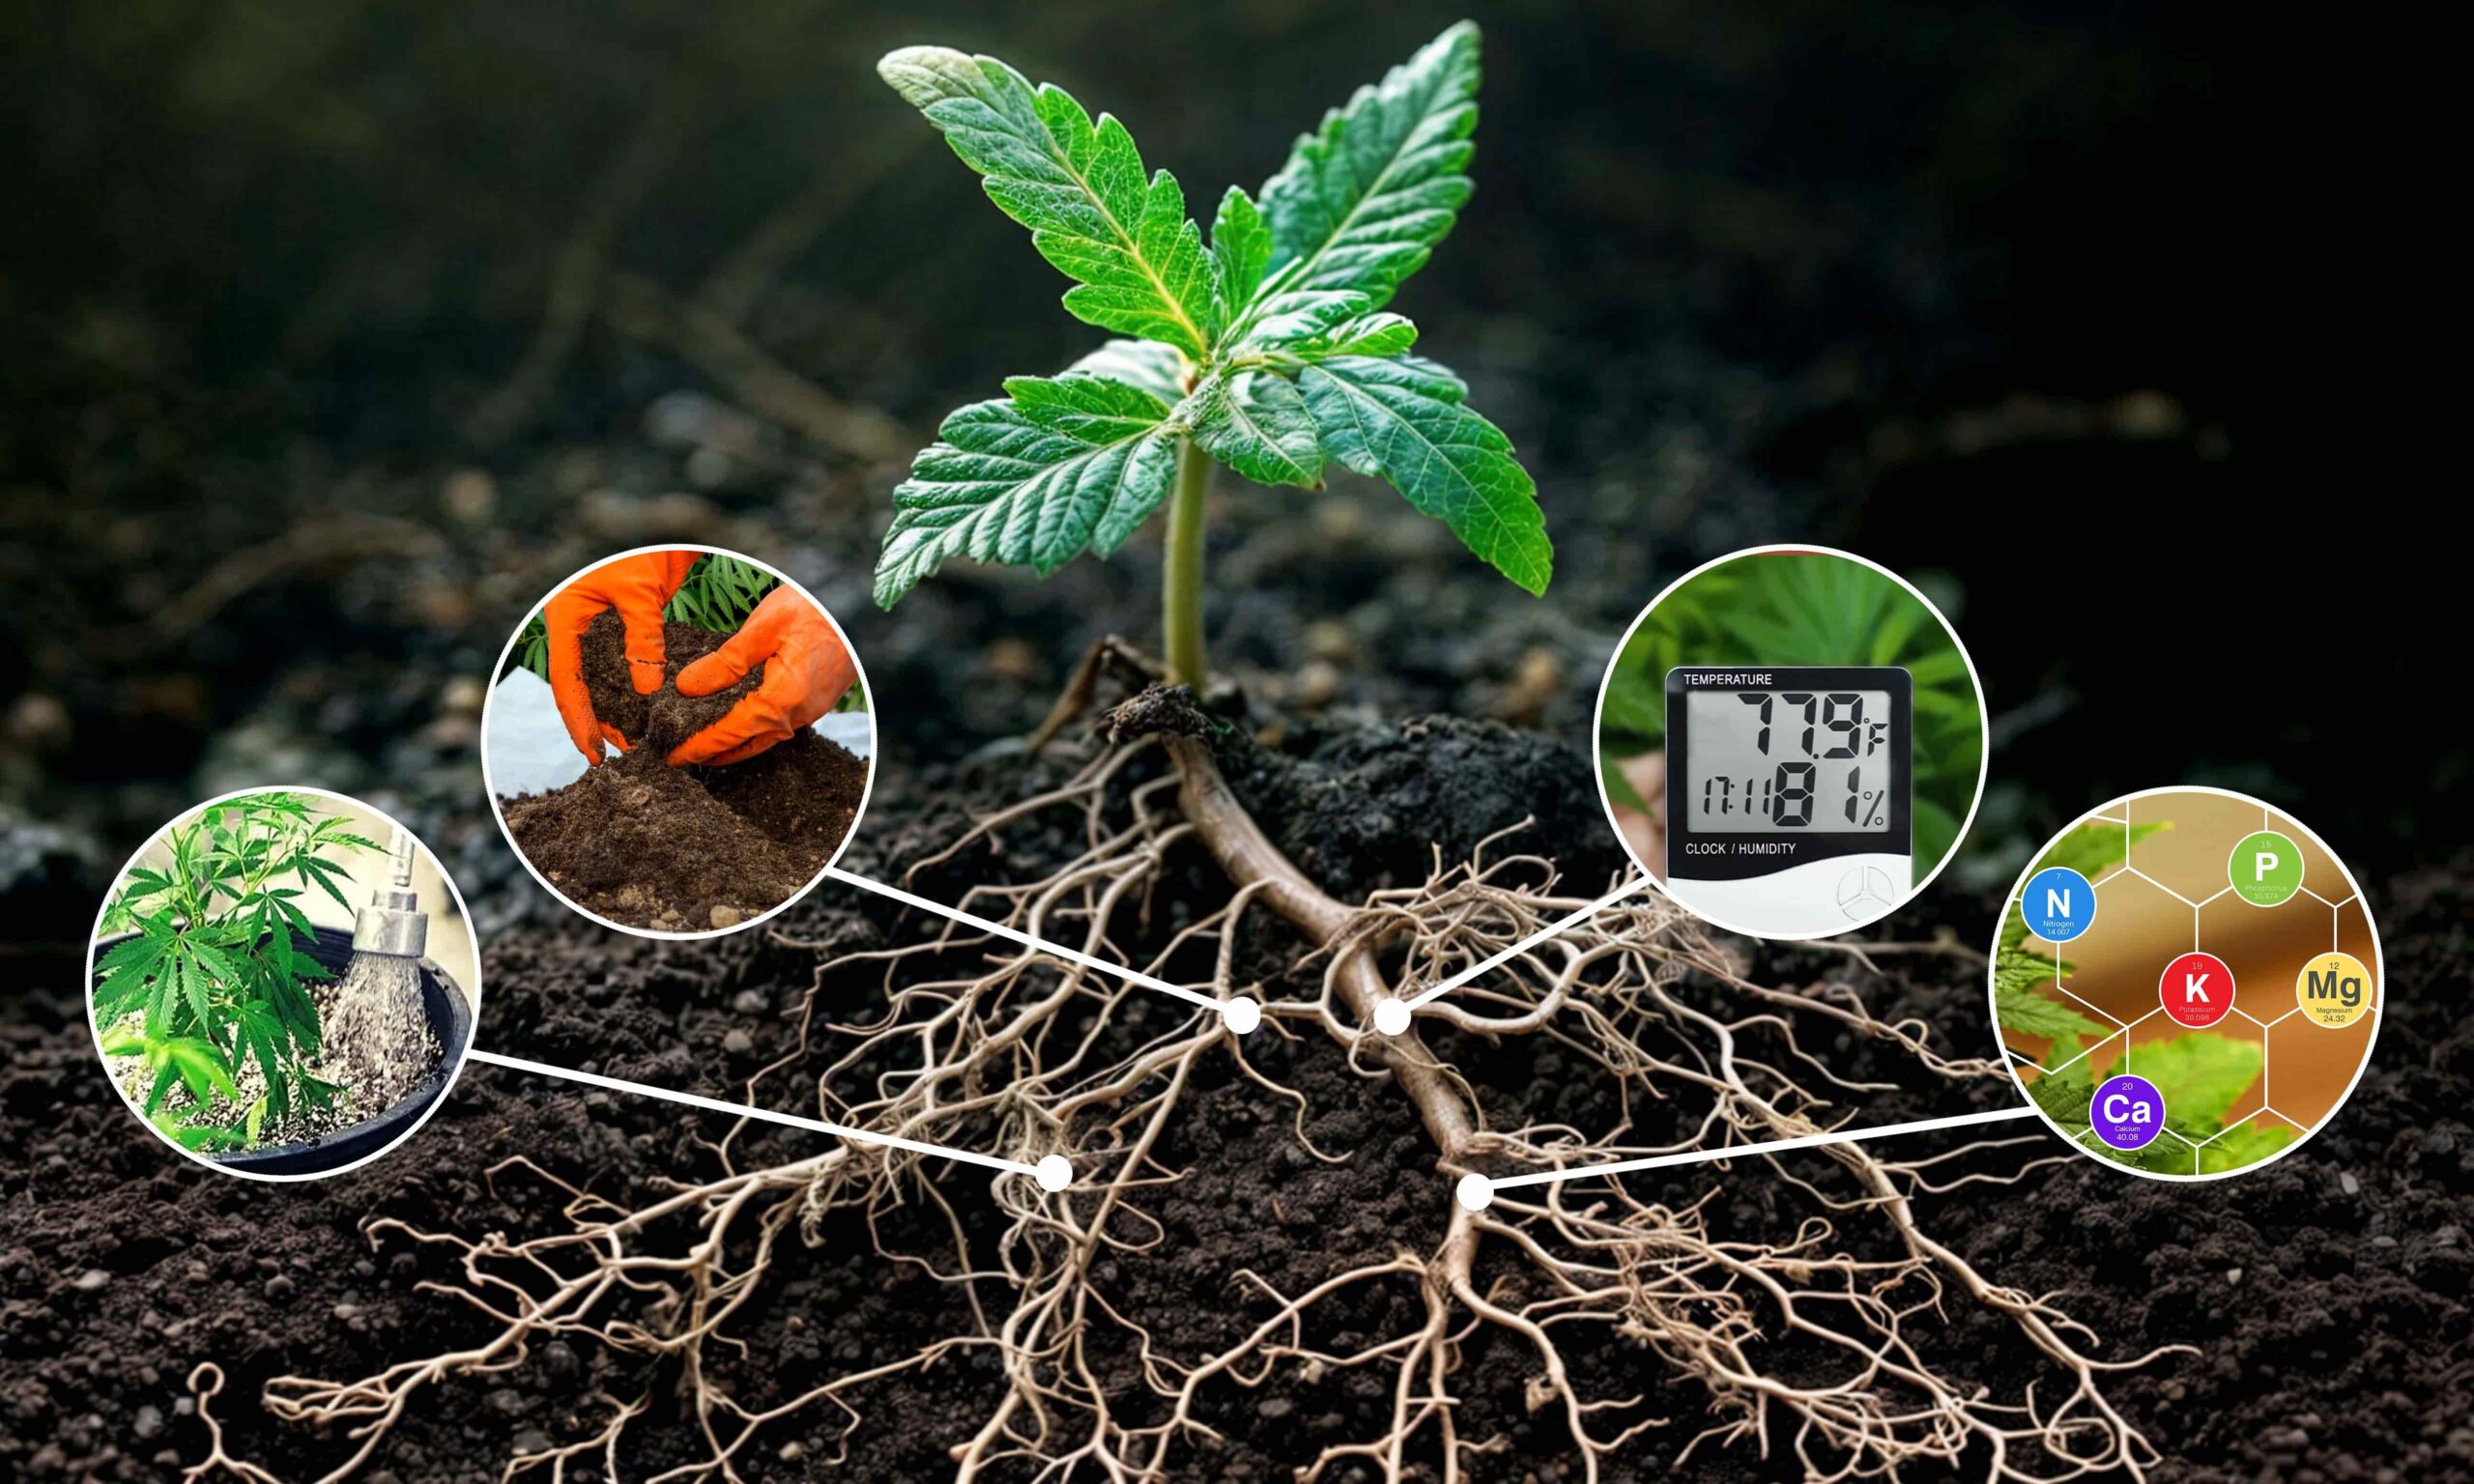
Temperature and Humidity Control
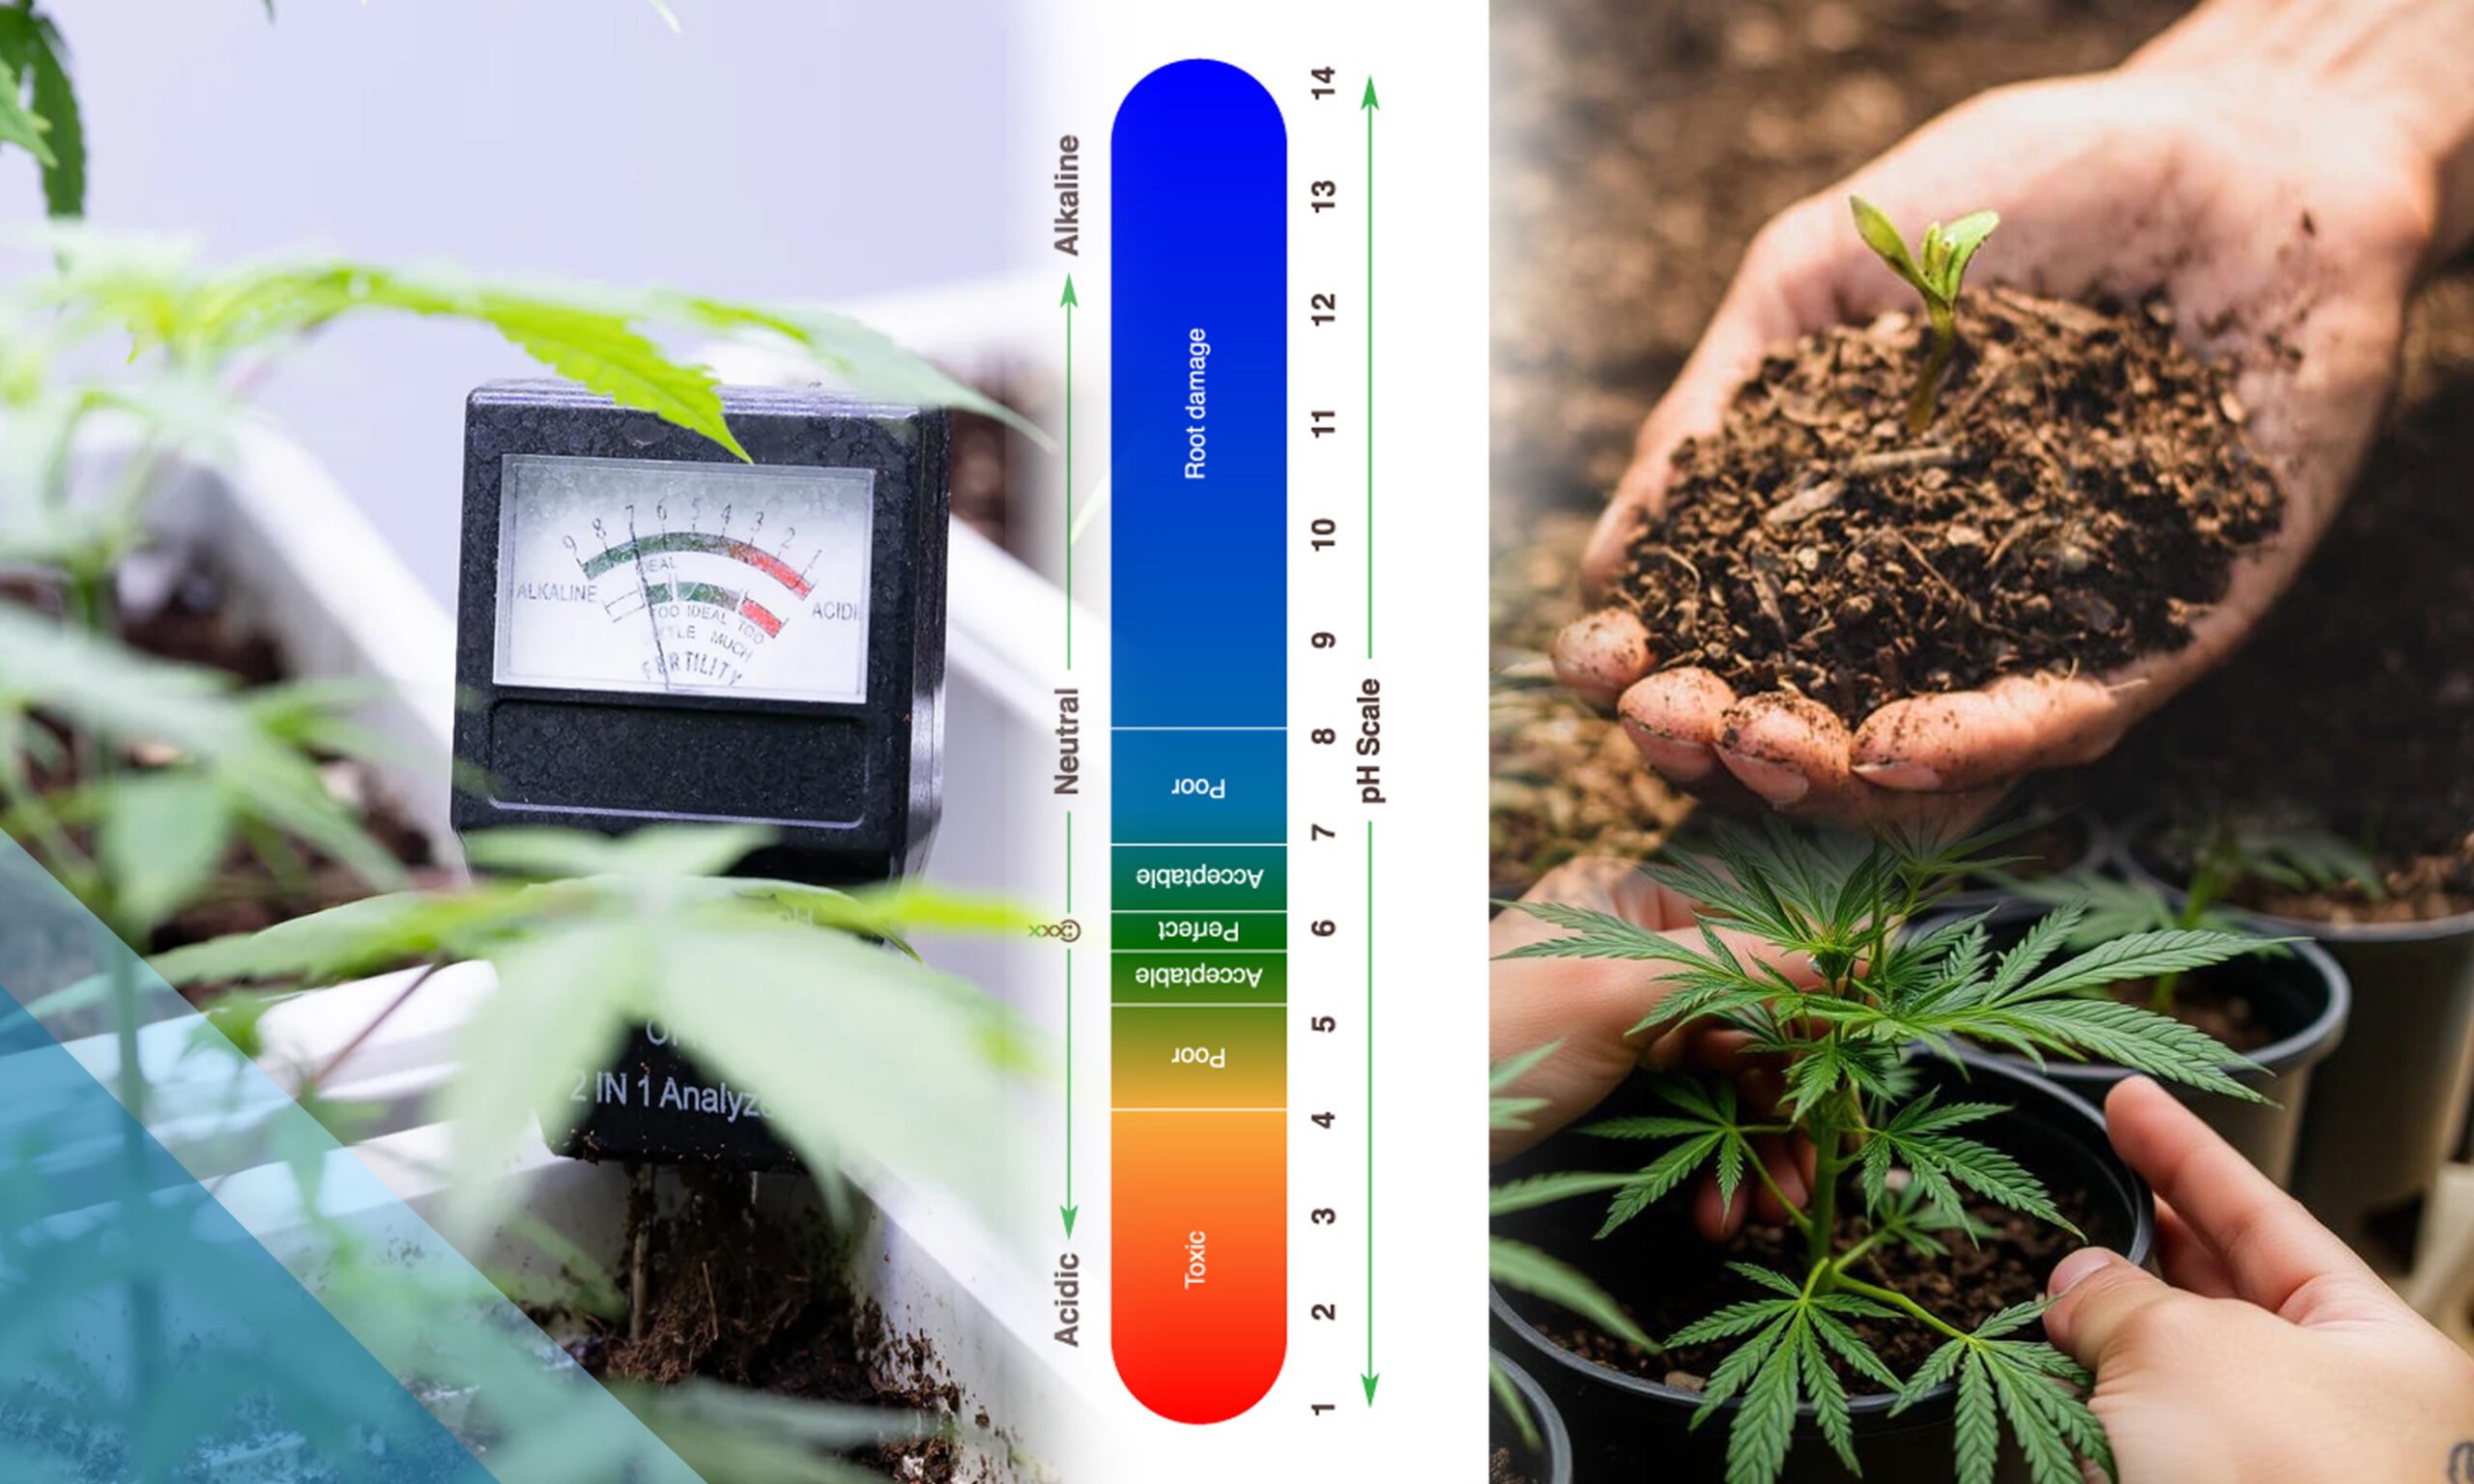
Temperature extremes negatively influence the health of trichomes by inducing volatilization of aromatic oils or slowing down metabolic processes. Optimum temperatures of 20–26°C (68–78°F) during the flowering stage create conducive environments for the biosynthesis of cannabinoids. Relative humidity (RH) ranges of 40–50% reduce the incidence of mold and the integrity of resin. We must apply environmental controls such as humidifiers, dehumidifiers, and ventilation systems to regulate these parameters.
Nutrient Management
Balance in nutrition is what yields trichome quality and yield. Micronutrients like sulfur and magnesium are used as cofactors in terpene synthase enzymes to enable robust aromatic profiles. Organic compounds like kelp extracts and humic acids help facilitate plant nutrient uptake and root-plant beneficial microbe function enhancement, resulting in turn in trichome development. Pure water flush in the final weeks of flowering eliminates buildup, resulting in greater resin gland purity and clarity.
Trichome Preservation at Harvest and Post-Processing
Trichomes are easily damaged and degraded by mechanical stress, heat, and light. Specific harvest and curing methods need to safeguard their whole chemical composition.
Harvest Techniques
Minimization of handling damage preserves the integrity of trichome structure in capitate-stalked trichomes. Sterilized, sharp tools, which give clean cuts without damaging trichomes, are utilized in harvesting. Harvesting during morning hours or in low-light conditions preserves the use of reduced trichome volatility due to the fact that resin glands are less prone to volatile oil evaporation.
Drying and Curing
Slow, controlled drying at 18–21°C (64–70°F) and 45–55% RH prevents rapid degradation of cannabinoids and terpenes. Slow drying ensures even moisture evaporation, without mold growth, and preserves resin quality. After drying, store the product in airtight containers and open them occasionally, allowing air to enter, which slowly converts chlorophyll and other unwanted stuff into something less harsh that tastes better.
Storage Conditions
Long-term weed trichome preservation requires storage in dark, cool environments. UV light exposure and fluctuating temperatures promote cannabinoid degradation. Dry cannabis should be stored in UV-proof glass containers at 15–18°C (59–65°F) to maintain terpene integrity and efficacy. Freezing is generally not advised since ice crystal formation can lead to rupture of the glandular heads with subsequent resin loss.
How to Observe Trichomes: Tools for Proper Inspection
Visual inspection of trichomes entails the use of magnifying tools to determine minor differences in trichome color charts and clarity of glands.
- Jeweler’s Loupe: 30x–60x, portable, low cost
- Handheld Digital Microscope: High-resolution imaging, ideal for detailed analysis
- DSLR or Smartphone Macro Lenses: Enables photo documentation for repeatable harvest monitoring
To study trichomes, utilize proper lighting—natural light or daylight-balanced LEDs work best to prevent false color. Amber lenses or red-spectrum grow lights cannot be employed in studying because they will distort the color of existing trichome coloration and lead to making the wrong harvest time.