Are You 21 Or Over?
YesOr
No By clicking yes, you certify that you are over 21 years old. By using this website, you agree to our legal disclaimer.Table of Contents
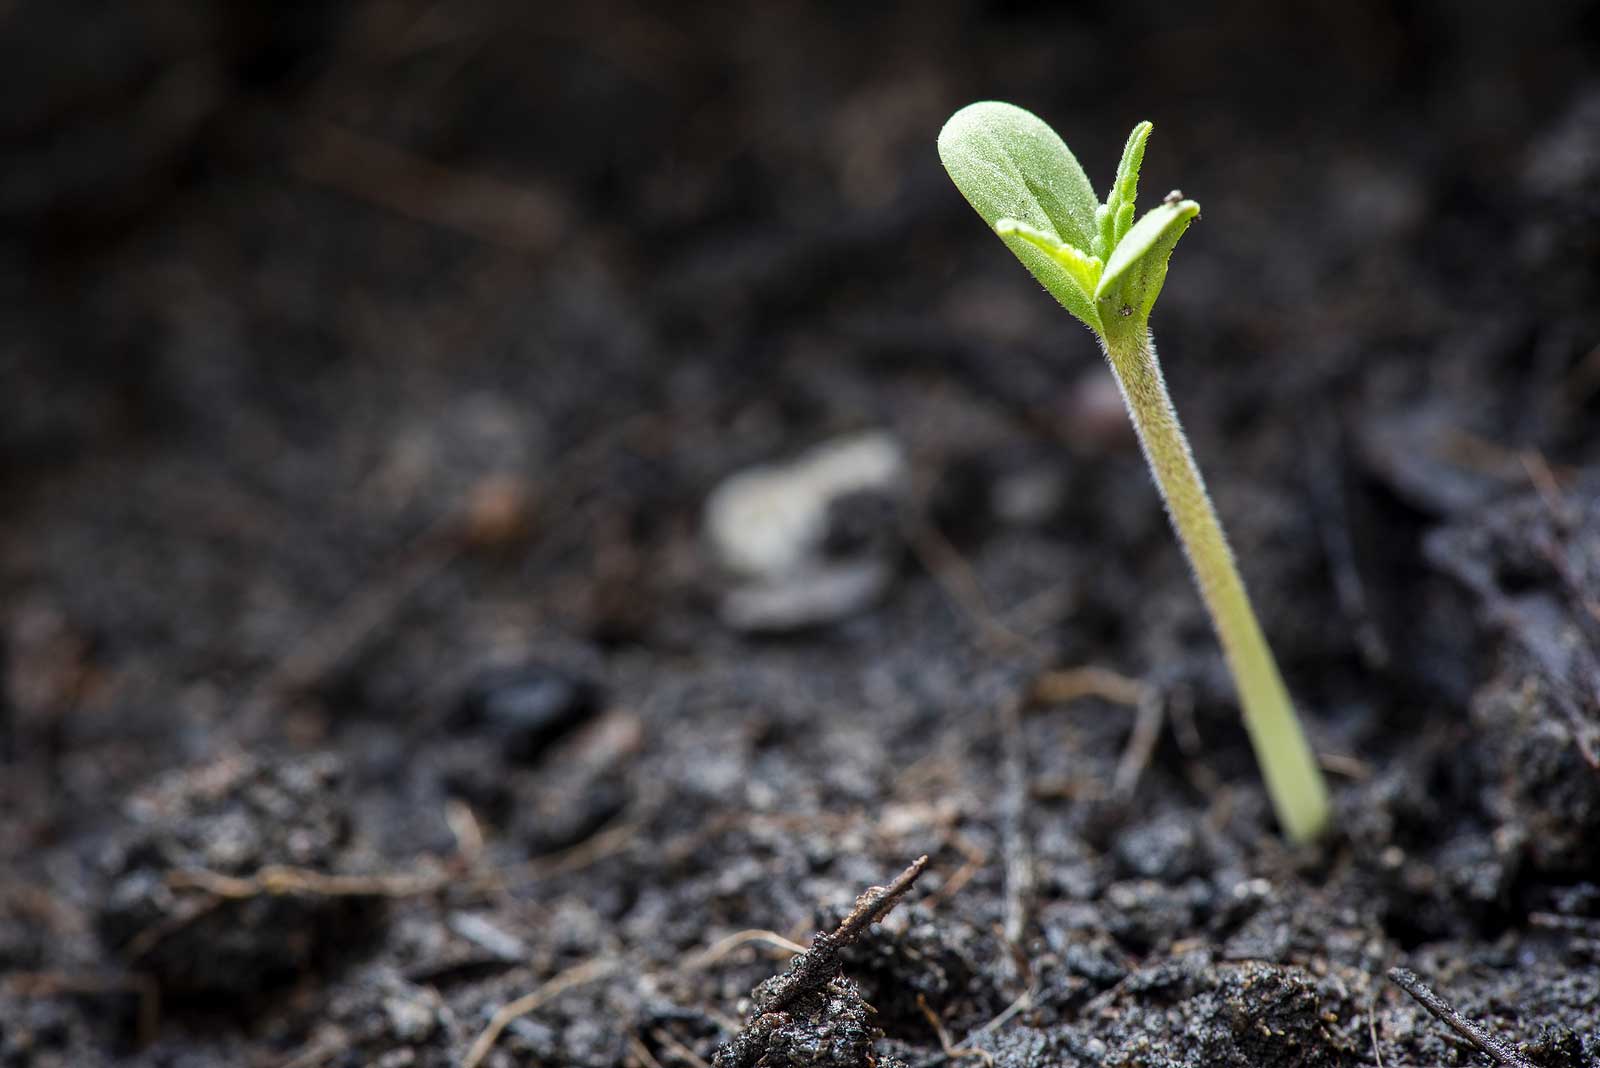
Cannabis cultivation goes very far back to at least 3000 years ago in Taiwan. And ever since its discovery, people have been benefiting from these plants in many ways. Several genetic variations and crossbreeds have emerged as cannabis can be grown anywhere, with different strains fitting different climates and resulting in diverse effects and advantages.
One of the greatest phenomena that have come out of the extensive evolution of cannabis over recent years is the creation of autoflowing feminized seeds. These seeds are different from traditional photoperiod ones as the latter does not rely on specific light cycles or schedules from the sun to begin their flowering process. Strains of this nature include the Cannabis Ruderalis genetics, a species of cannabis that is known for growing and flowering based on their age, without any intervention, and reaching full maturity within just a few months.
Before we go into the details of the autoflowering feminized seeds grow guide, let’s review the different advantages of this cannabis variety.
Autoflowering feminized seeds have only gained recognition in the last few years. Today, they are taking the market by storm with their many benefits, including ease of cultivation, higher quality, and greater yields.
Growing these seeds are pretty straightforward, as growers can just leave these hardy and forgiving plants under a fixed light schedule from seed to harvest time. These seeds not only grow faster (around 8 to 10 weeks as opposed to sixteen weeks for photoperiods), but they also tend to produce smaller plants that won’t get taller than 50 to 70 cm. Smaller buds are known to produce more intense flavors, as evidence on many award-winning strains. And shorter plants make indoor and discreet growing easier and simpler.
With all the benefits that come from choosing autoflowering feminized seeds, it comes as no surprise that these seeds are becoming immensely popular among cannabis breeders, both novice and experienced, nowadays.
However, it is important to realize that because of their shorter lifespan, these seeds will grow and flower whether or not you are ready for them. So like everything else, successfully cultivating autoflowering feminized seeds require some preparation. Here is a week-by-week grow guide that covers all the parameters and variables of cultivating these seeds.
Proper germination and is pivotal to the development of healthy, vigorous, and productive marijuana plants. Germination takes one to three days, generally. It is during this time that your seeds will activate, grow roots, and a shoot above the surface.
During this stage of early seedling, you have a number of routes to choose from, including the traditional one of using soil. The paper towel method, however, is probably the easiest and most popular way to germinate your autoflowering feminized seeds.
To begin the germination process, moisten a paper towel on a plate. Place your seeds on the paper and cover them with a plate. This is to ensure that moisture is locked in. Certain environmental factors play a key role in germination, and in ideal situations, the seeds should sprout in a day or up to a week.
Next, prepare a suitable soil mix that is light and airy. Poke a small 10 to 15 mm hole in the soil up to an inch deep. Sow your seed directly into its one and final pot that is large enough to provide plenty of space for the roots to grow. It is important to remember that autoflowering feminized seeds are less forgiving when it comes to major stressors and mistakes, including repotting. As such, it is best to plant these seeds in their final pot right from the get-go.
By the second week, your seedling would have now emerged. As mentioned earlier, growing autoflowering feminized seeds is pretty straightforward. You do not need light schedules. Instead, you just need to leave your lights on an 18/6 schedule for the entire grow. Experts recommend growing these seeds indoors with a 250W LED light, which will provide enough power to meet your 18hr-on 6hr-off light schedule. Set the temperature at the ideal 68 to 77 degrees Fahrenheit with at least 50% to 70% humidity levels.
In addition, it is during this week that the feeding of your plants starts. Apply nutritional formulas specifically designed for the seedling. As light feeding is ideal, there is no need for additional nutrients during this period unless your plant shows signs of deficiency like yellow leaves.
By week three, your plant will be well into its vegetative phase. As you notice new fan leaves developing, you can begin adding more nutrients, increase the feeding rate, and start training your plant. The only training method you should use on these plants is the LST (Low-Stress Training). Performing this training to your plants will help boost yield during the flowering stage. Do not top, prune, or pinch your autoflowering plants.
Your plant will be nearing the flowering or bloom stage by week four. Aim for the following environmental conditions for maximum growth: 45% RH, 0.5L of water for every 24 hours, and 20 degrees Celsius air temperature. Finish off any training by this period to avoid stressing your plant when you get on the flowering stage.
As the flowering phase starts, dial in the optimal environmental conditions of 45% RH, 1l of water for every 24 hours, and 23 degrees Celsius air temperature. Also, switch the LED light settings from blue to red to encourage the budding process.
Your plants will also be requiring higher demands for their nutrition, and this includes amendments to their phosphorus, magnesium, potassium, and calcium feedings.
For the next two weeks, focus your time and energy in keeping an eye out for those yellow, banana-like structures. These “bananas” produce pollens and do not even need to open up before making seeds. Thus, it is important to remove these from the growing space immediately to prevent them from pollinating your female plants nearby. While hermaphrodites in autoflowering feminized seeds are rare, they are still worth looking out for.
In addition, conduct routine checks to search for pests and signs of nutrient deficiencies. If your plants have dried leaves, which are common during this stage of flowering, remove them to promote better airflow around your buds.
By this time, harvest season is near, and it is time to flush and defoliate your plants. Flushing is when you stop feeding your plants and only administer as much water into the soil and wait for it to dry out. Repeat the process over the next two weeks before harvesting. The goal here is to remove whatever chemicals that have been fed into the plants and create better-tasting buds. As you notice your foliage starts to discolor and turn yellow, that means you’ve successfully flushed your plants.
Autoflowering plants are generally ready to harvest by week ten. Check on your trichomes, and the majority has turned milky in color, they are ready for harvest. It is important to understand that there is no need to harvest the entire plant all at once. Some of the buds may be ripe, while the others are not. So instead of collecting them all in one go, try a progressive harvest.
As illustrated by the week-by-week autoflower seeds grow guide above, cultivating and harvesting these seeds is quick and easy. There may be many variables to cover, but if done correctly, you will be sure to reap and enjoy healthy and delicious buds in as short as ten weeks.
Curious about growing weed in a healthy, effective way? Welcome to the realm of weed hydro! This method uses water instead of soil, delivering n

Peyote Zkittlez is a unique cannabis strain that has quickly gained dedicated followers among enthusiasts and patients alike. Its parentage—Zk

As growers, we want strains that work well, are strong, and are of good quality. Autoflowering cannabis strains are a big step forward for both

Pot growers always ask the same basic question: How much weed does a weed plant produce? The answer is complex and depends on a multitude of var

Ever had the room spin after a few hits? You're not alone. Figuring out how to prevent getting dizzy high can make your cannabis experience a wh

Drying cannabis properly is a critical process in preserving the plant's full aroma and flavor and its psychoactive abilities. Tampering with th

Ever caught yourself a bit too high and all of a sudden in need of being normal? Whether you're heading out for munchies or bumping into someone

Looking for sage advice on how not to get pinched with weed without batting an eye? Attempting to protect your stash from gossipy roommates, sno

Nutrient lockout, also known as nutrient binding or chemical antagonism, is a significant issue in cannabis cultivation that negatively impacts

Germination is the most critical initial stage in growing healthy, high-quality cannabis plants. During germination, the dormant seed becomes a
Are You 21 Or Over?
YesOr
No By clicking yes, you certify that you are over 21 years old. By using this website, you agree to our legal disclaimer.
Excellent blog here Also your website loads up very fast What web host are you using Can I get your affiliate link to your host I wish my web site loaded up as quickly as yours lol
Your writing is not only informative but also incredibly inspiring. You have a knack for sparking curiosity and encouraging critical thinking. Thank you for being such a positive influence!
Simply wish to say your article is as amazing The clearness in your post is just nice and i could assume youre an expert on this subject Well with your permission let me to grab your feed to keep updated with forthcoming post Thanks a million and please carry on the gratifying work
Somebody essentially lend a hand to make significantly articles Id state That is the very first time I frequented your website page and up to now I surprised with the research you made to make this actual submit amazing Wonderful task
Your blog is a beacon of light in the often murky waters of online content. Your thoughtful analysis and insightful commentary never fail to leave a lasting impression. Keep up the amazing work!
Thank you for the auspicious writeup It in fact was a amusement account it Look advanced to more added agreeable from you By the way how could we communicate
Your blog is a constant source of inspiration for me. Your passion for your subject matter shines through in every post, and it’s clear that you genuinely care about making a positive impact on your readers.
Your blog is a constant source of inspiration for me. Your passion for your subject matter is palpable, and it’s clear that you pour your heart and soul into every post. Keep up the incredible work!
Your articles never fail to captivate me. Each one is a testament to your expertise and dedication to your craft. Thank you for sharing your wisdom with the world.
Your blog is a testament to your dedication to your craft. Your commitment to excellence is evident in every aspect of your writing. Thank you for being such a positive influence in the online community.
Your writing has a way of resonating with me on a deep level. I appreciate the honesty and authenticity you bring to every post. Thank you for sharing your journey with us.
Your blog is a true gem in the world of online content. I’m continually impressed by the depth of your research and the clarity of your writing. Thank you for sharing your wisdom with us.
Hi i think that i saw you visited my web site thus i came to Return the favore Im attempting to find things to enhance my siteI suppose its ok to use a few of your ideas
Somebody essentially help to make significantly articles Id state This is the first time I frequented your web page and up to now I surprised with the research you made to make this actual post incredible Fantastic job
Usually I do not read article on blogs however I would like to say that this writeup very compelled me to take a look at and do so Your writing taste has been amazed me Thanks quite nice post
Your blog has quickly become one of my favorites. Your writing is both insightful and thought-provoking, and I always come away from your posts feeling inspired. Keep up the phenomenal work!
Every time I visit your website, I’m greeted with thought-provoking content and impeccable writing. You truly have a gift for articulating complex ideas in a clear and engaging manner.
Hey there You have done a fantastic job I will certainly digg it and personally recommend to my friends Im confident theyll be benefited from this site
I have read some excellent stuff here Definitely value bookmarking for revisiting I wonder how much effort you put to make the sort of excellent informative website
Nice blog here Also your site loads up very fast What host are you using Can I get your affiliate link to your host I wish my site loaded up as quickly as yours lol
What i do not understood is in truth how you are not actually a lot more smartlyliked than you may be now You are very intelligent You realize therefore significantly in the case of this topic produced me individually imagine it from numerous numerous angles Its like men and women dont seem to be fascinated until it is one thing to do with Woman gaga Your own stuffs nice All the time care for it up
Your blog is a beacon of light in the often murky waters of online content. Your thoughtful analysis and insightful commentary never fail to leave a lasting impression. Keep up the amazing work!
Your blog is a breath of fresh air in the often stagnant world of online content. Your thoughtful analysis and insightful commentary never fail to leave a lasting impression. Thank you for sharing your wisdom with us.
Your blog is a beacon of light in the often murky waters of online content. Your thoughtful analysis and insightful commentary never fail to leave a lasting impression. Keep up the amazing work!
Usually I do not read article on blogs however I would like to say that this writeup very compelled me to take a look at and do it Your writing style has been amazed me Thank you very nice article
Your writing has a way of resonating with me on a deep level. I appreciate the honesty and authenticity you bring to every post. Thank you for sharing your journey with us.
This hydroponics guide is quite the buzz, seriously! Who knew growing weed without dirt could be so complicated yet potentially rewarding? The breakdown of systems like DWC and NFT is helpful, though I suspect my cat might confuse the air pump for a toy. The idea of cleaner buds is tempting, especially since explaining hydro weed to my non-growing friends might get messy. And the bit about potential dizziness from hydro weed? Perfect, now I have an excuse for why I always stumble a bit after a grow session. Still, the promise of faster grows and higher yields is hard to ignore, even if it means more trips to the pH meter than to the coffee shop. Overall, a cultivating read for the curious grower!