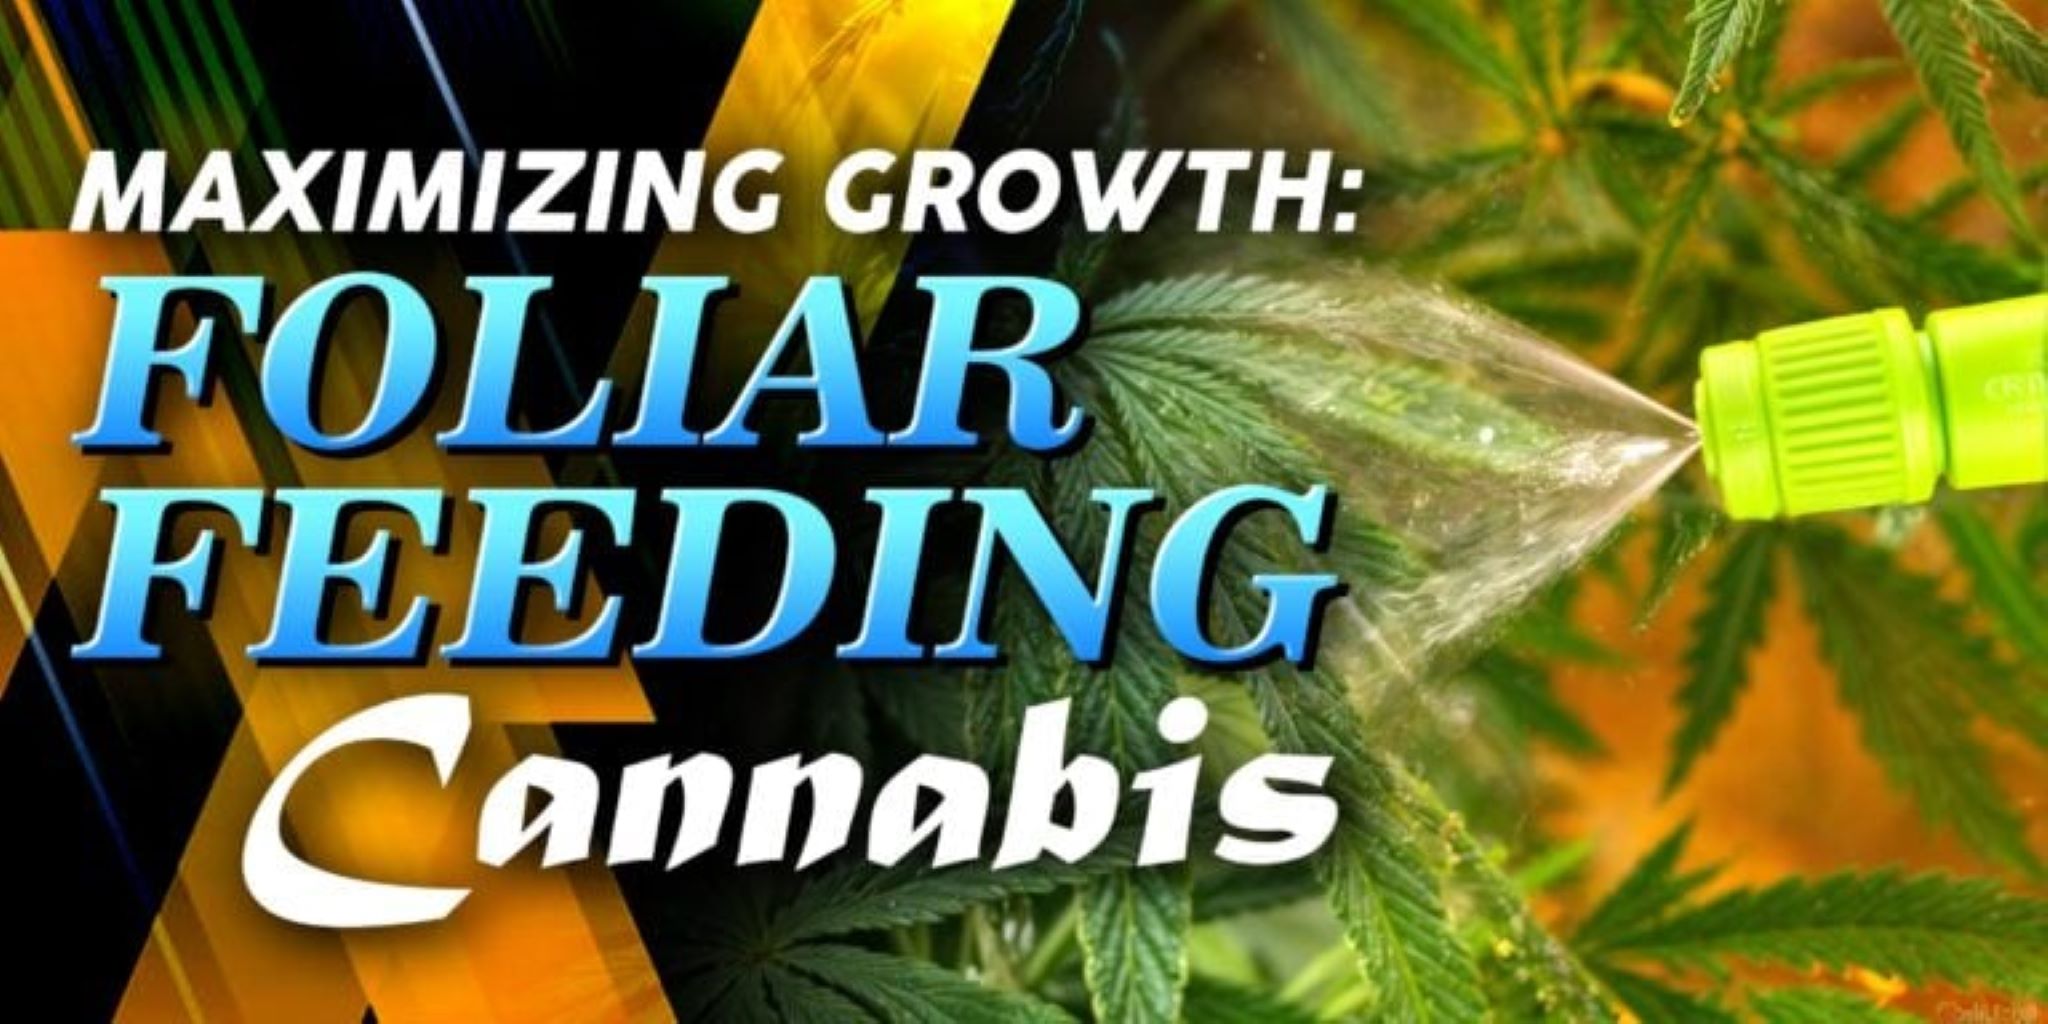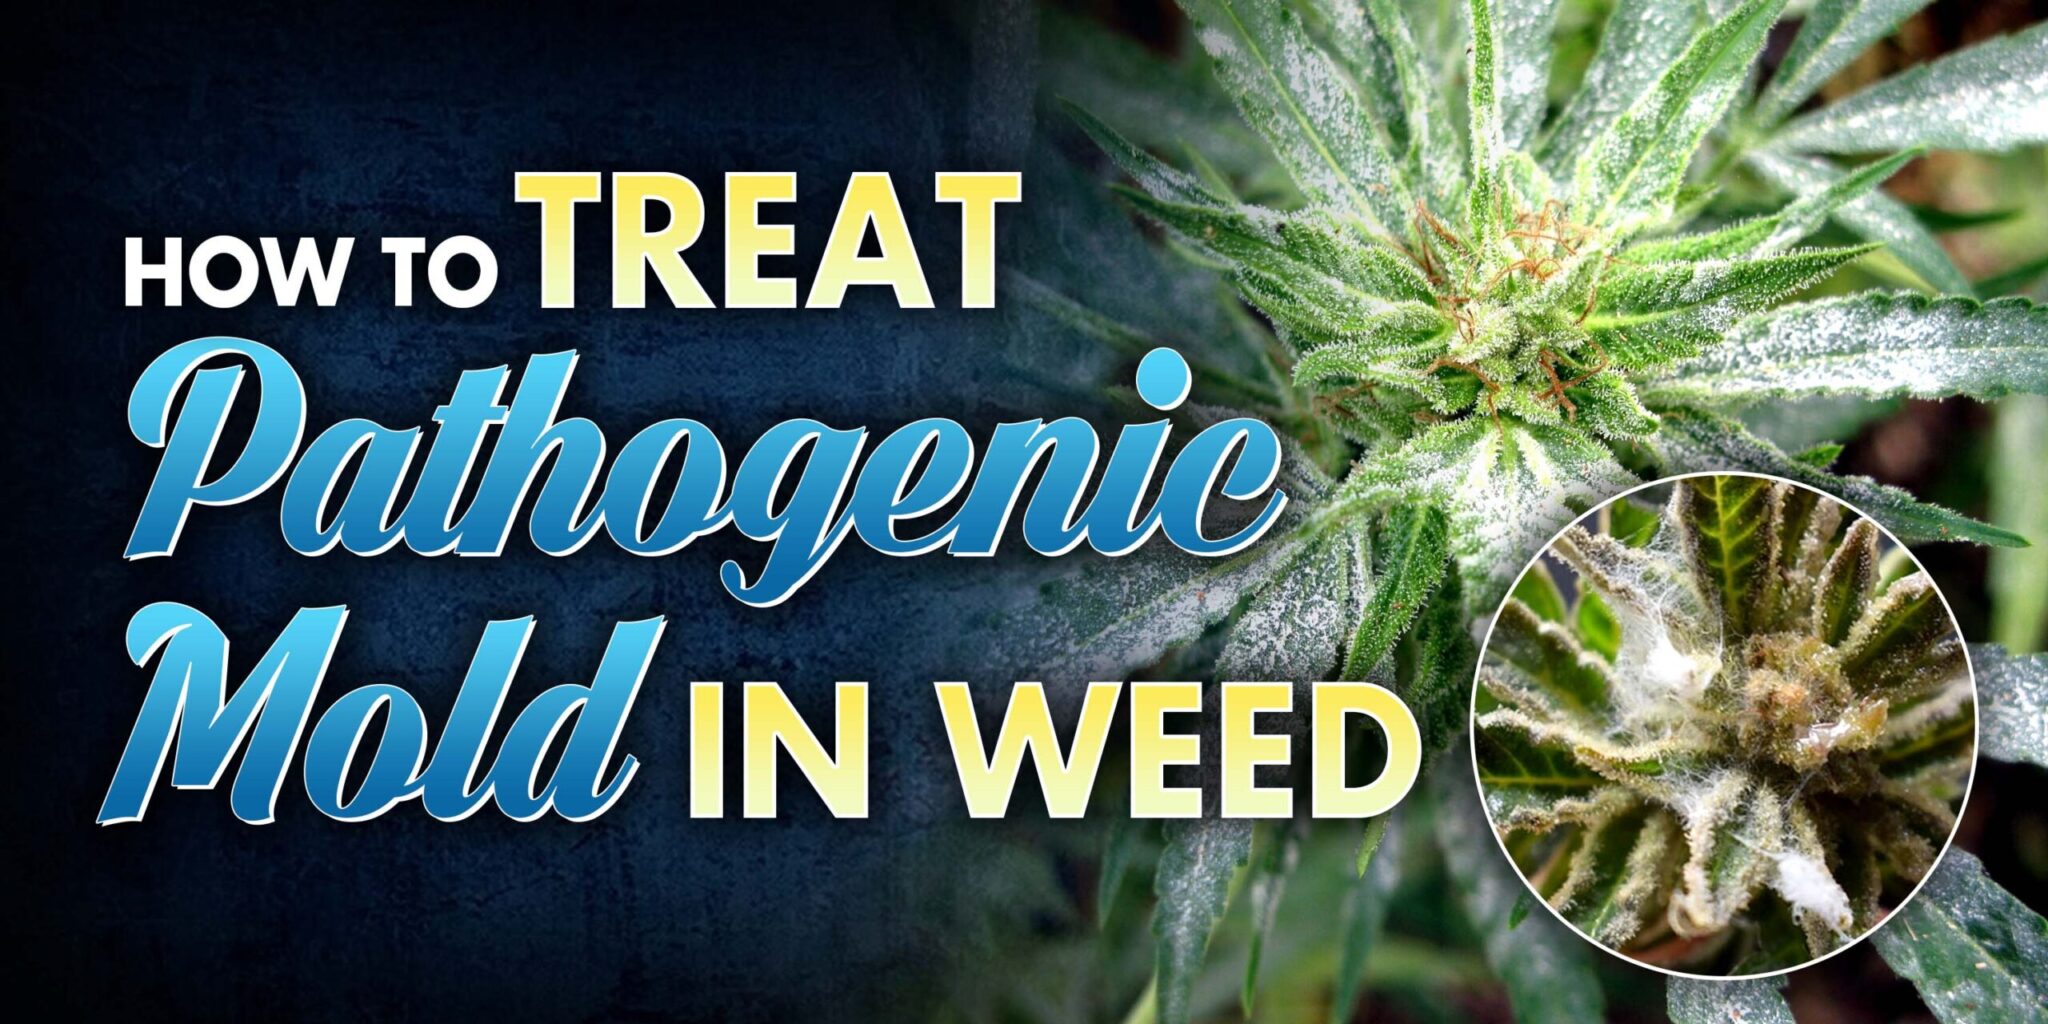
Welcome to our complete guide to dealing with harmful pathogenic mold in cannabis. For those who grow cannabis, preventing mold is vital for keeping their harvest safe and top-notch. Mold not only ruins the taste and strength of cannabis but can also make people sick if they use it. In this guide, we’ll explore ways to fight mold in your cannabis plants so you can have a healthy and plentiful crop.
What is Pathogenic Mold
Pathogenic mold, also called toxic mold, encompasses different types of fungi that can grow in both indoor and outdoor environments, such as where cannabis is grown. These molds make mycotoxins, dangerous substances that can harm health if breathed in or eaten. Some common kinds of pathogenic mold in cannabis are Aspergillus, Penicillium, and Fusarium.
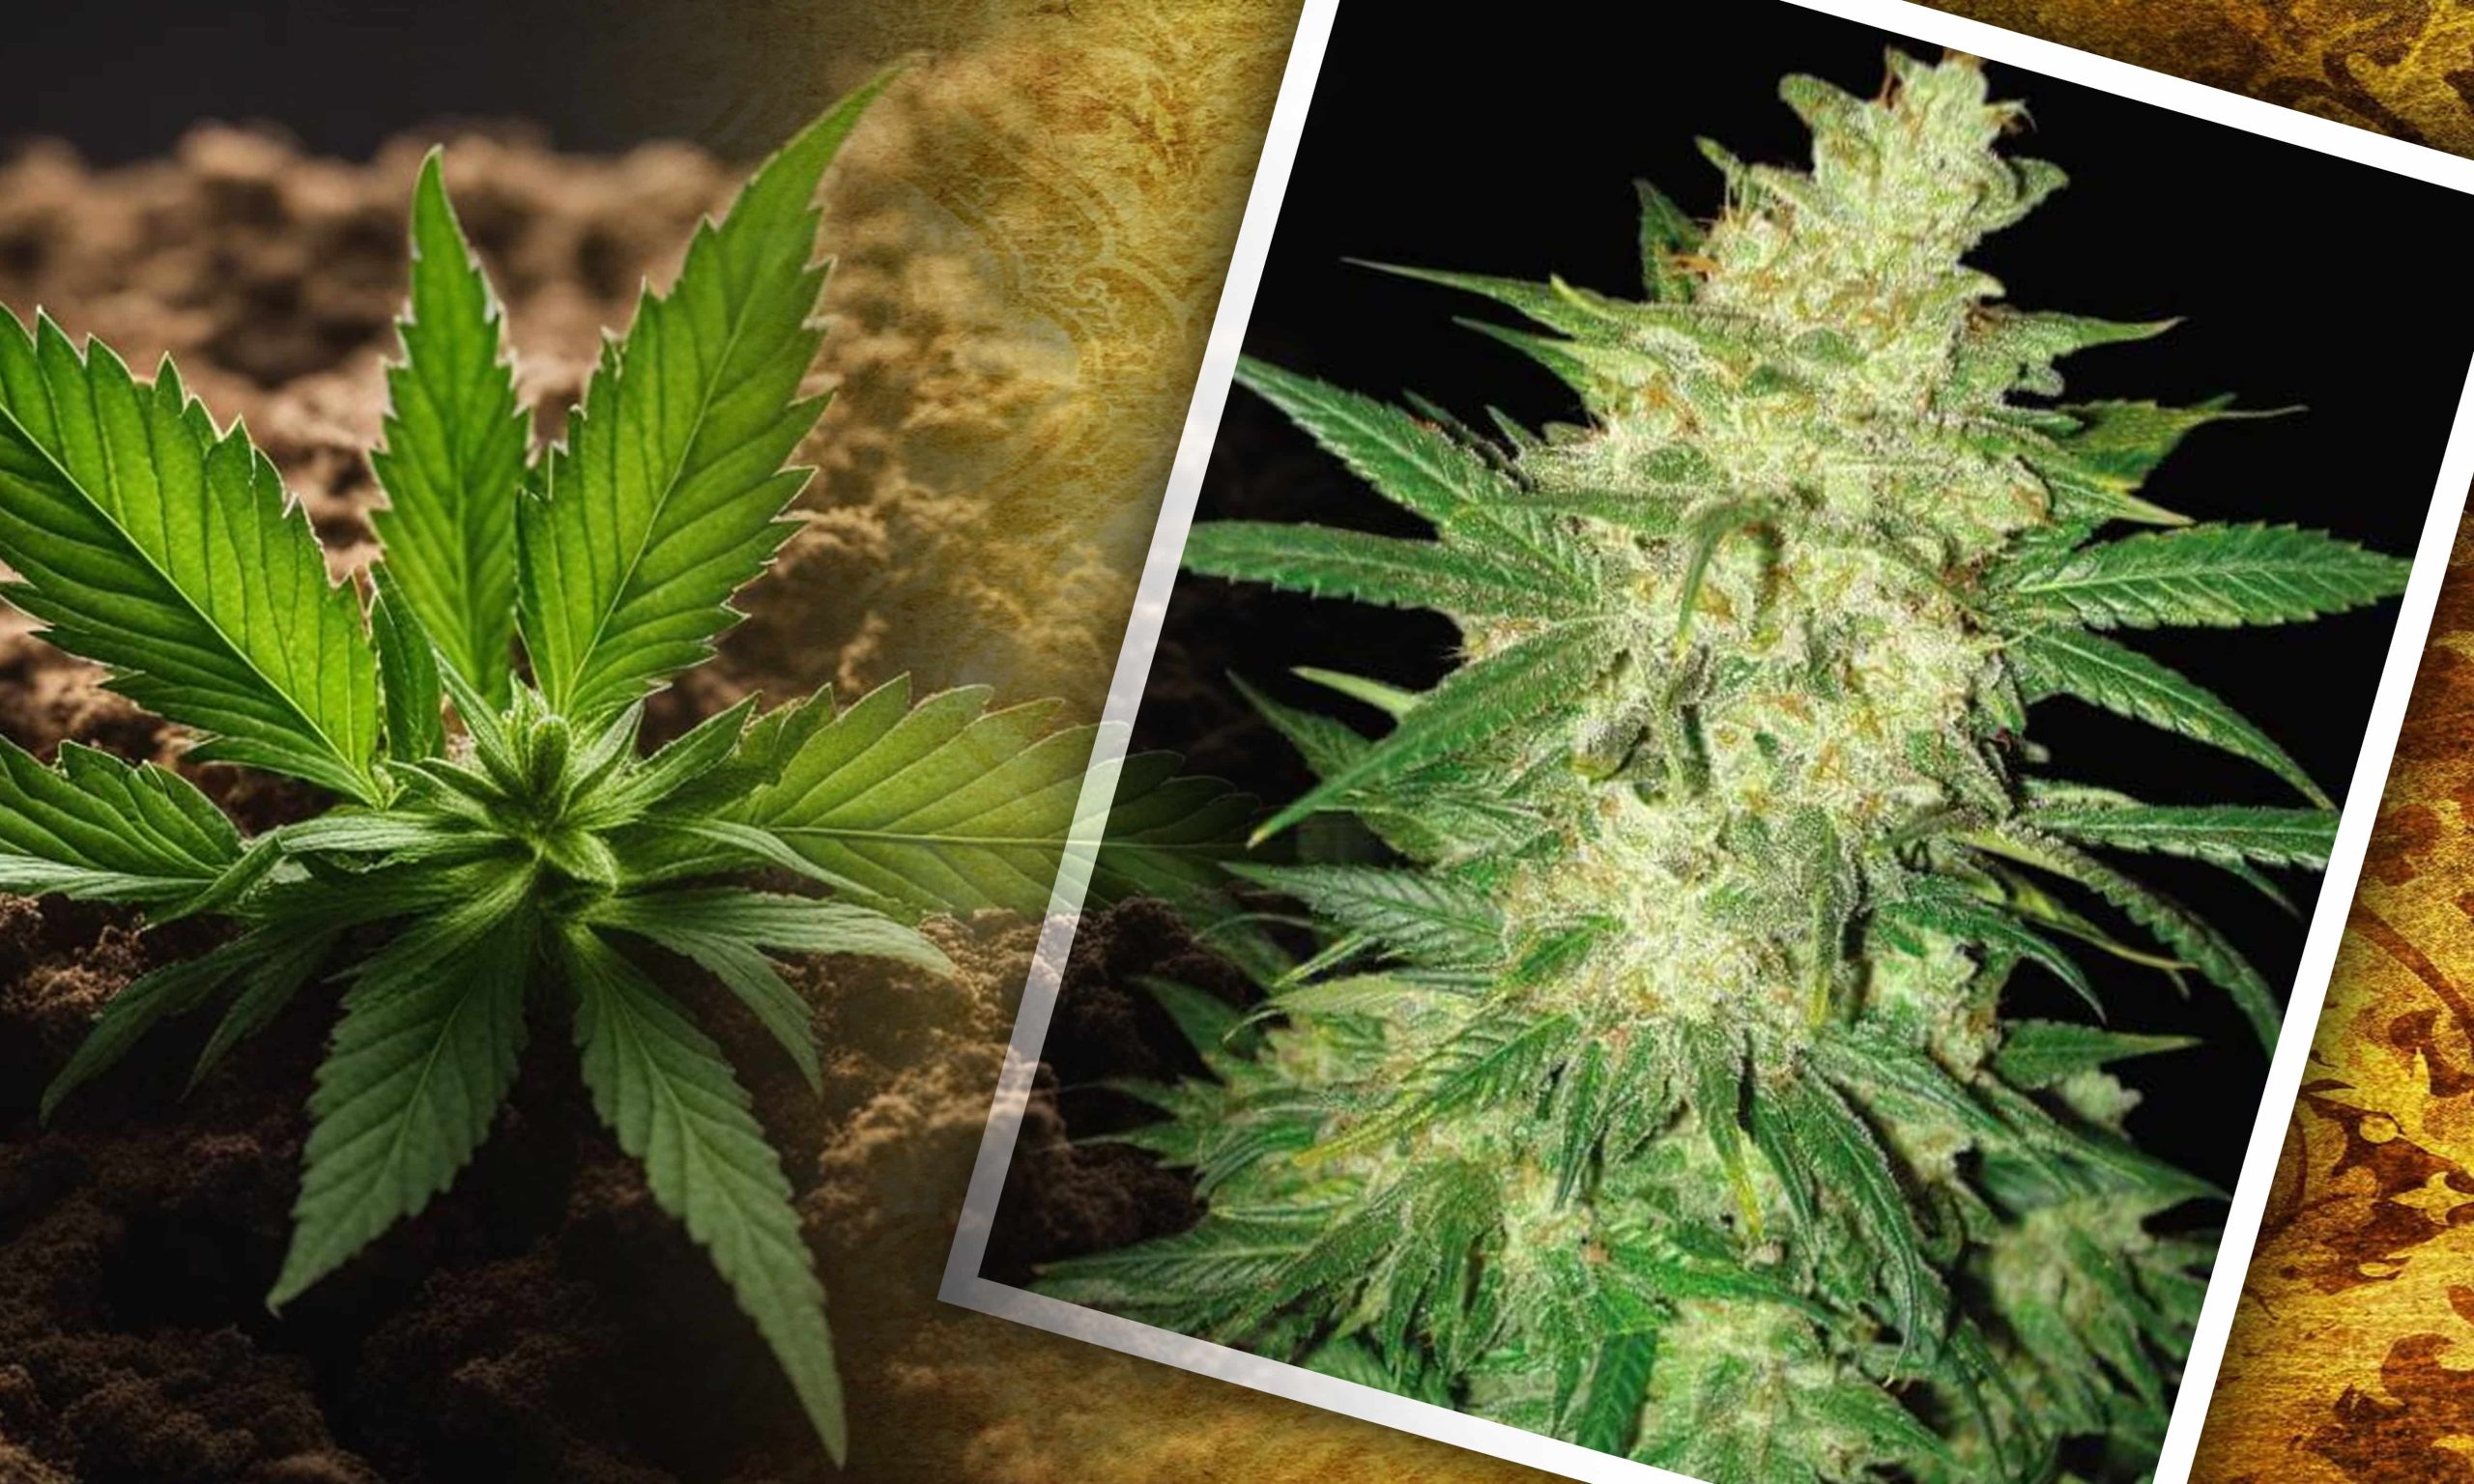
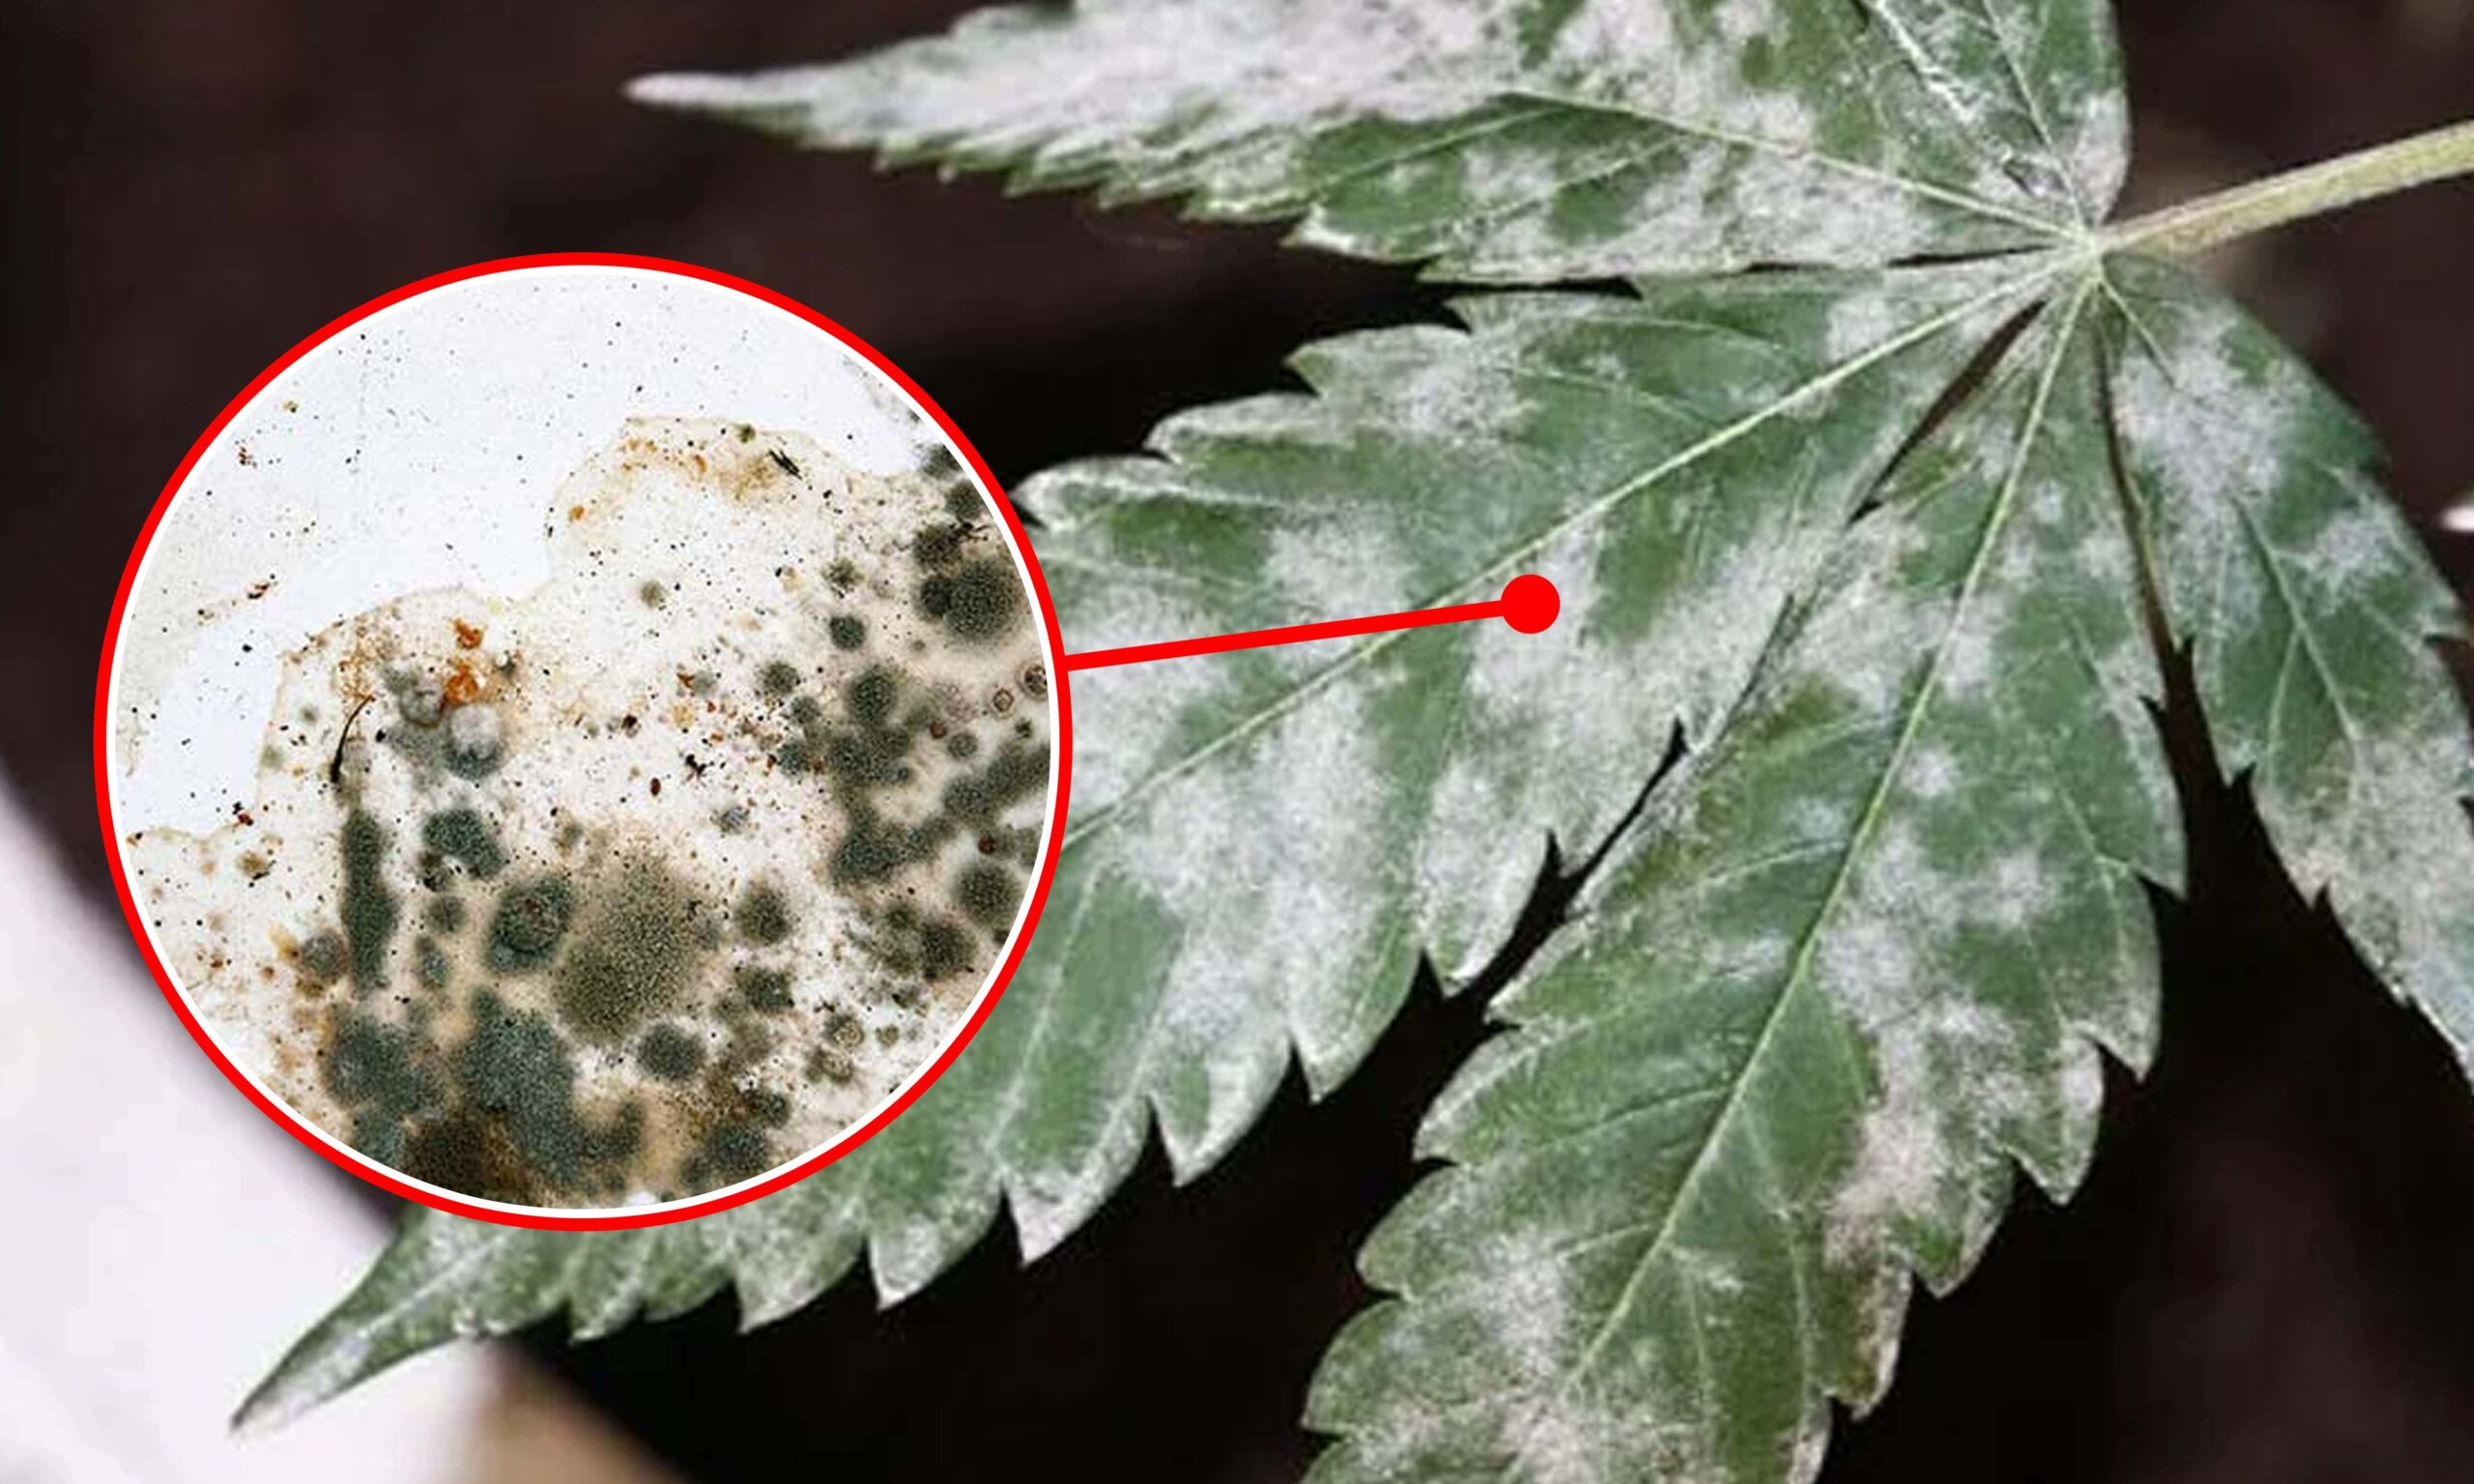
Identifying Pathogenic Mold in Weed
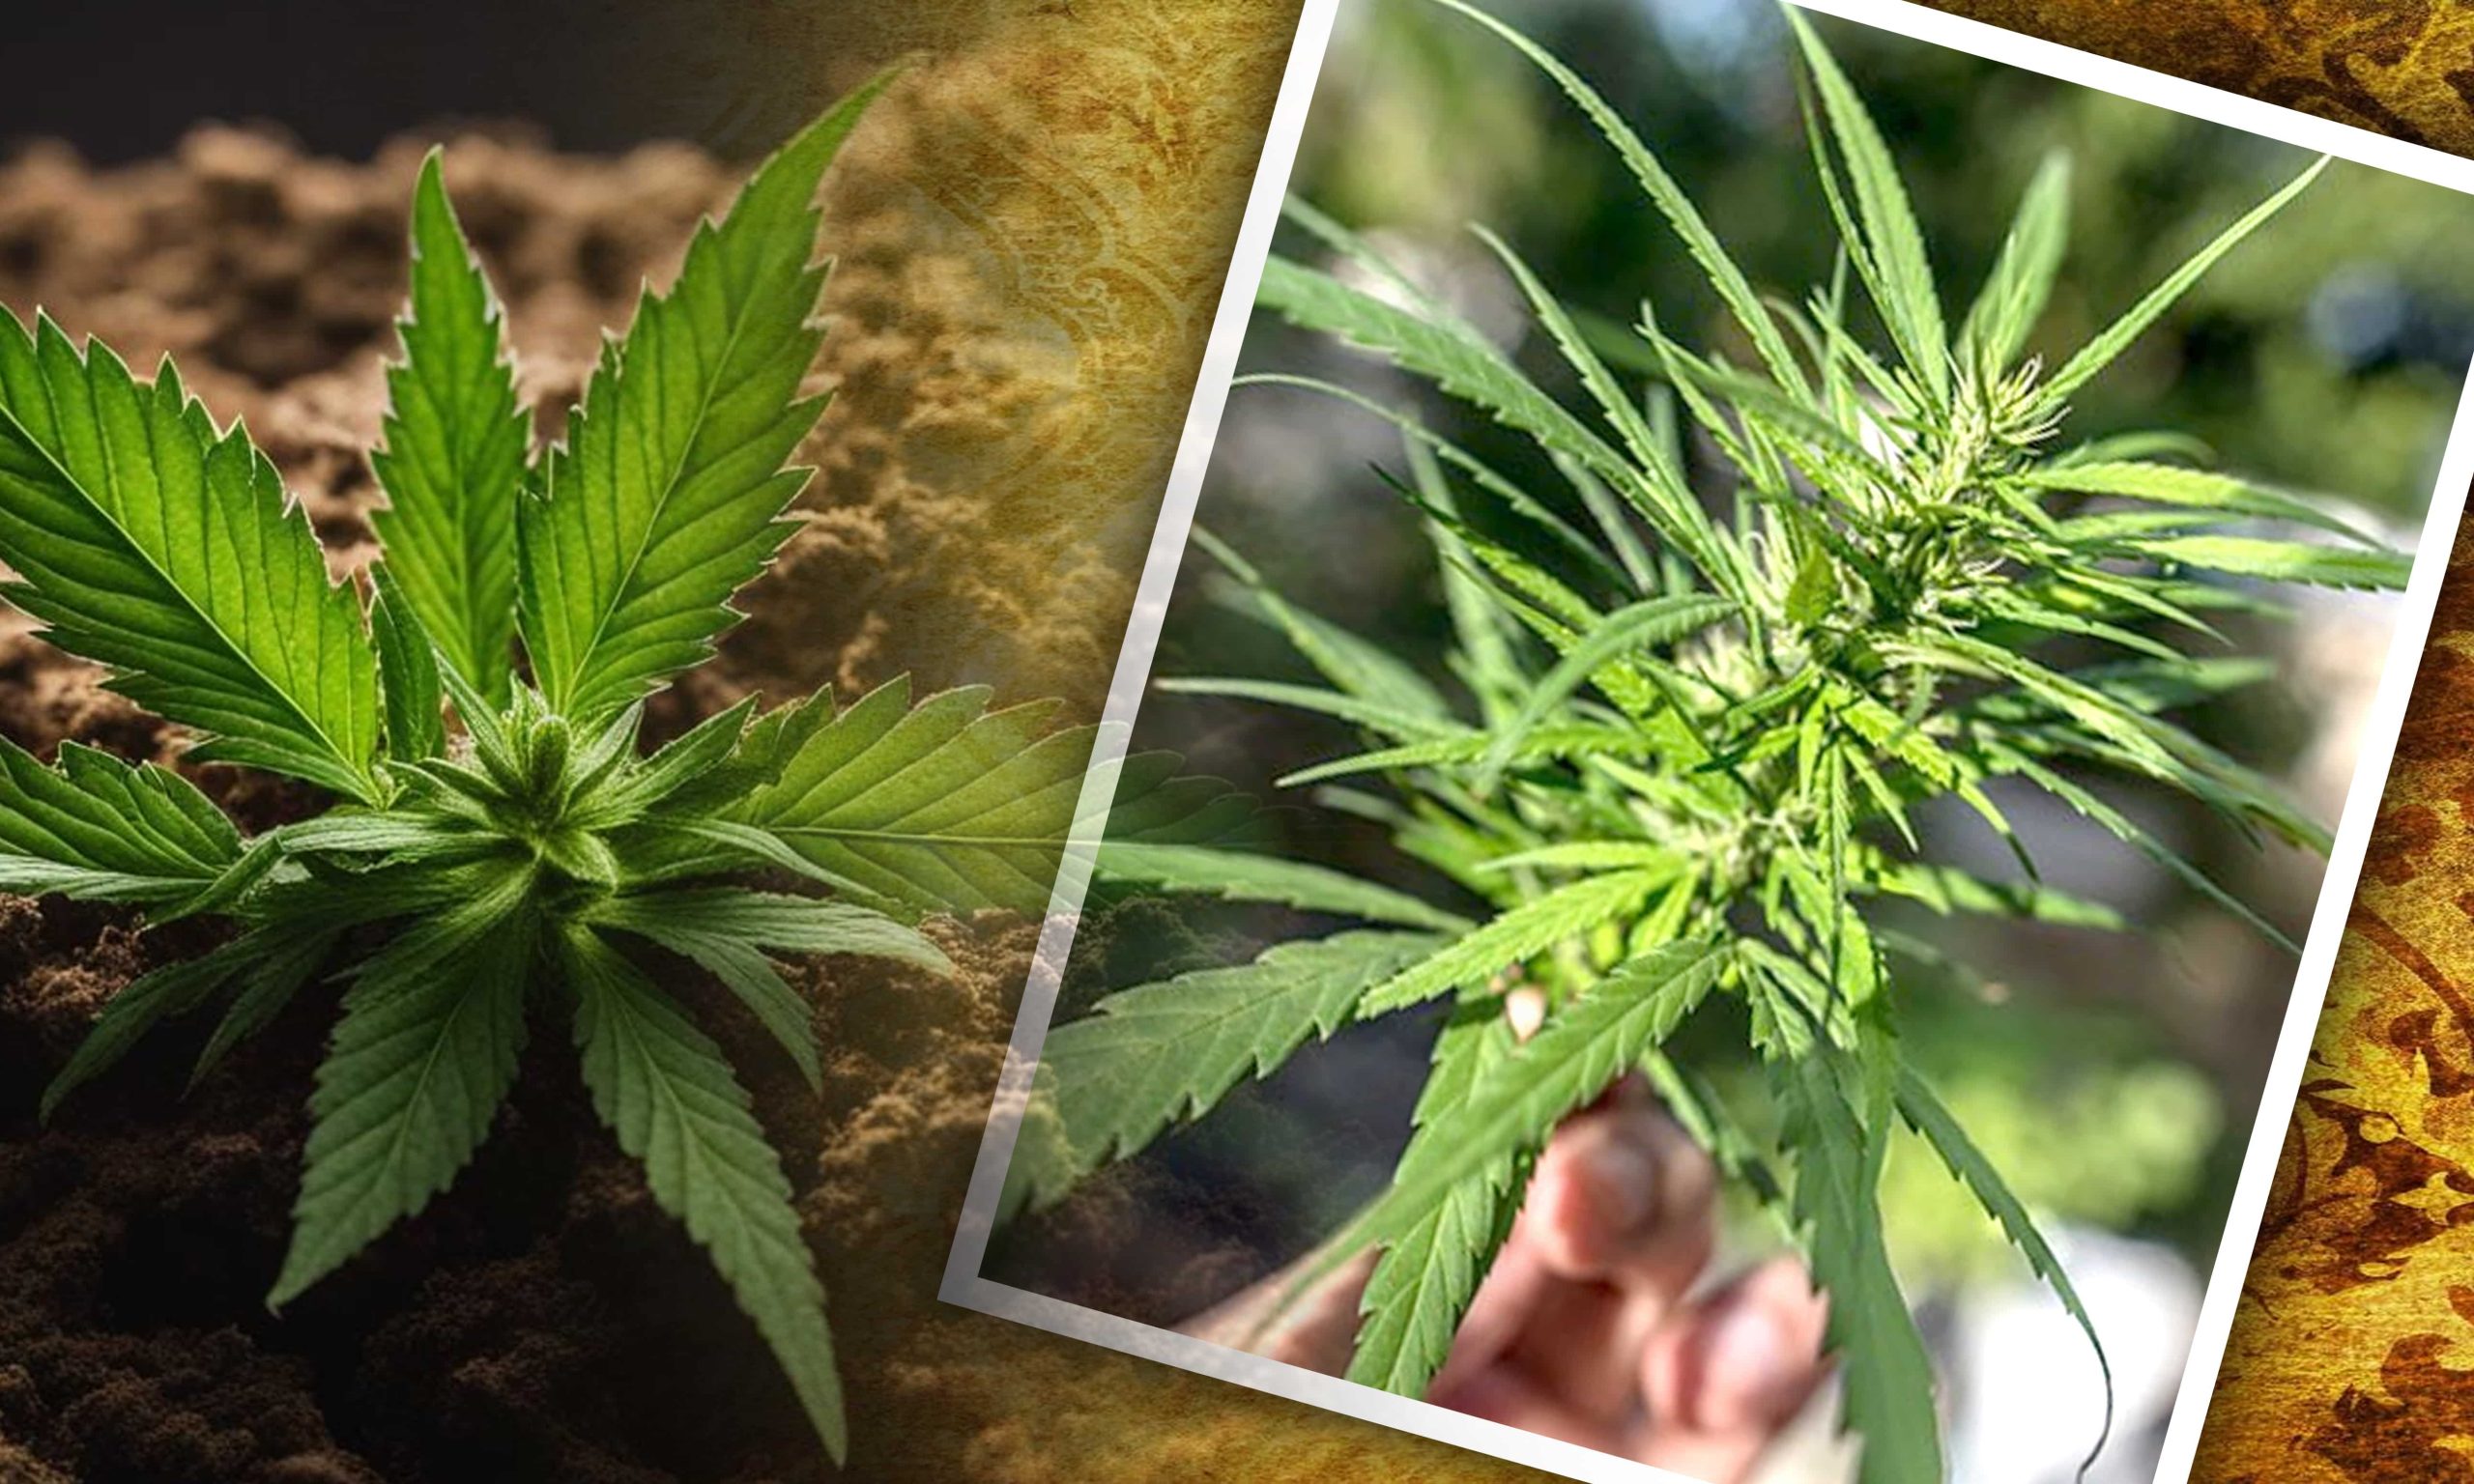
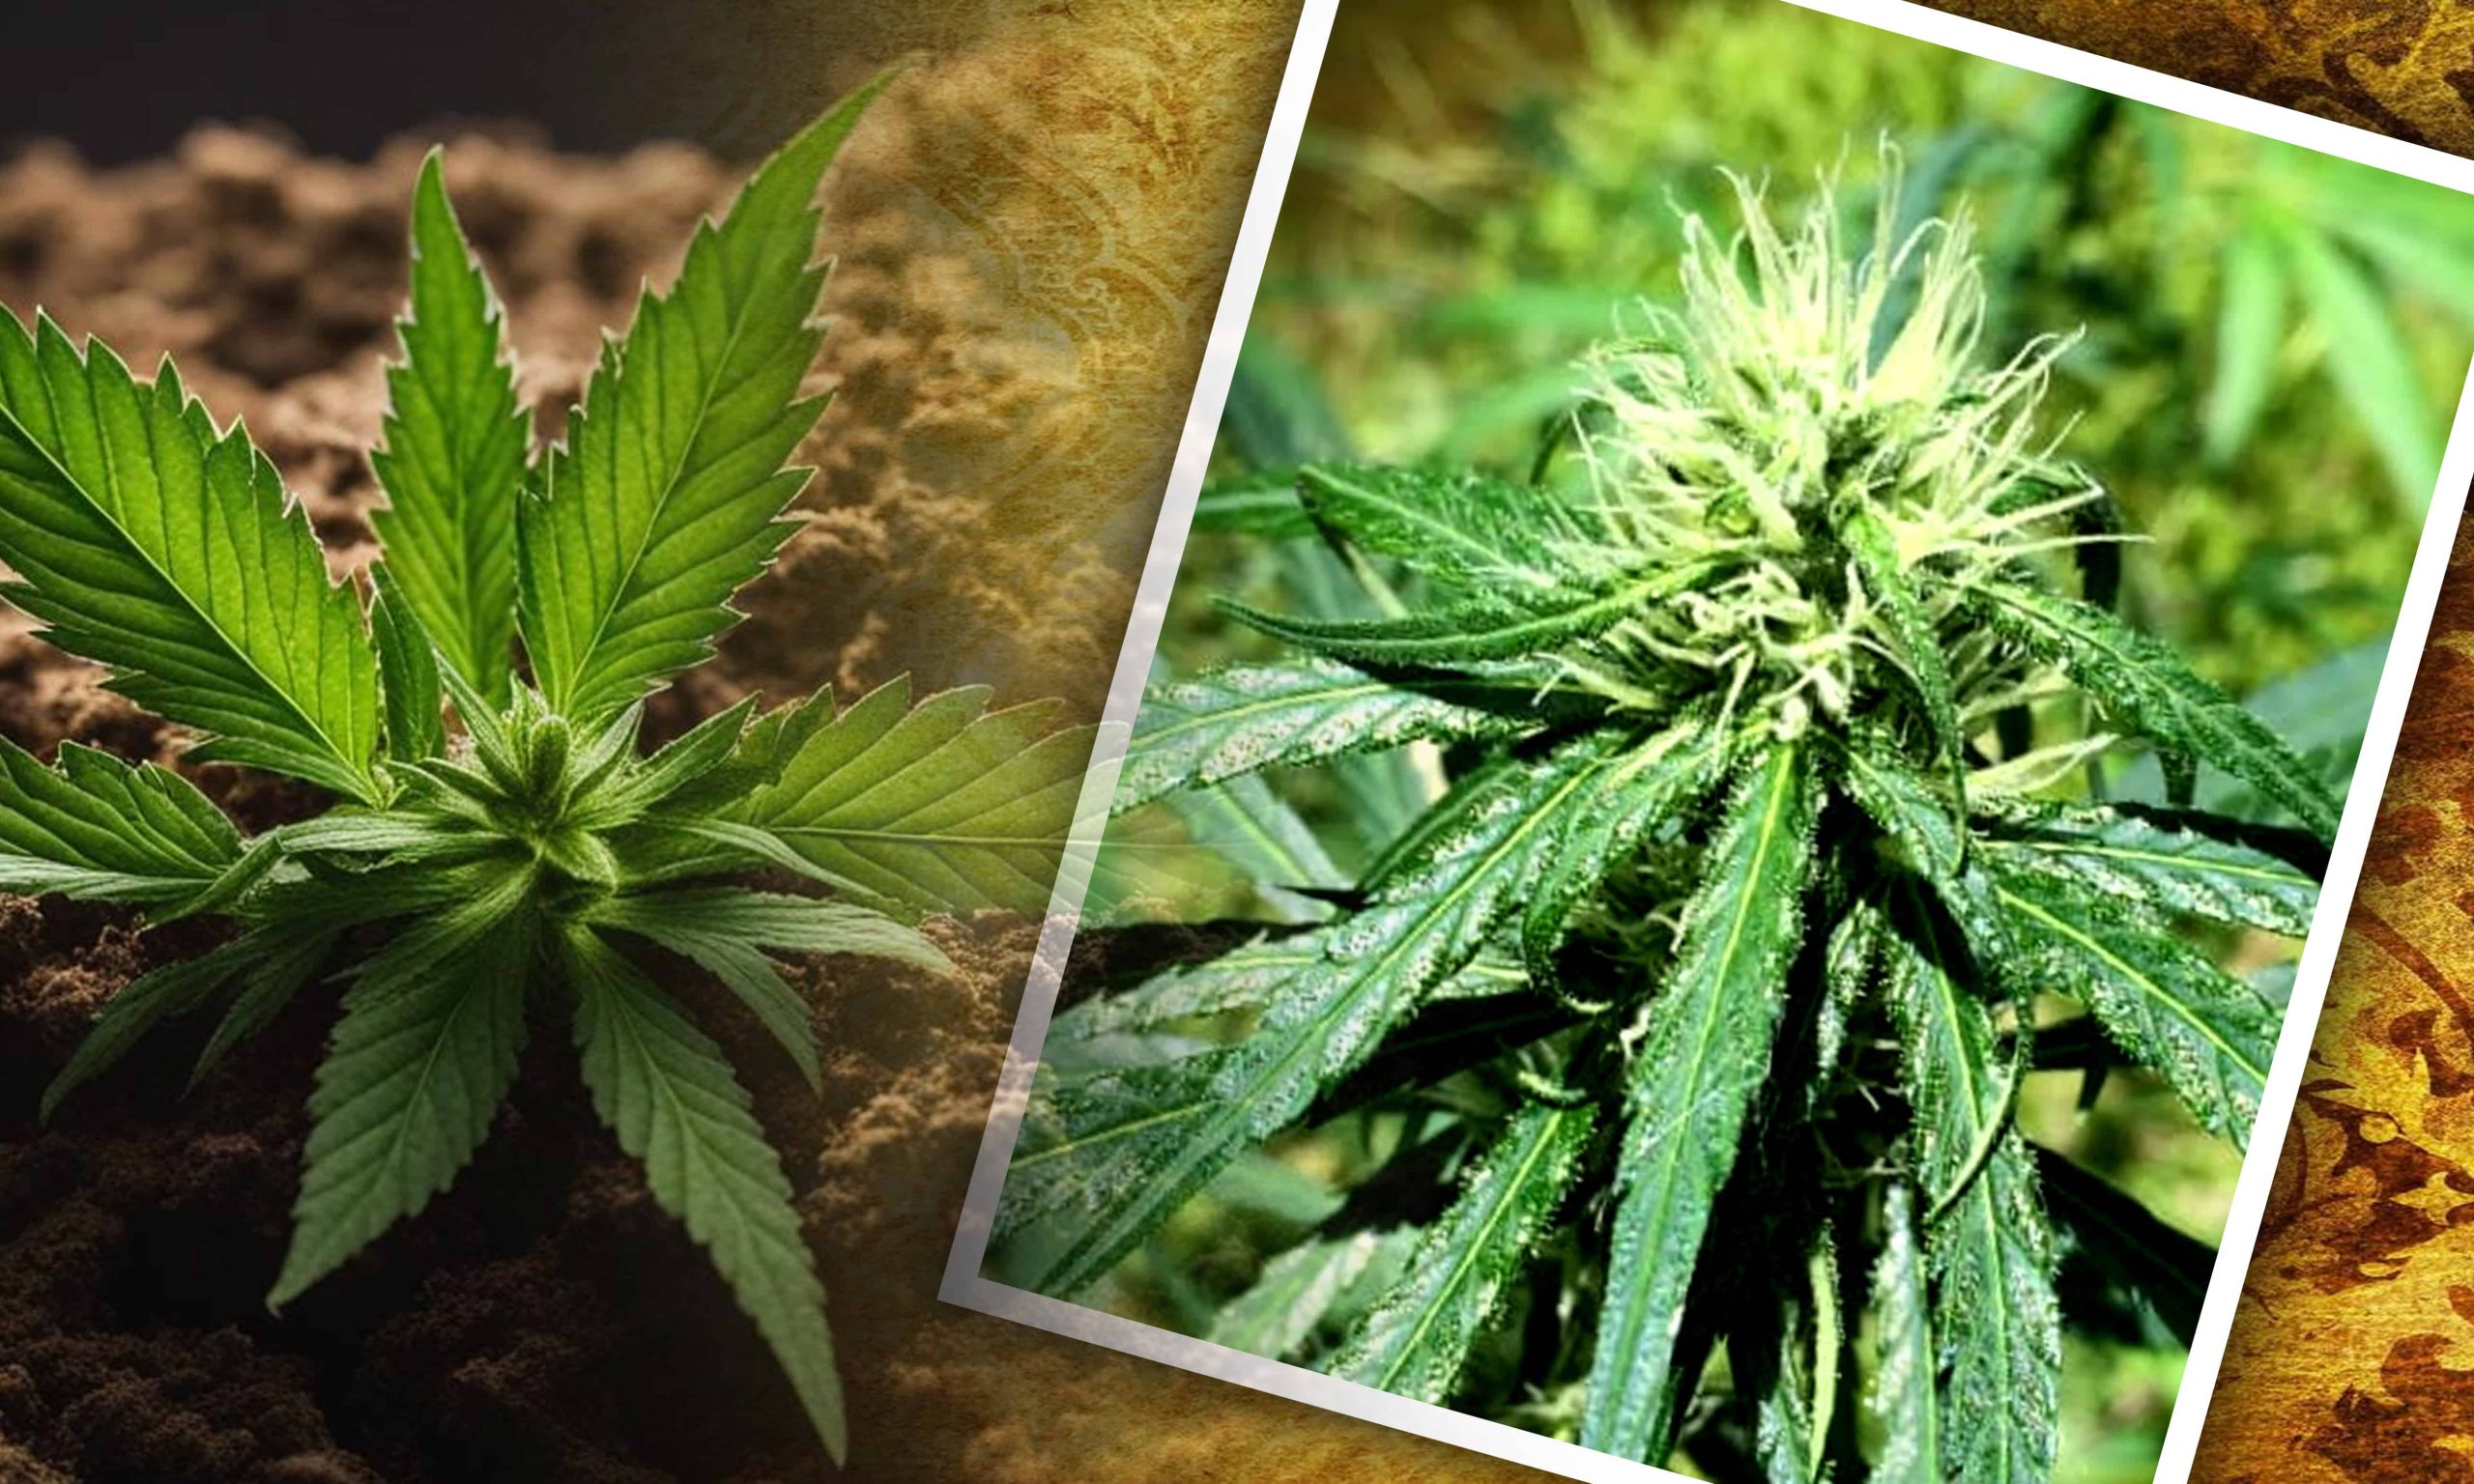
Spotting pathogenic mold in weed can be tough since it often looks like fuzzy, discolored spots on the plant or its buds. Also, moldy cannabis might smell musty or earthy. It’s crucial to check your plants often, especially during flowering, to catch mold early and deal with it.
Factors Contributing to Mold Growth
Many factors can make pathogenic mold spread in cannabis crops, such as:
- High Humidity: When humidity is high, mold can grow easily, especially in indoor growing.
- Poor Air Circulation: If air doesn’t move well, moisture can stick around, making mold more likely.
- Improper Drying and Curing: If you don’t dry and cure your cannabis properly after picking, mold spores can grow.
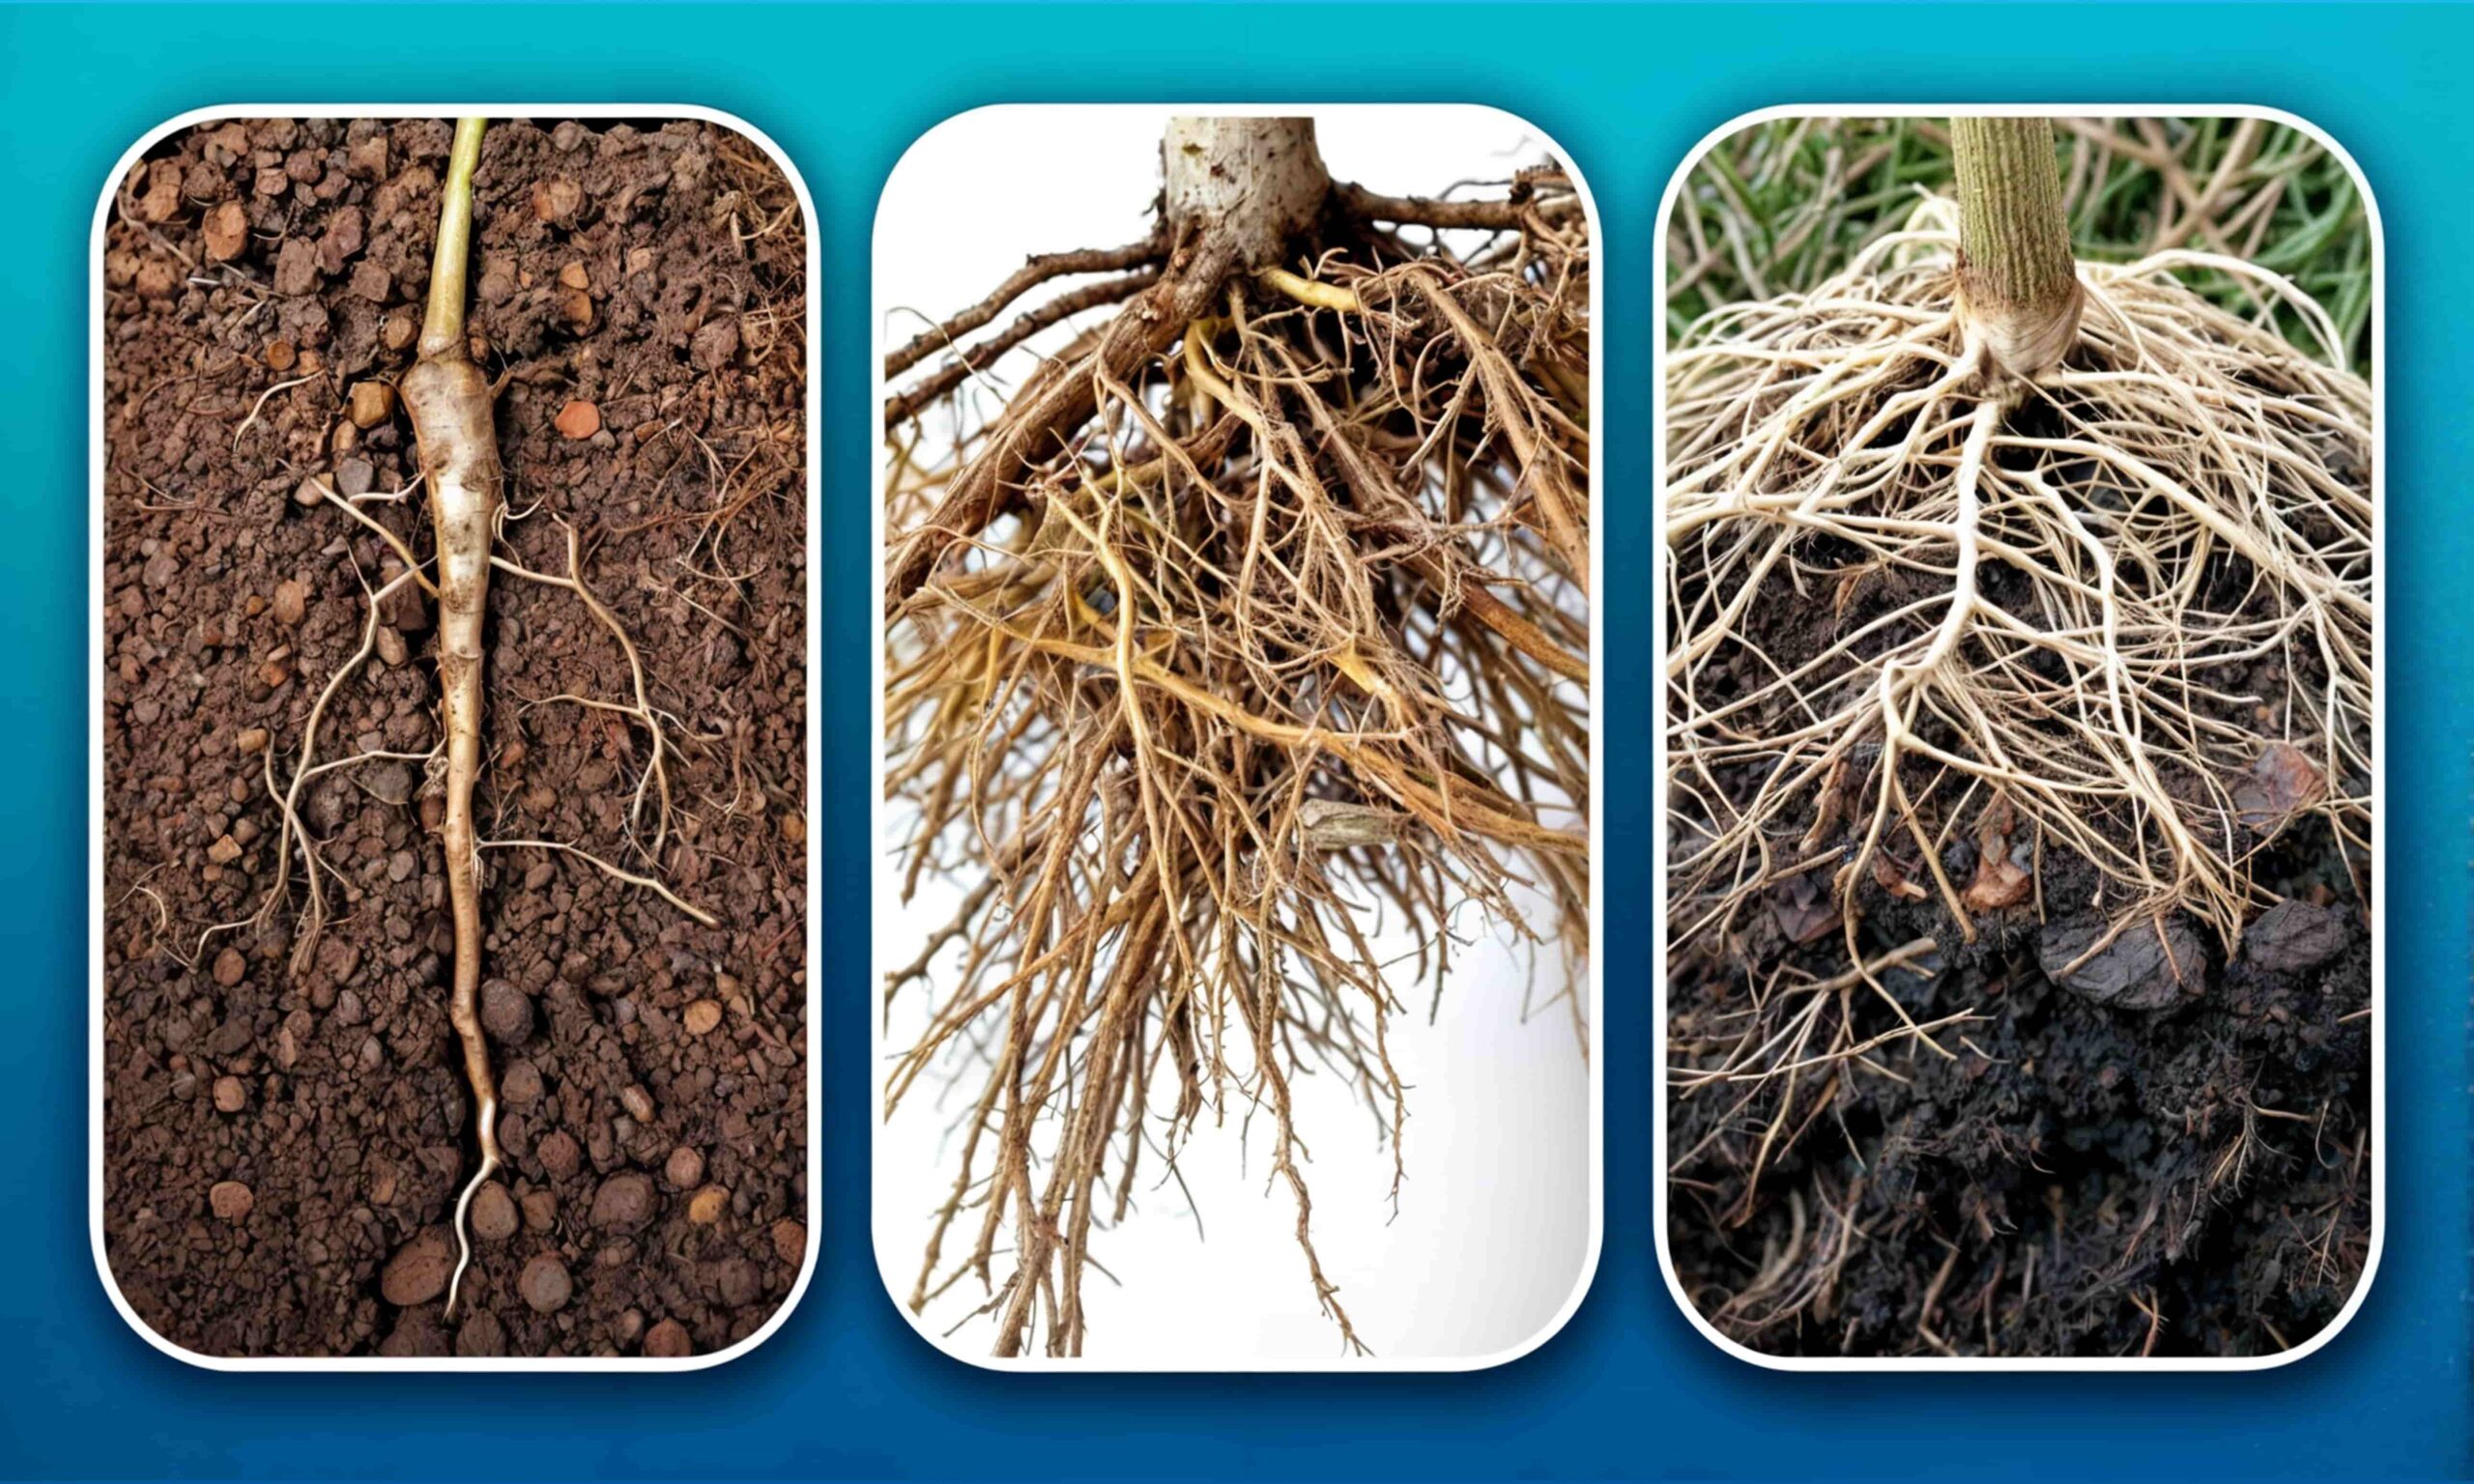
- Contaminated Growing Medium: If the soil or other stuff you grow your plants in has mold spores, they can infect your cannabis.
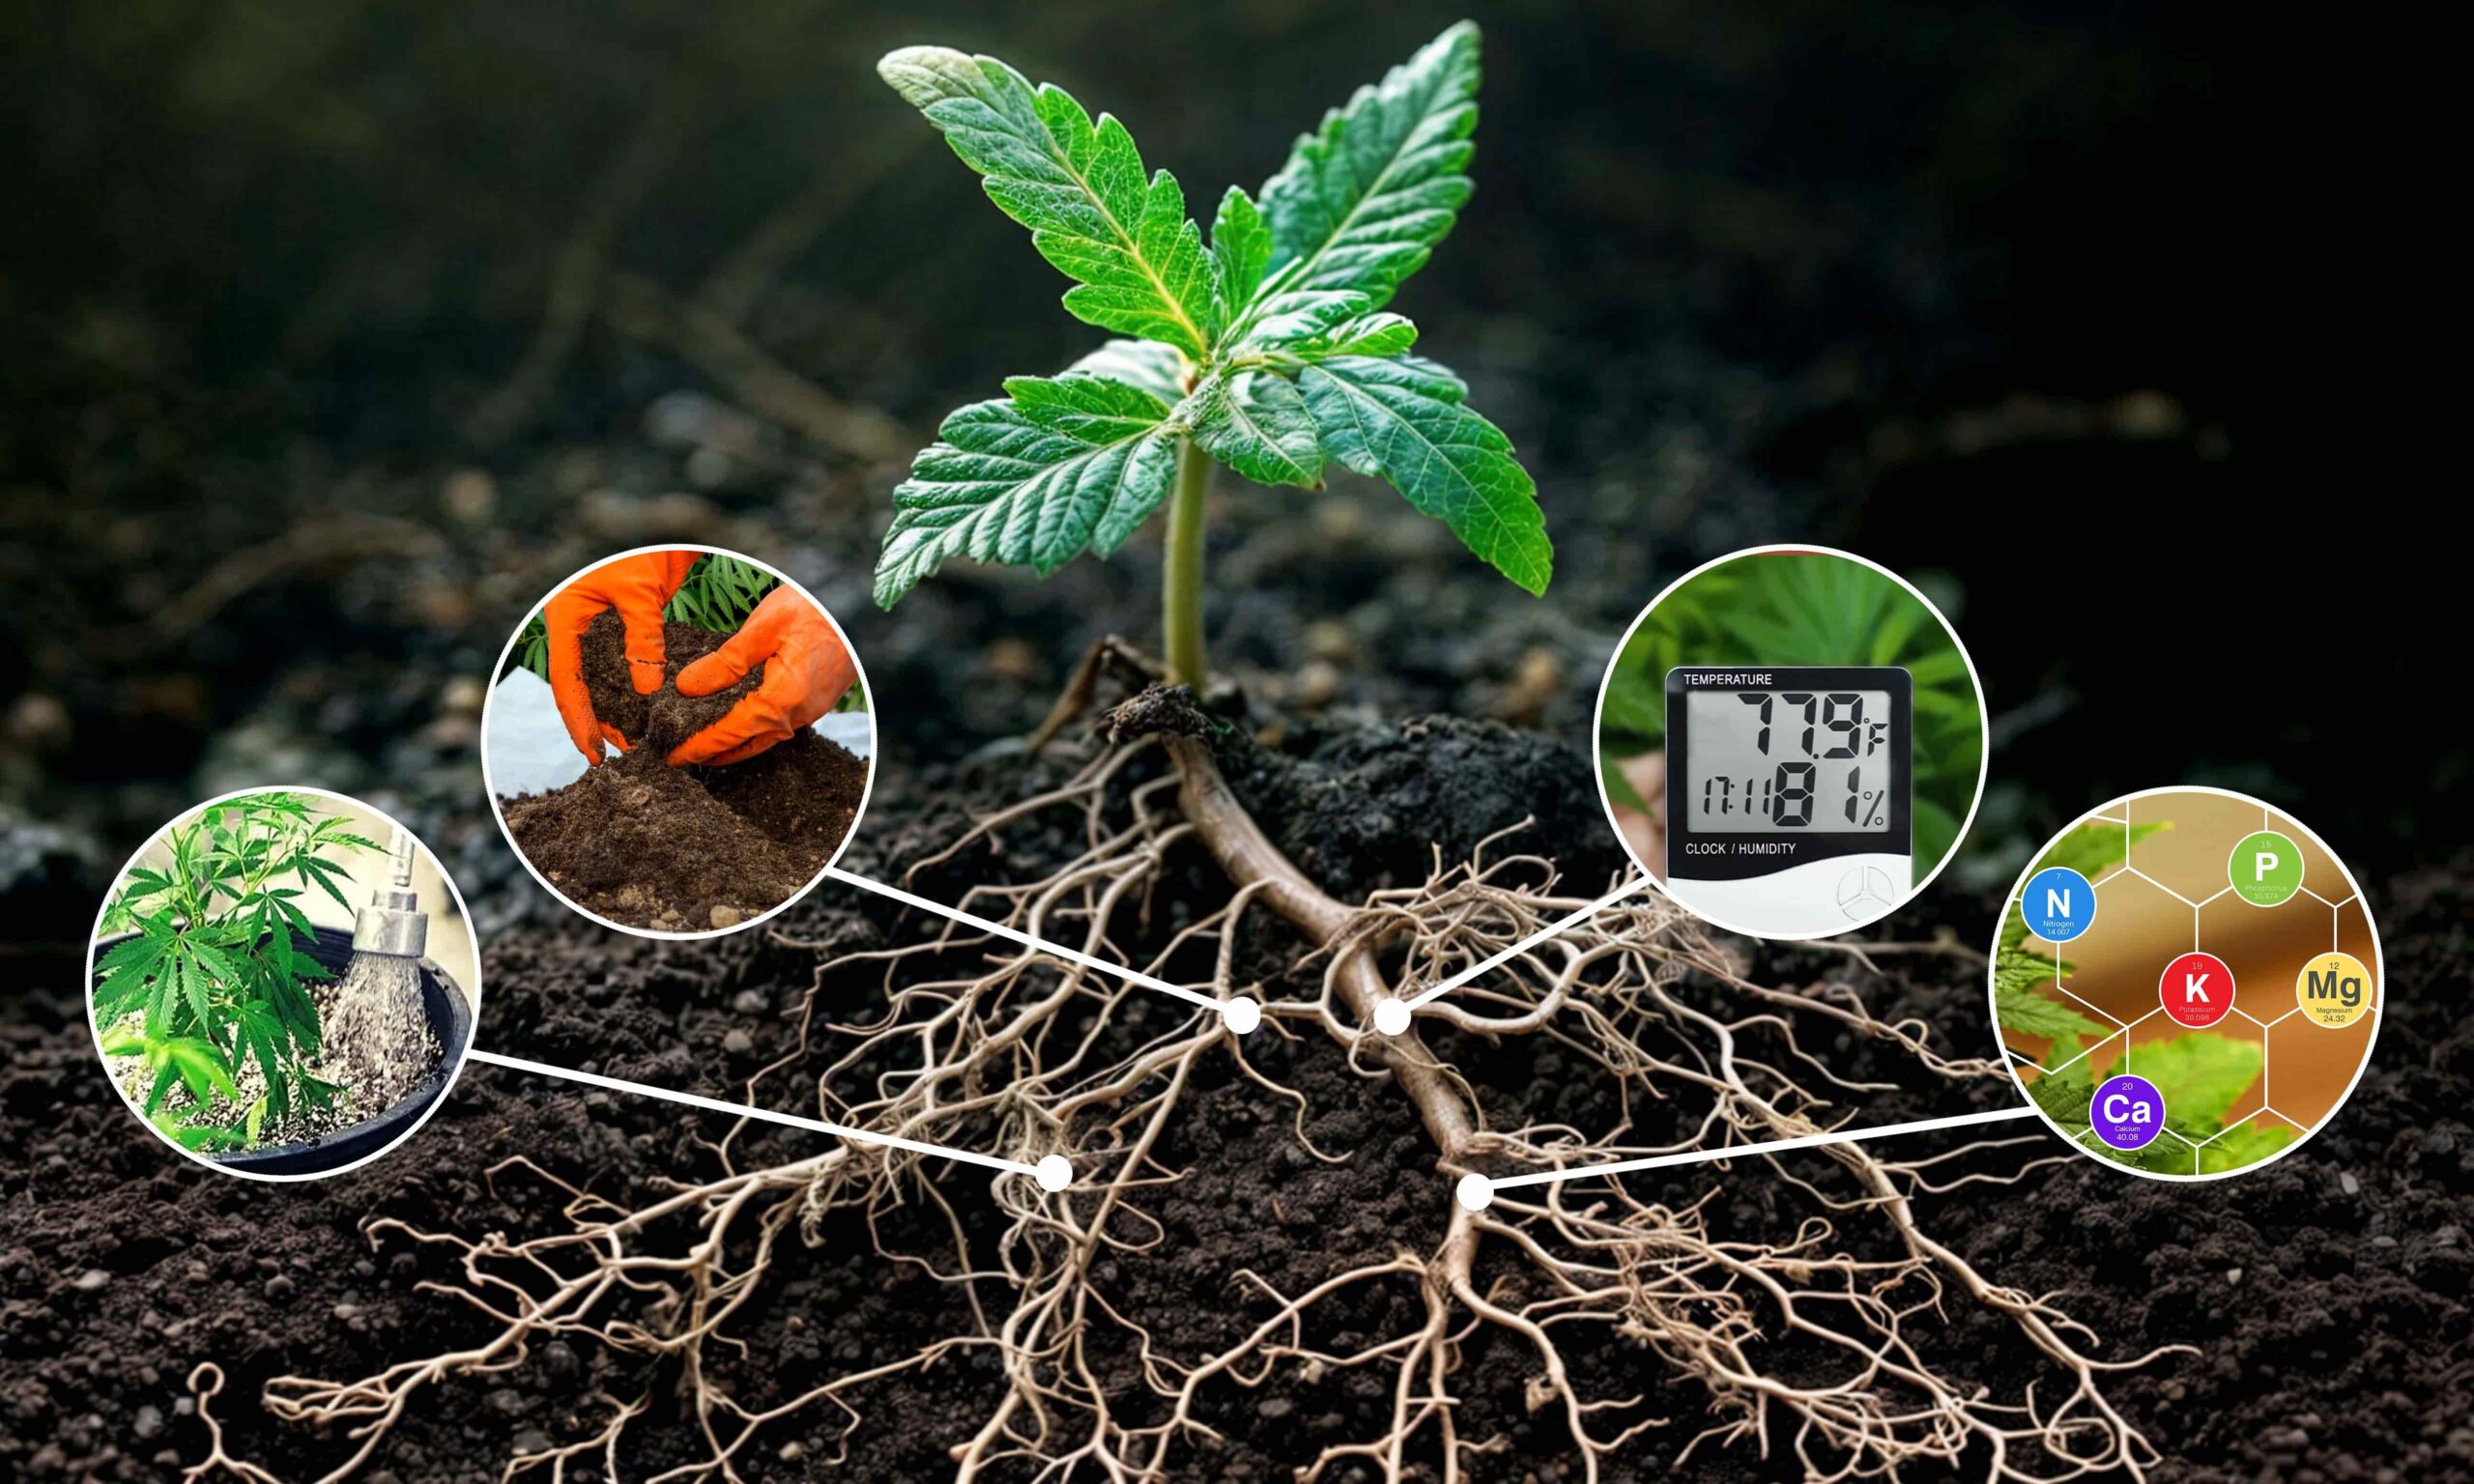
Preventive Measures for Mold Control
- Optimize Ventilation and Airflow: Make sure air moves well in your growing area by using fans and exhaust systems. Good ventilation helps control humidity and stops air from getting stuck, which can help mold grow.
- Monitor Humidity Levels: Keep an eye on humidity levels in your grow room, aiming for between 40% and 60%. Use dehumidifiers or humidifiers if you need to keep conditions just right for your plants and to keep mold away
- Practice Proper Sanitation: Keep things clean in your grow space by disinfecting equipment, surfaces, and containers regularly. Get rid of any old plant bits or stuff that mold might like to grow on.
- Implement Integrated Pest Management (IPM) Strategies: Use integrated pest management to stop pests from wrecking your plants and giving mold a way in. Use things like natural predators, organic bug killers, and other methods to keep your garden healthy.
Effective Treatment Methods for Pathogenic Mold
- Pruning and Removal of Infected Plant Parts: When you find mold on your plants, get rid of the infected bits right away using clean tools to stop spores from spreading. Cut off any moldy leaves, buds, or stems, and throw them out properly so they don’t infect anything else.
- Application of Natural Antifungal Agents: You can use natural stuff like neem oil, hydrogen peroxide, or potassium bicarbonate to fight mold on your cannabis plants. These things stop mold from growing without hurting your plants or the environment around them.
- Adjustment of Environmental Conditions: Change things up in your grow space for a bit to make it harder for mold to grow. Lower humidity and get more air moving to help your plants heal and stop mold from spreading.
Conclusion
Treating pathogenic mold in weed is crucial for keeping cannabis products top-notch and safe. By taking steps to prevent mold, dealing with it quickly when it shows up, and keeping everything clean, growers can protect their crops and have a good harvest. Always make sure your cannabis is safe for consumers and follows the rules when you grow and sell it.
FAQs
Q: Can moldy cannabis be safely consumed after treatment?
A: It is not advisable to consume cannabis that has been contaminated with mold, even after treatment. Mold spores and toxins can persist despite treatment efforts, posing health risks to consumers.
Q: How can I prevent mold recurrence in my cannabis crops?
A: Implementing rigorous sanitation practices, optimizing growing conditions, and regularly inspecting plants for signs of mold are essential for preventing recurrence. Additionally, maintaining proper airflow and humidity levels can help minimize mold risk.
Q: Are there any natural methods for controlling mold in cannabis cultivation?
A: Yes, several natural methods, such as using essential oils, beneficial microbes, and biological fungicides, can help control mold in cannabis cultivation. These methods offer effective alternatives to chemical treatments while promoting environmental sustainability.
Q: Can moldy cannabis be salvaged for extraction purposes?
A: Moldy cannabis should not be used for extraction purposes, as mold spores and toxins can contaminate the final product, posing health hazards to consumers. It is best to discard mold-infested material to ensure product safety.
Q: How does mold exposure affect cannabis plants’ yield and potency?
A: Mold infestations can significantly reduce cannabis plants’ yield and potency by inhibiting growth, compromising nutrient uptake, and producing stress responses. Additionally, mold-contaminated buds may exhibit decreased cannabinoid and terpene content.
Q: What are the legal implications of selling mold-contaminated cannabis products?
A: Selling mold-contaminated cannabis products is illegal in regulated markets, as it poses health risks to consumers and violates quality control standards. Cultivators and dispensaries are subject to regulatory penalties for distributing tainted products.