Learn To Grow Cannabis
Growing cannabis can become a fulfilling part of your lifestyle, and learning how to grow it successfully is an essential skill for any cultivator. In this guide, we’ll walk you through the critical stages, from germination all the way to drying and curing your buds.
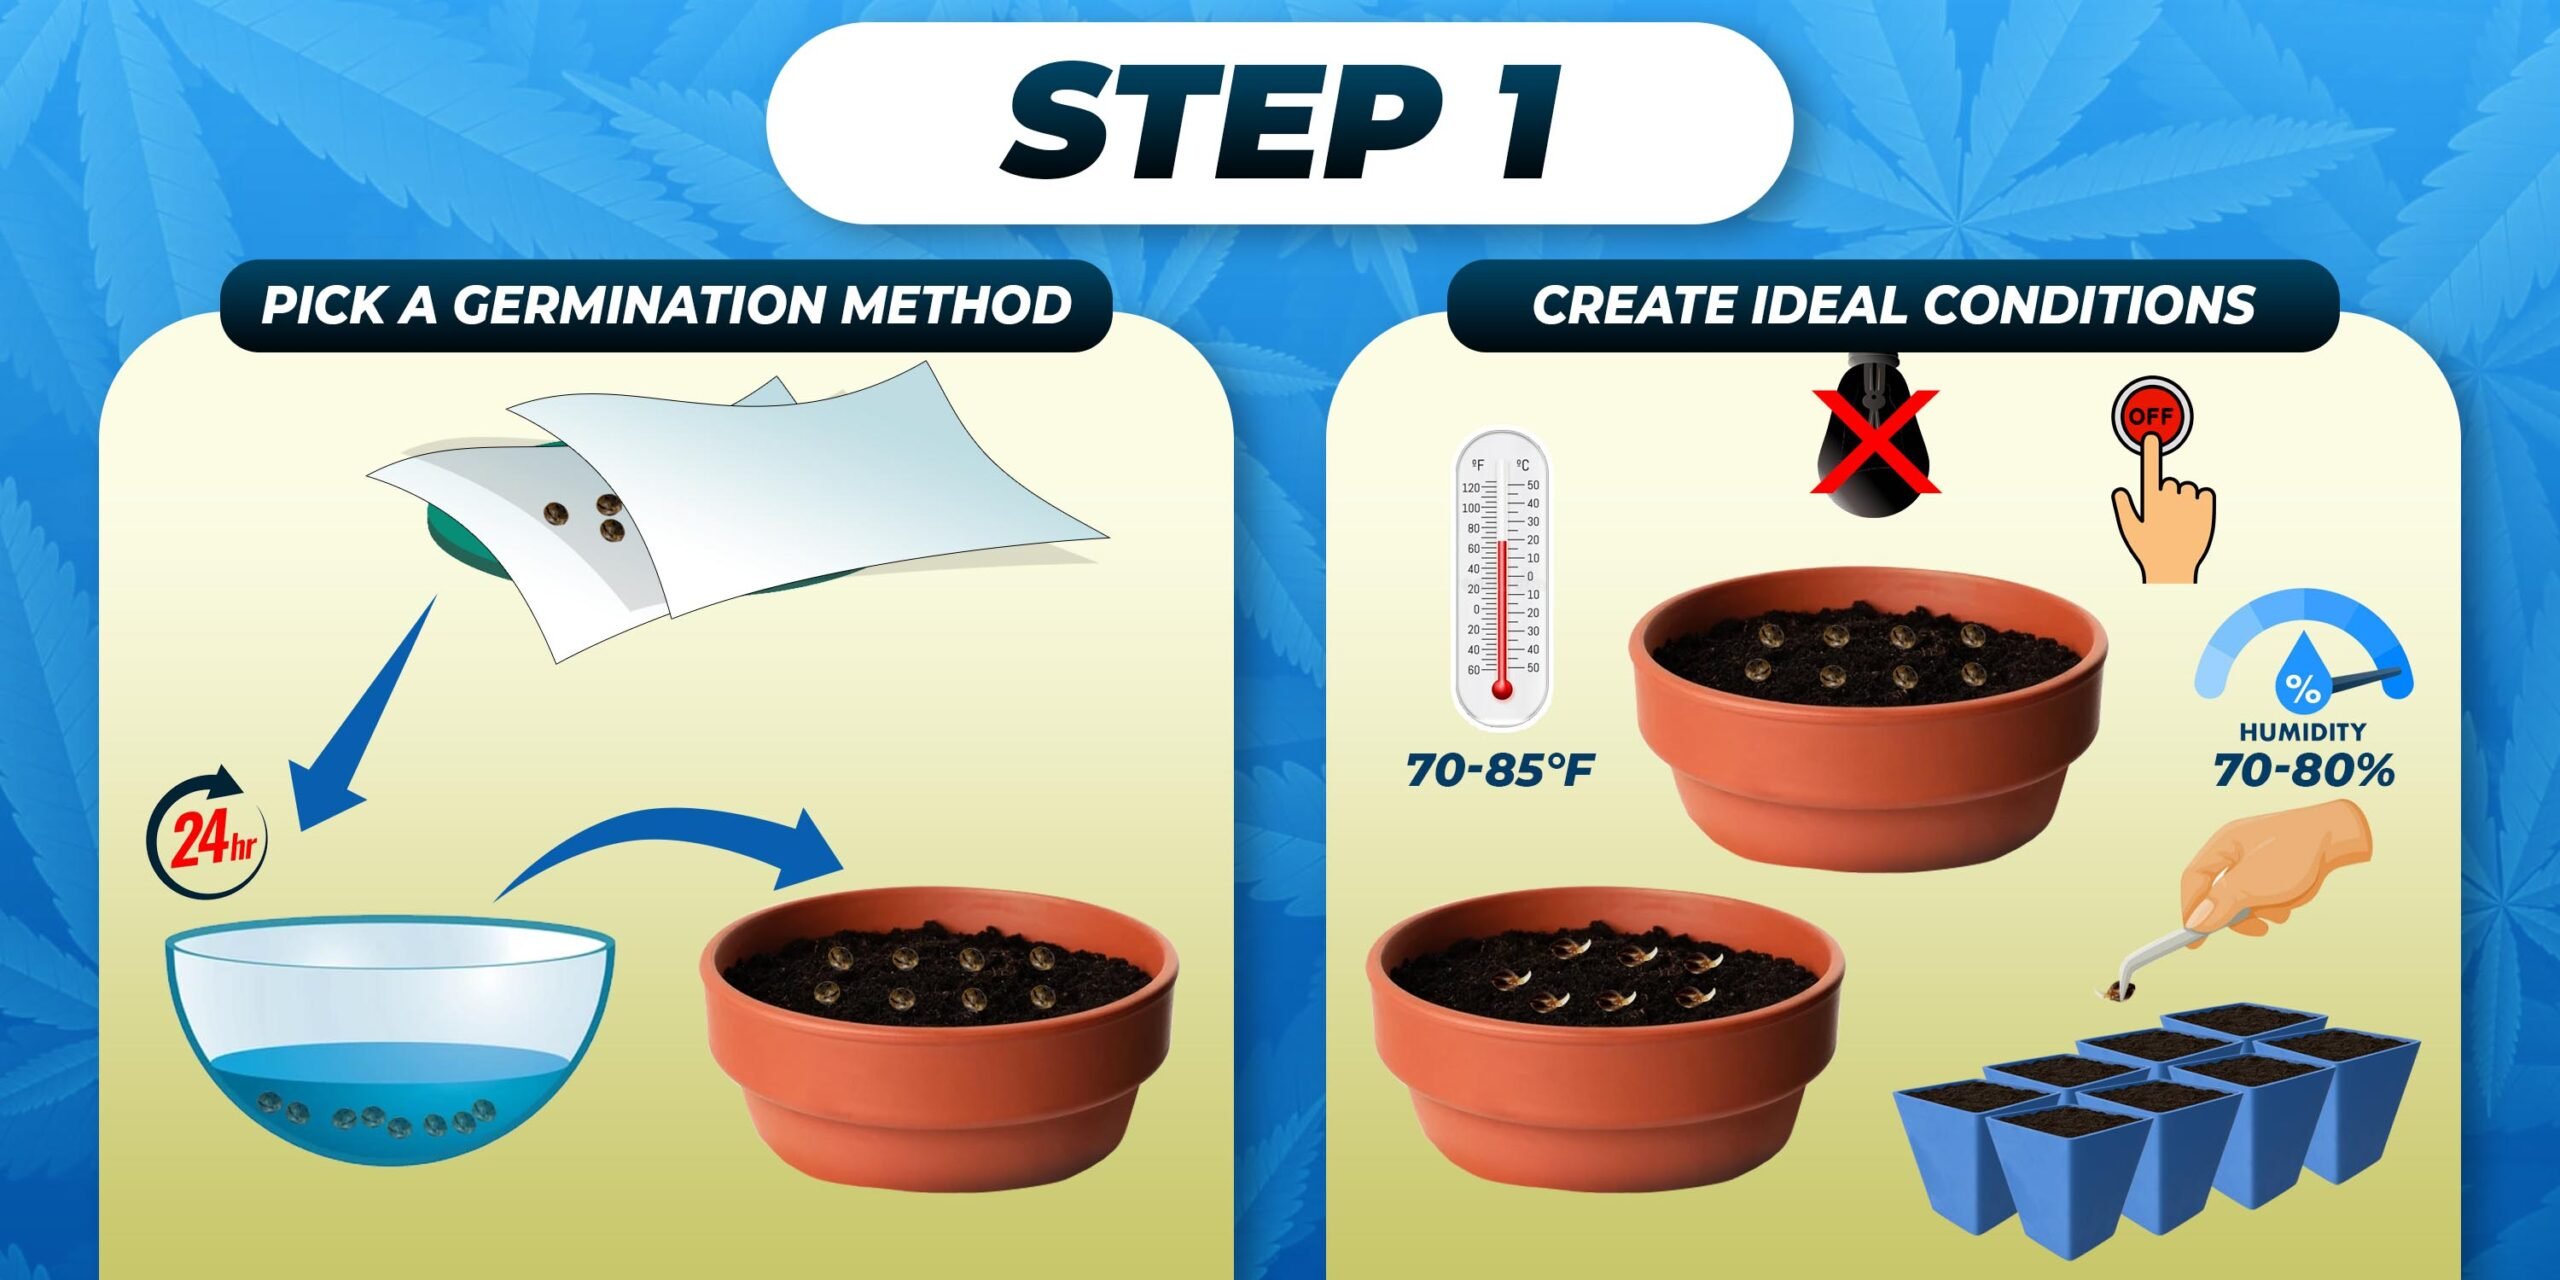
Step 1: Germination
Choose Quality Seeds Start with healthy seeds that are brown, firm, and have a slight sheen, as these are most likely to sprout successfully. Browse high-quality cannabis seeds here.
Pick a Germination Method
- Paper Towel Method: Place seeds between two damp paper towels, keeping them in a warm, dark area (70-85°F). Check daily for the taproot to appear.
- Soaking Method: Soak seeds in water for up to 24 hours. Once they sink and crack open, they’re ready to plant.
- Direct Soil Method: Plant seeds about half an inch into moist soil. Keep the soil dark and warm until seedlings sprout. Learn more about germination techniques here.
Create Ideal Conditions
- Temperature: 70-85°F (21-29°C)
- Humidity: 70-80% Store the seeds in darkness until they sprout.
Monitor for Growth Once the taproot shows, it’s time to transfer the seeds to your growing medium.
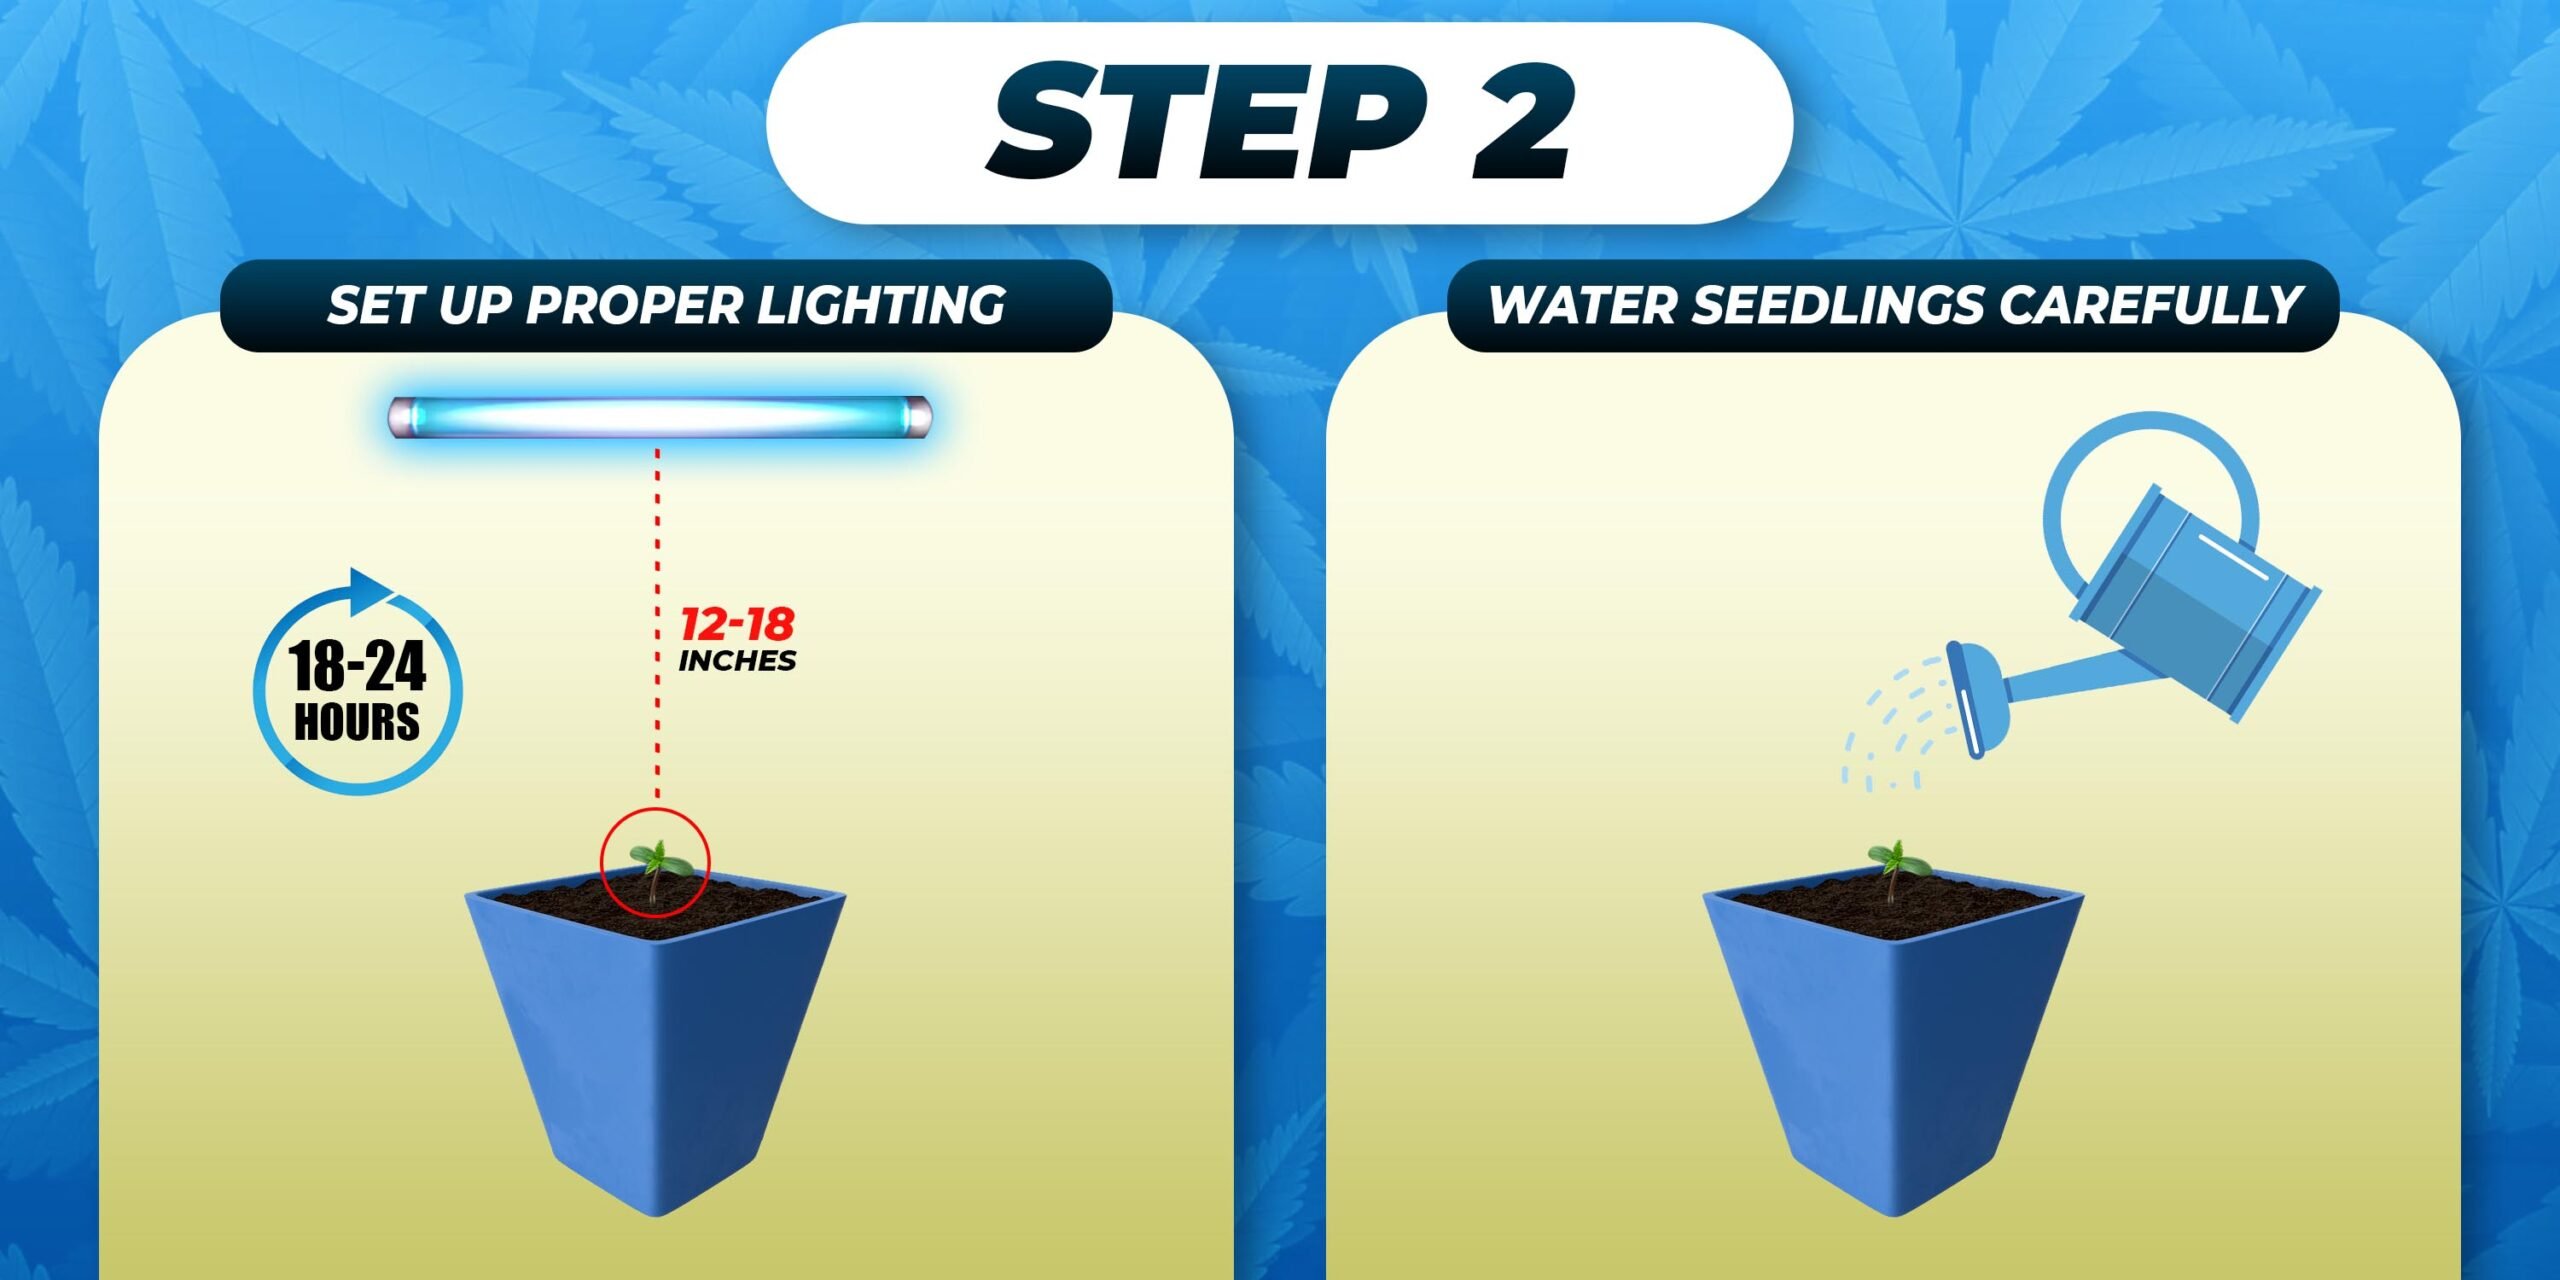
Step 2: Seedling Stage
Set Up Proper Lighting Use CFL or LED lights to protect the seedlings from heat damage. Keep the lights about 12-18 inches from the plants, and provide 18-24 hours of light each day for the best results.
Water Seedlings Carefully Keep the soil slightly moist, avoiding overwatering. Water only when the top inch of soil feels dry.
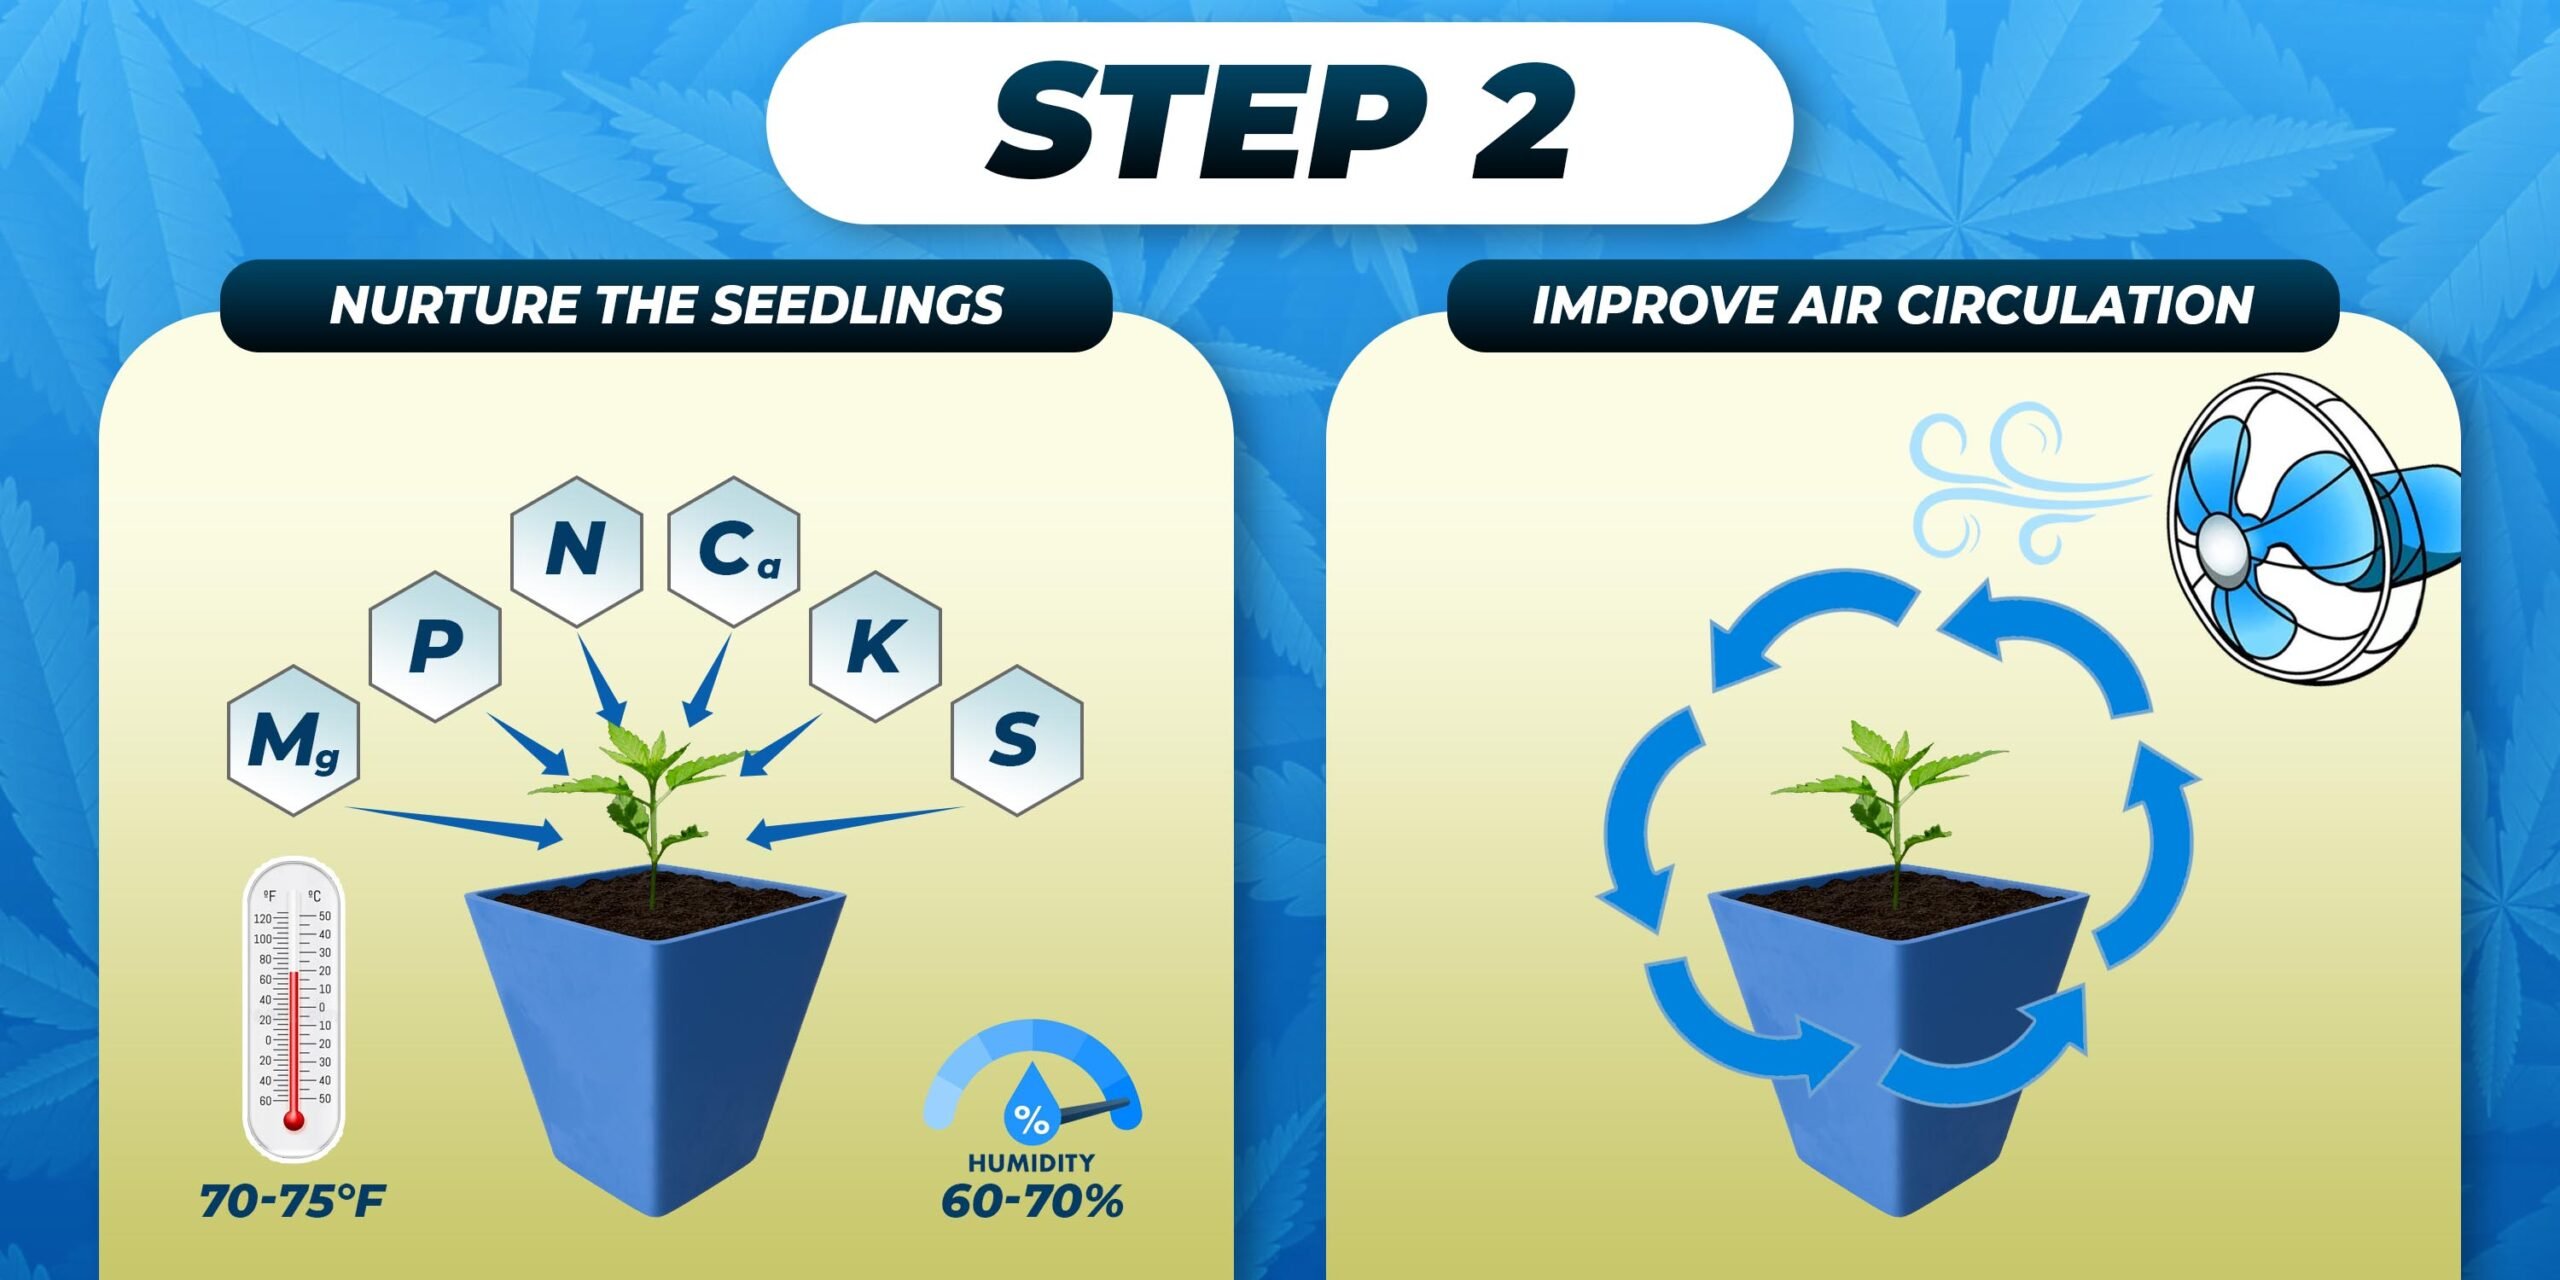
Nurture the Seedlings Once they have several true leaves, start feeding with a gentle, nitrogen-rich fertilizer. Maintain a temperature of 70-75°F (21-24°C) and humidity between 60-70%.
Improve Air Circulation Use a small fan to help strengthen the stems and prevent mold growth.
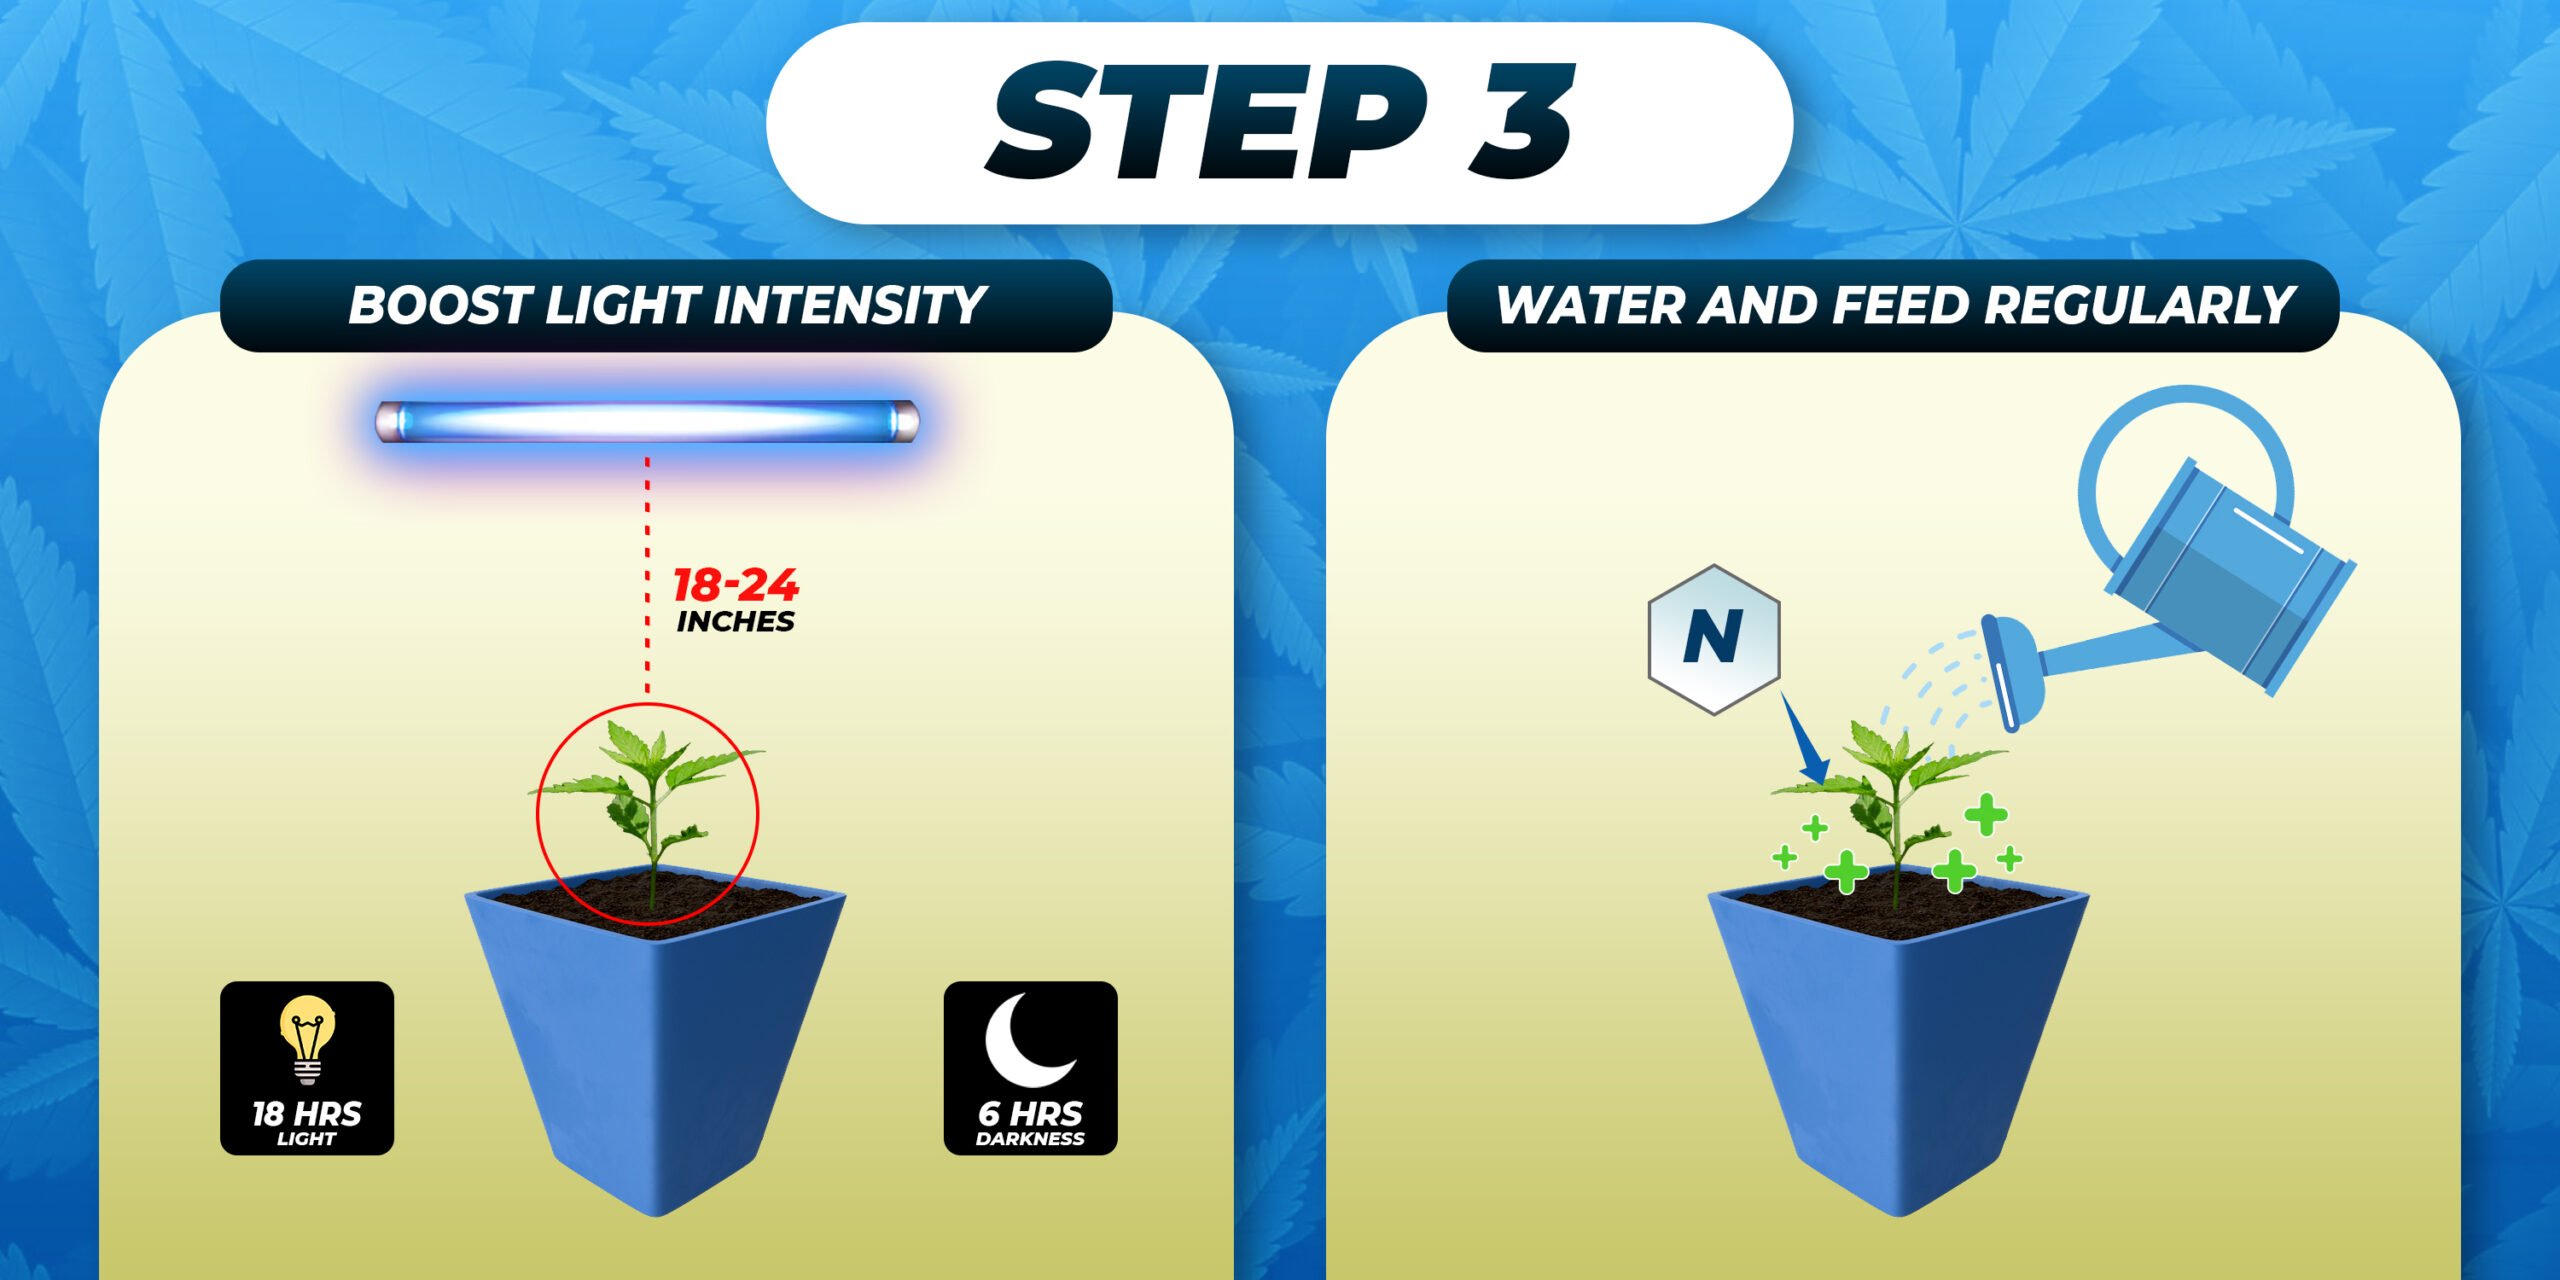
Step 3: Vegetative Stage
Boost Light Intensity Switch to stronger, blue-spectrum lights to promote leaf growth. Maintain a distance of 18-24 inches from the plants, using an 18/6 light cycle (18 hours light, 6 hours darkness).
Water and Feed Regularly Increase the watering frequency but allow the soil to dry slightly between sessions. During this stage, boost nutrient levels, especially nitrogen, to promote robust growth.
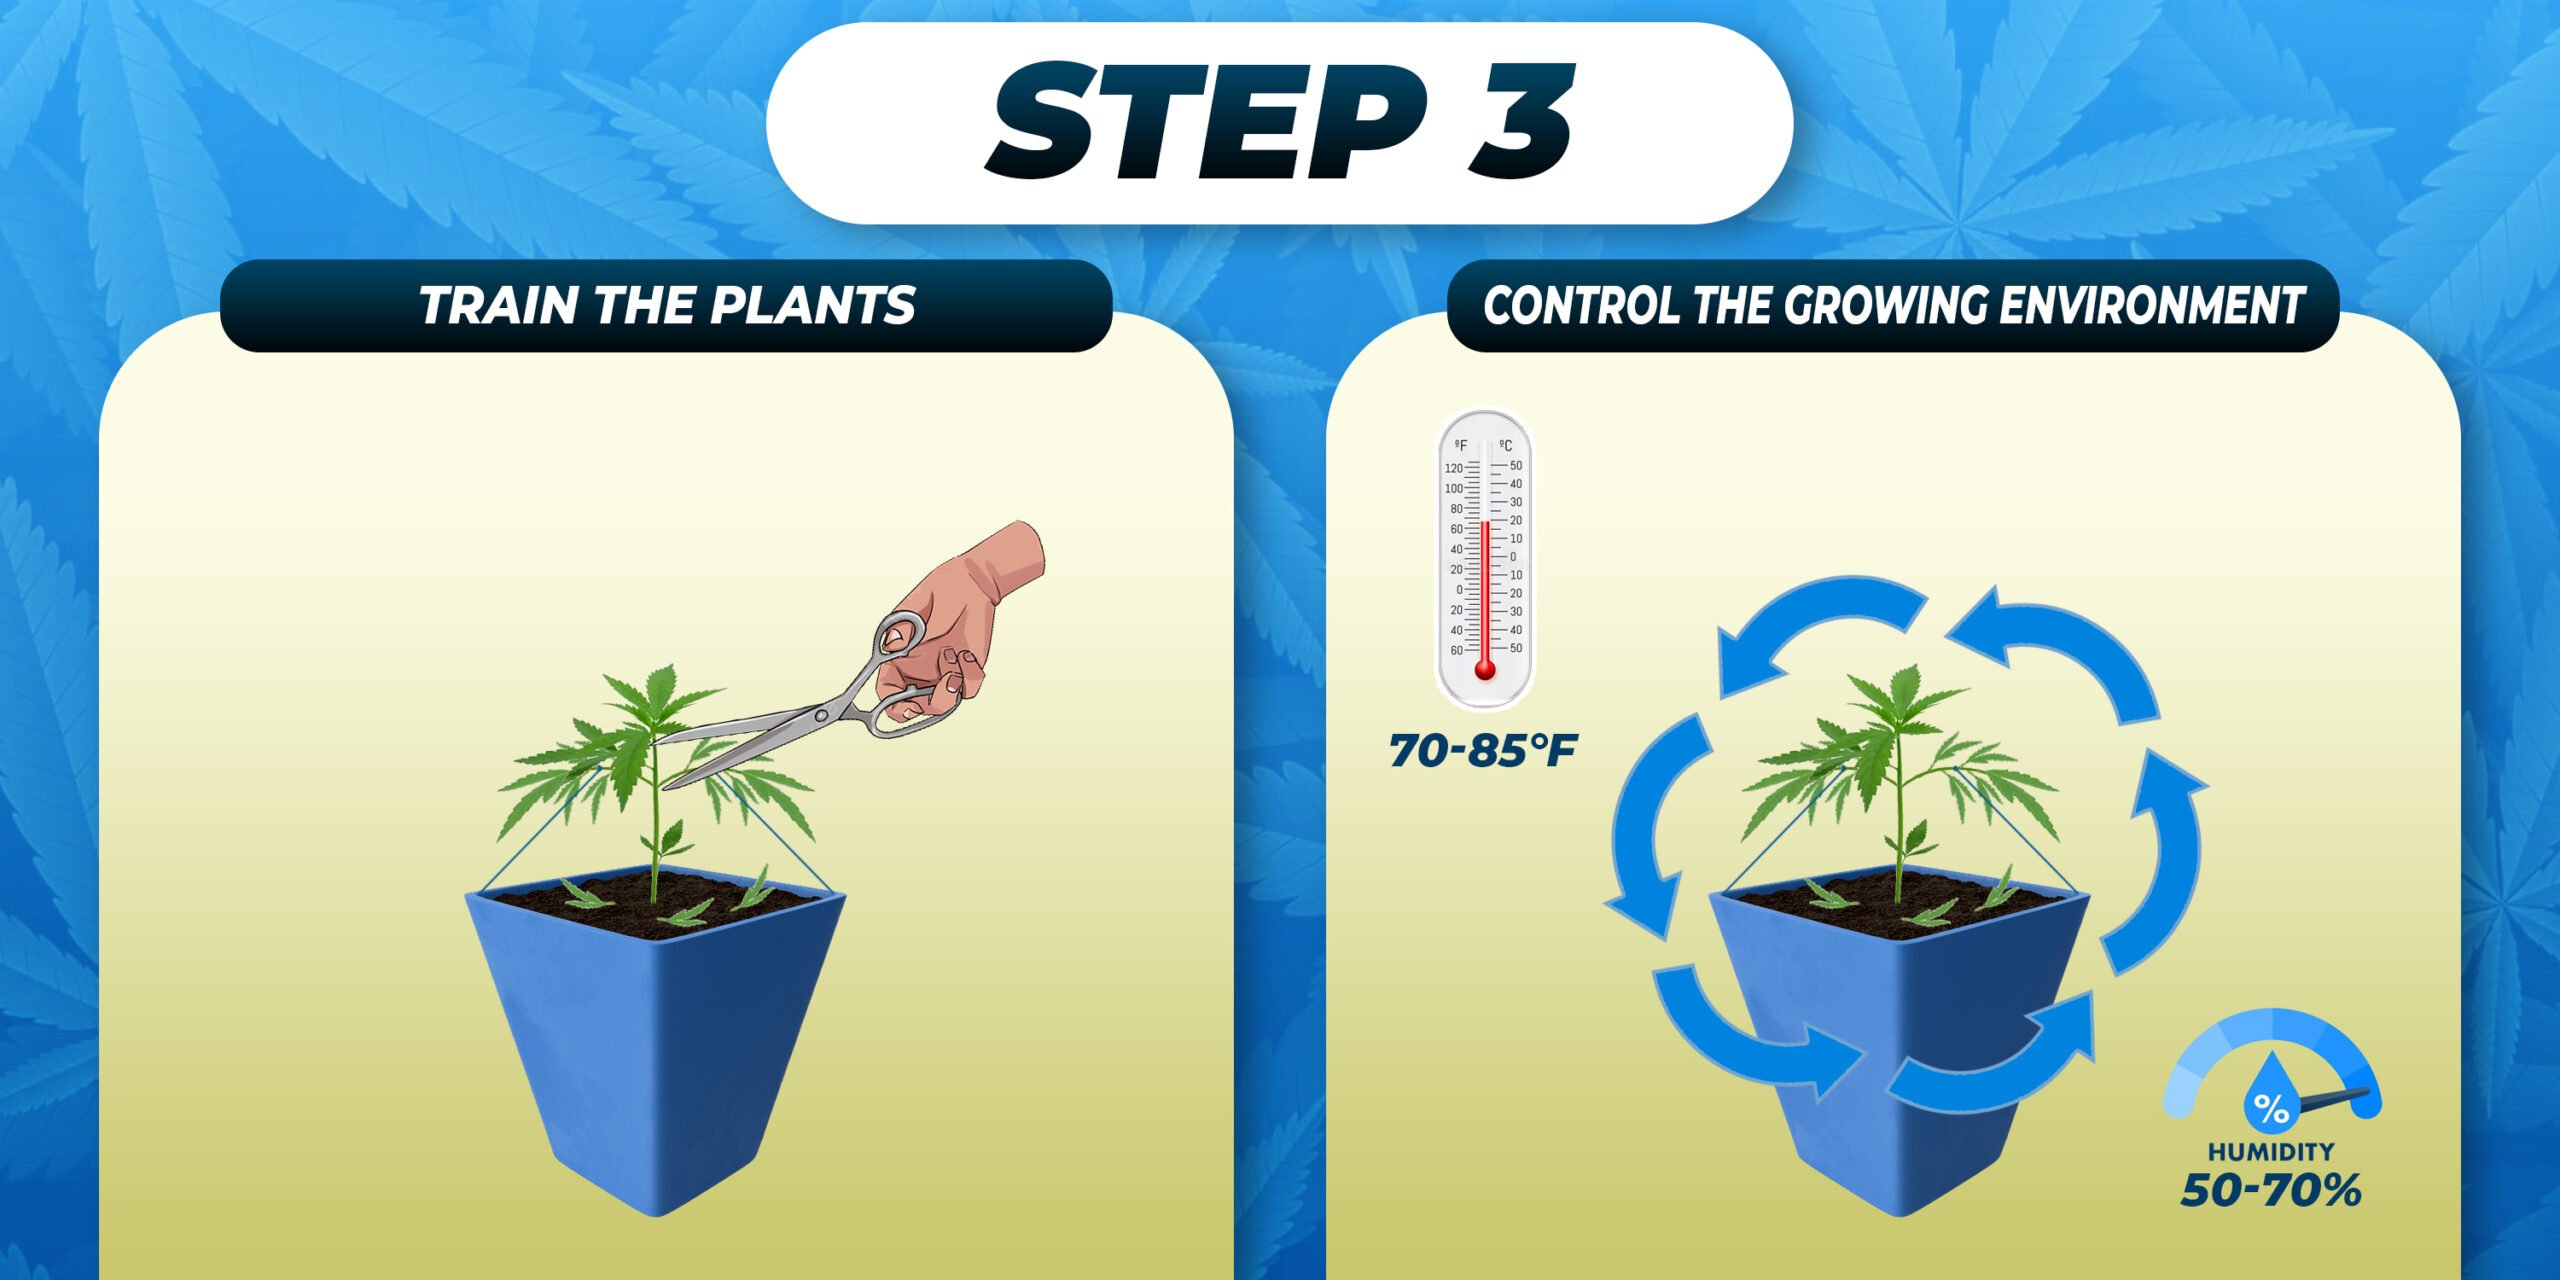
Train the Plants
- Low-Stress Training (LST): Gently tie down branches to maximize light exposure to budding sites.
- Topping or FIMing: Trim the top of the plant to encourage bushier growth and greater yields.
Control the Growing Environment
- Temperature: 70-85°F (21-29°C)
- Humidity: Lower humidity to 50-70% to prevent mold. Ensure proper airflow to support plant strength and avoid pests.
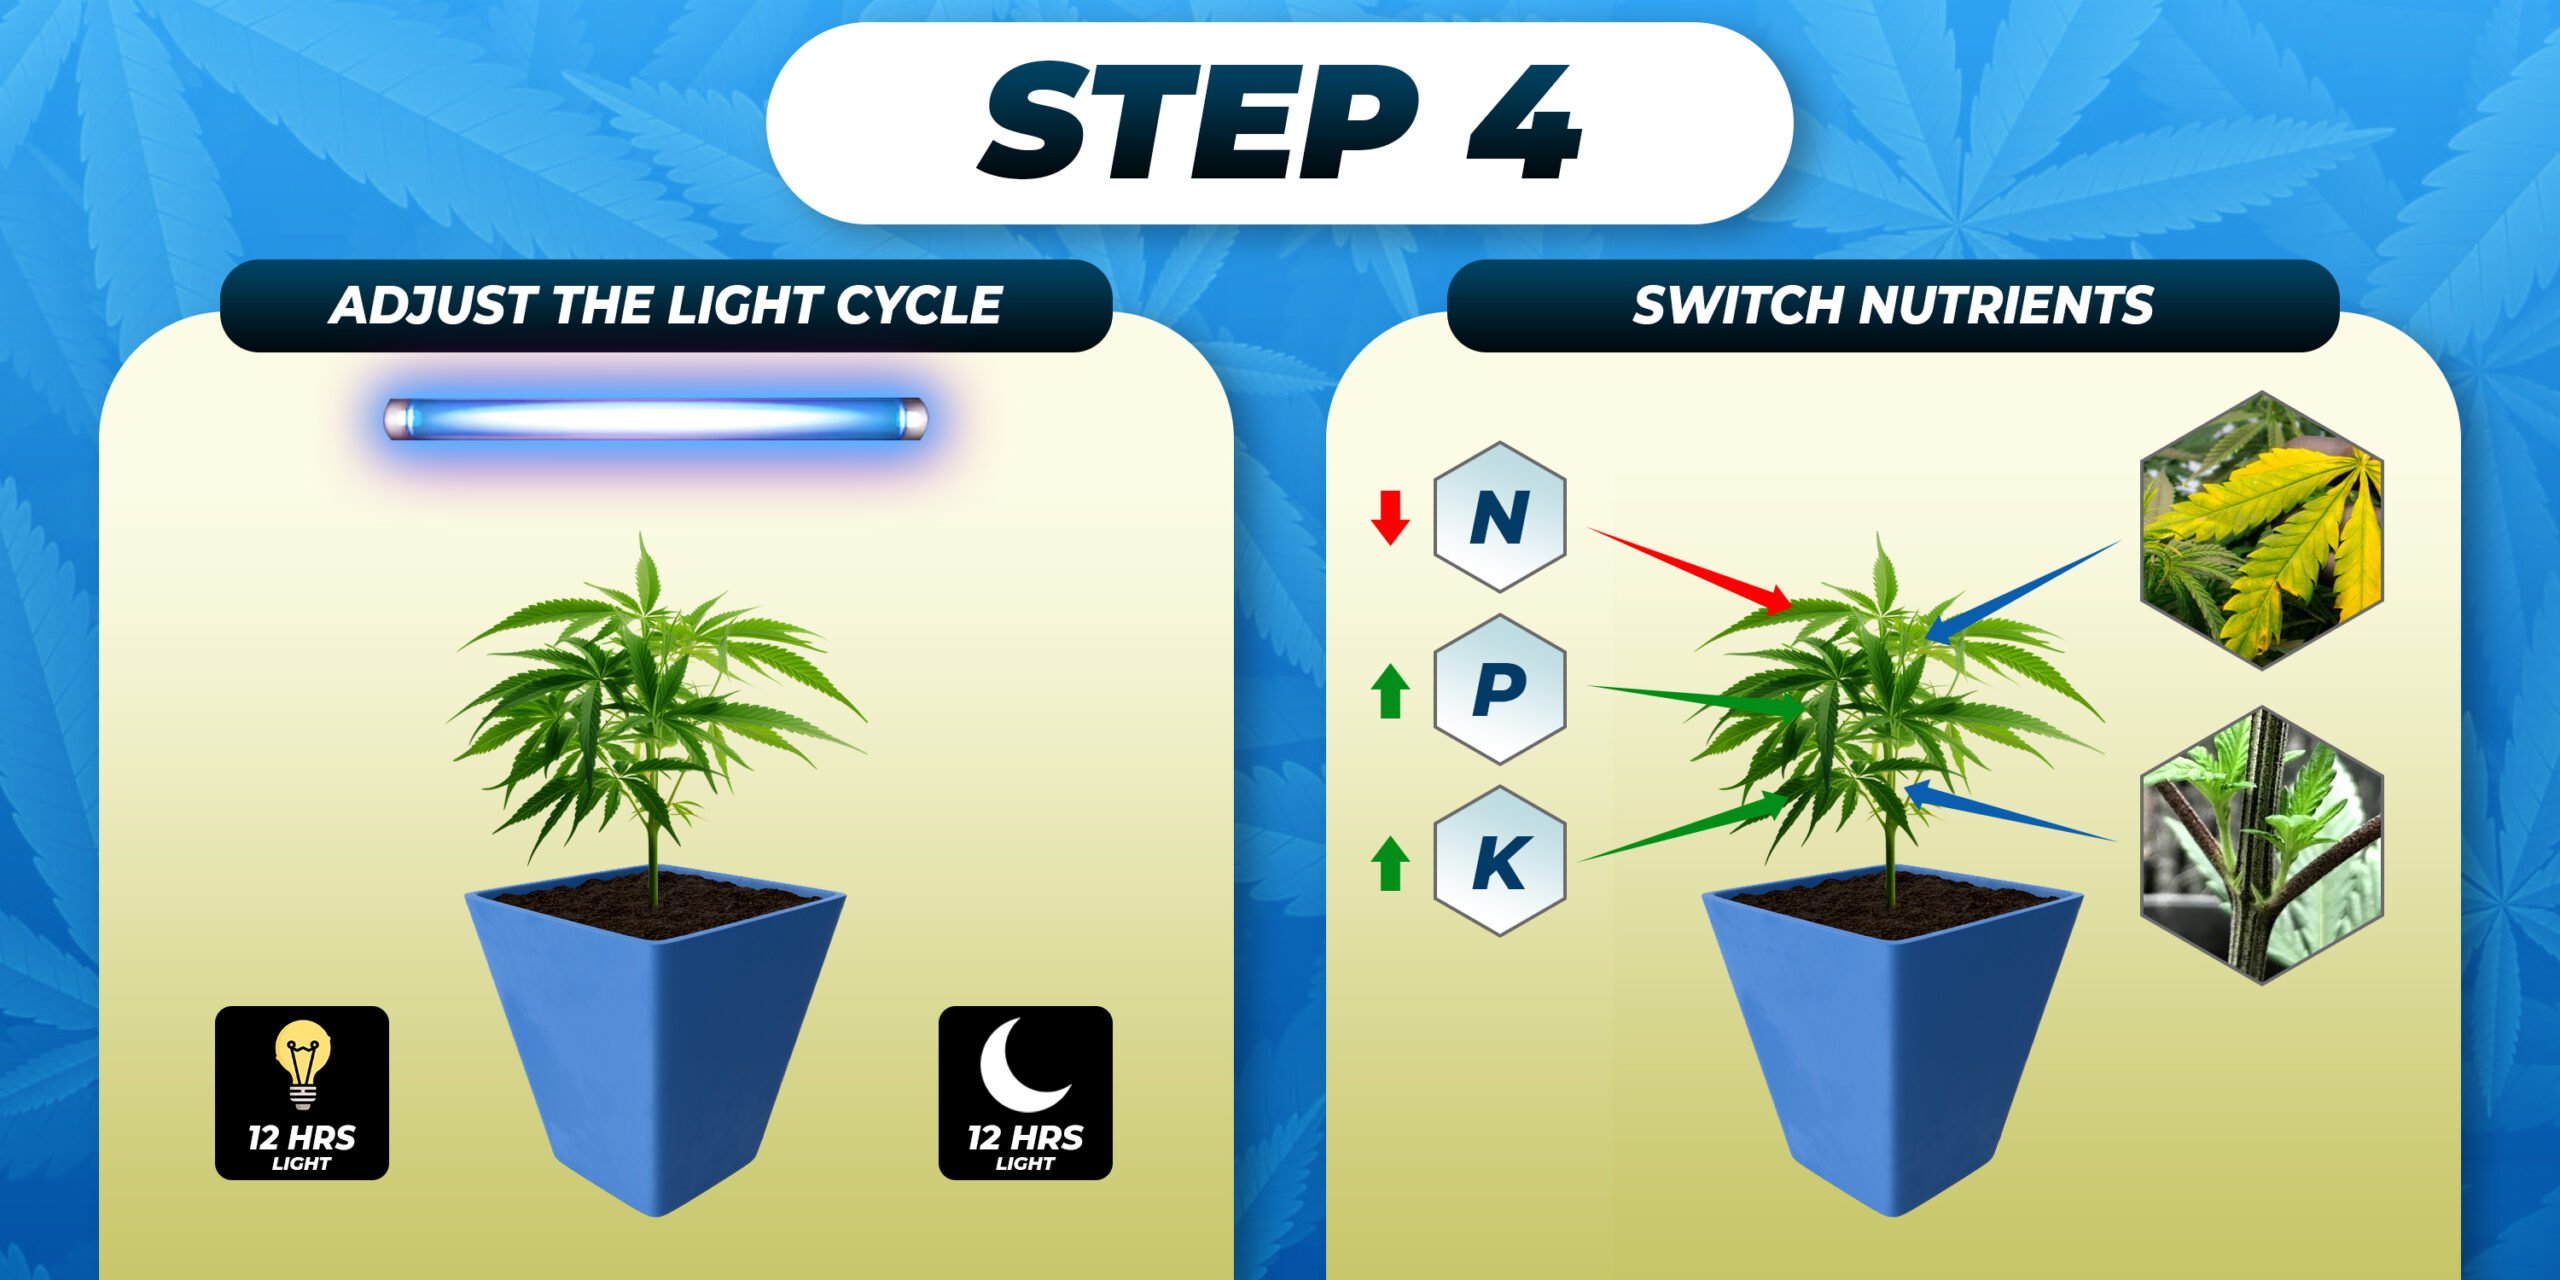
Step 4: Flowering Stage
Adjust the Light Cycle Switch to a 12/12 light cycle (12 hours of light, 12 hours of darkness) to trigger flowering. Keep the intensity strong but ensure complete darkness during the dark period to prevent stress.
Switch Nutrients Use a low-nitrogen, high-phosphorus, and potassium formula to encourage bud development. Watch for signs of deficiencies like yellowing leaves or purple stems.
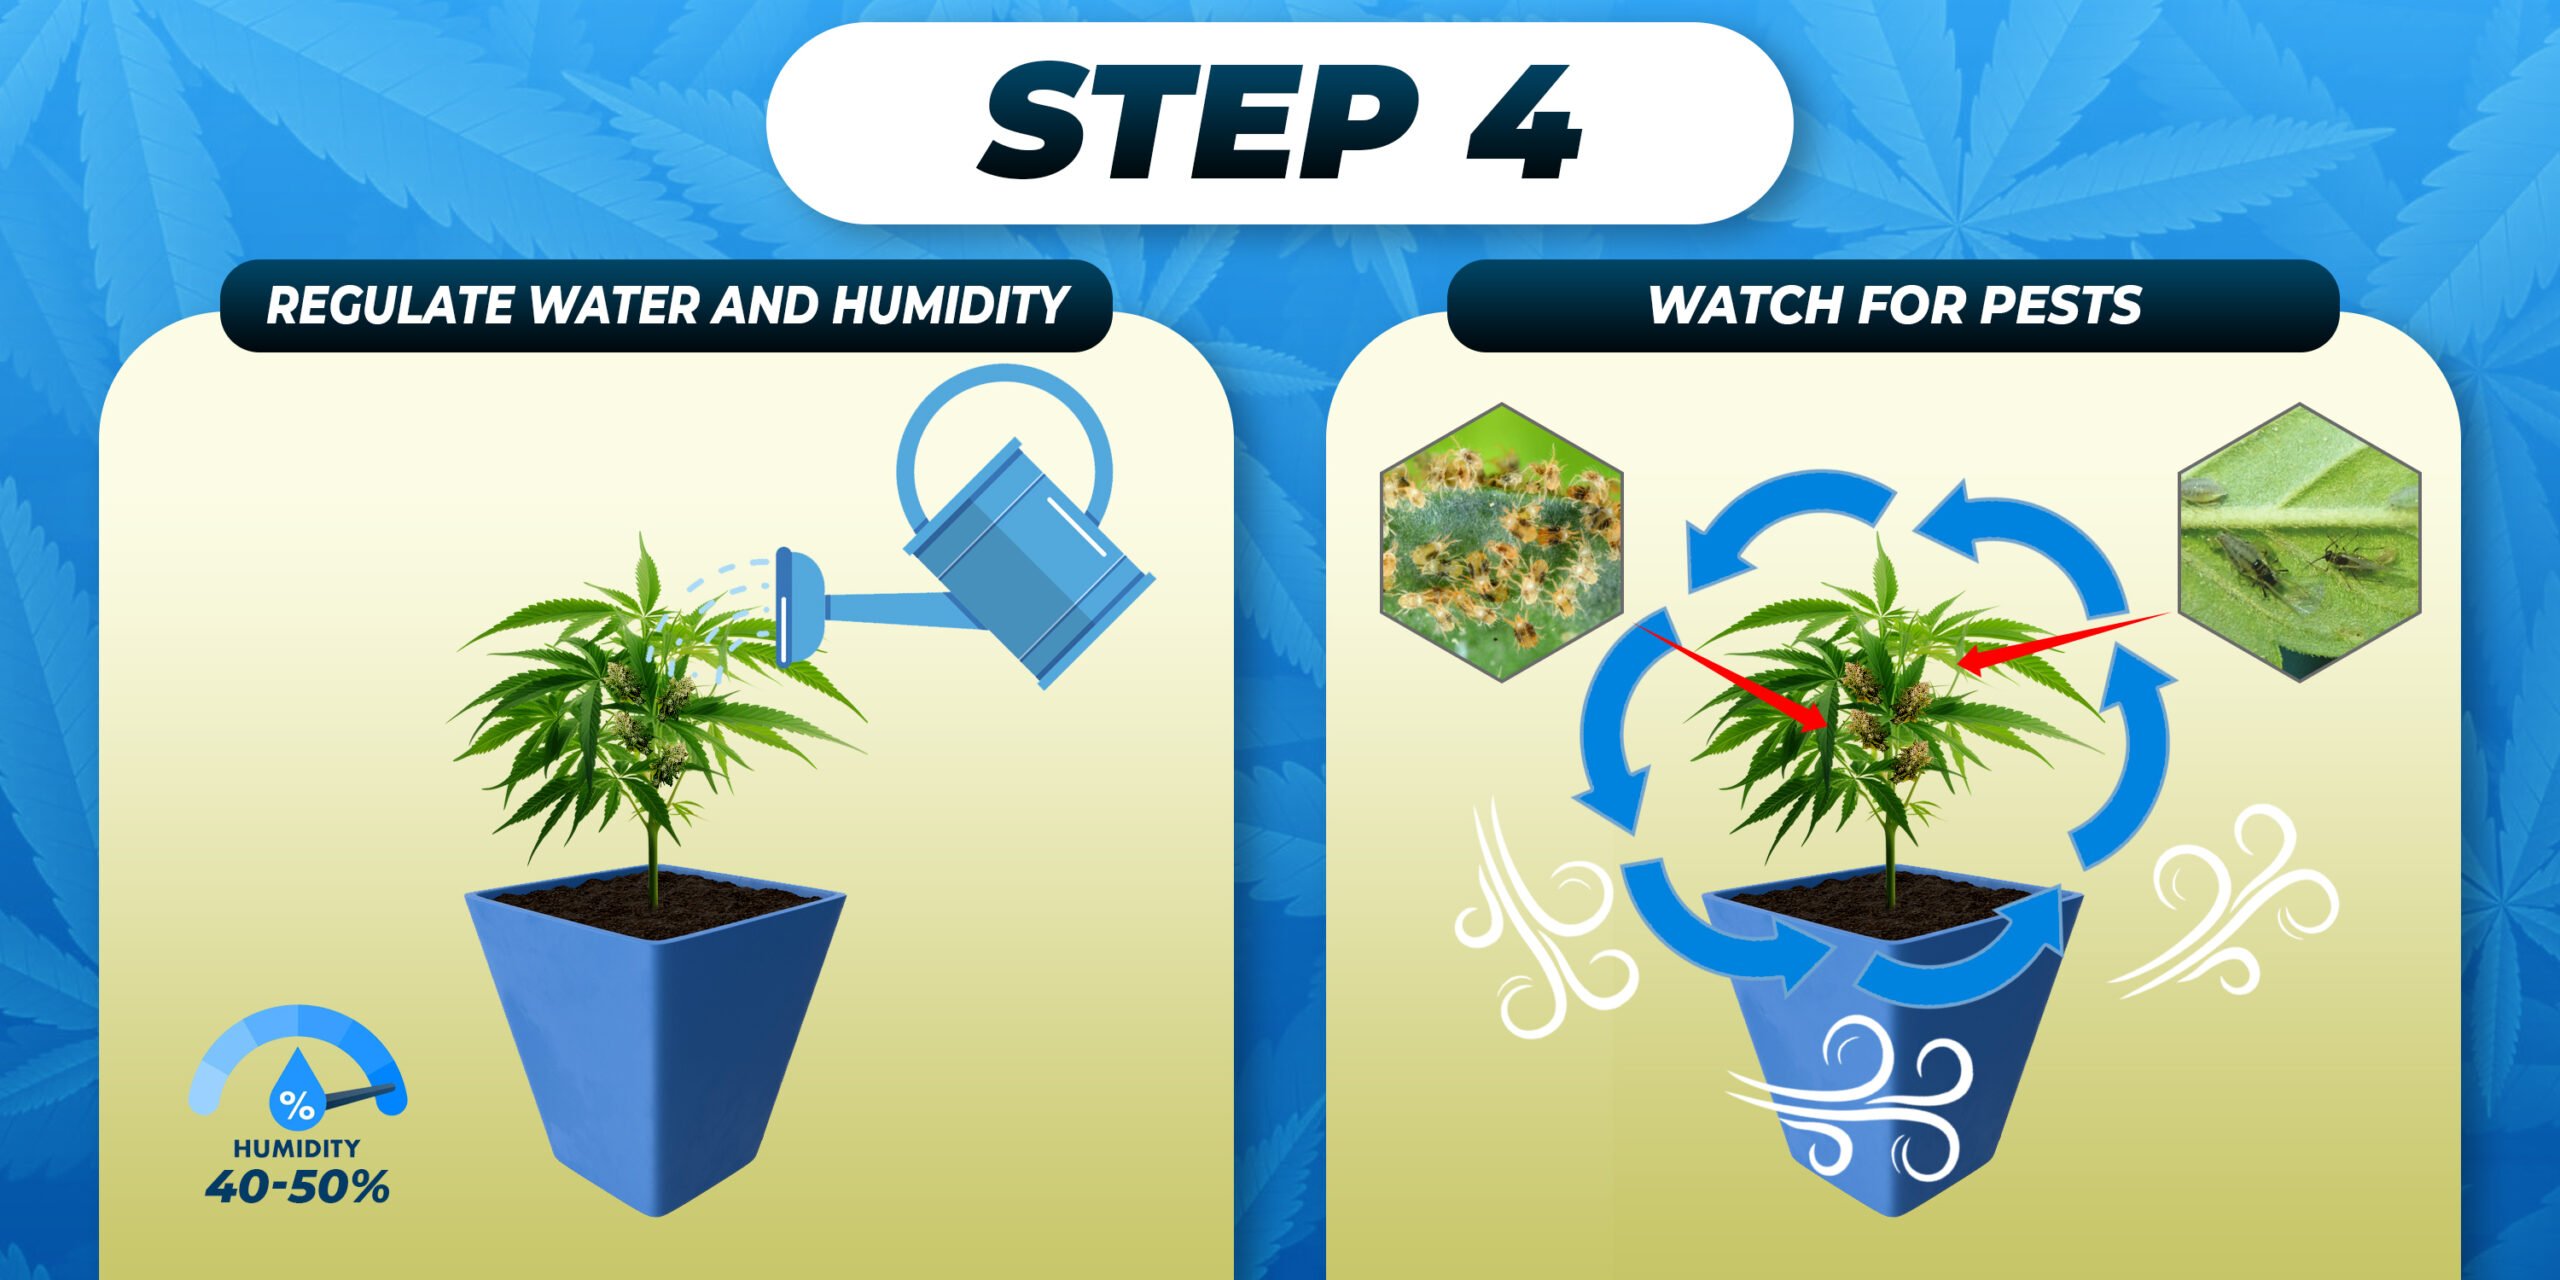
Regulate Water and Humidity Increase watering frequency, but avoid waterlogging the soil. Reduce humidity to 40-50% to minimize the risk of mold in the dense buds.
Watch for Pests Inspect plants regularly for signs of pests, such as spider mites or aphids. Ensure ample airflow to reduce moisture buildup and prevent bud rot.
Step 5: Harvesting
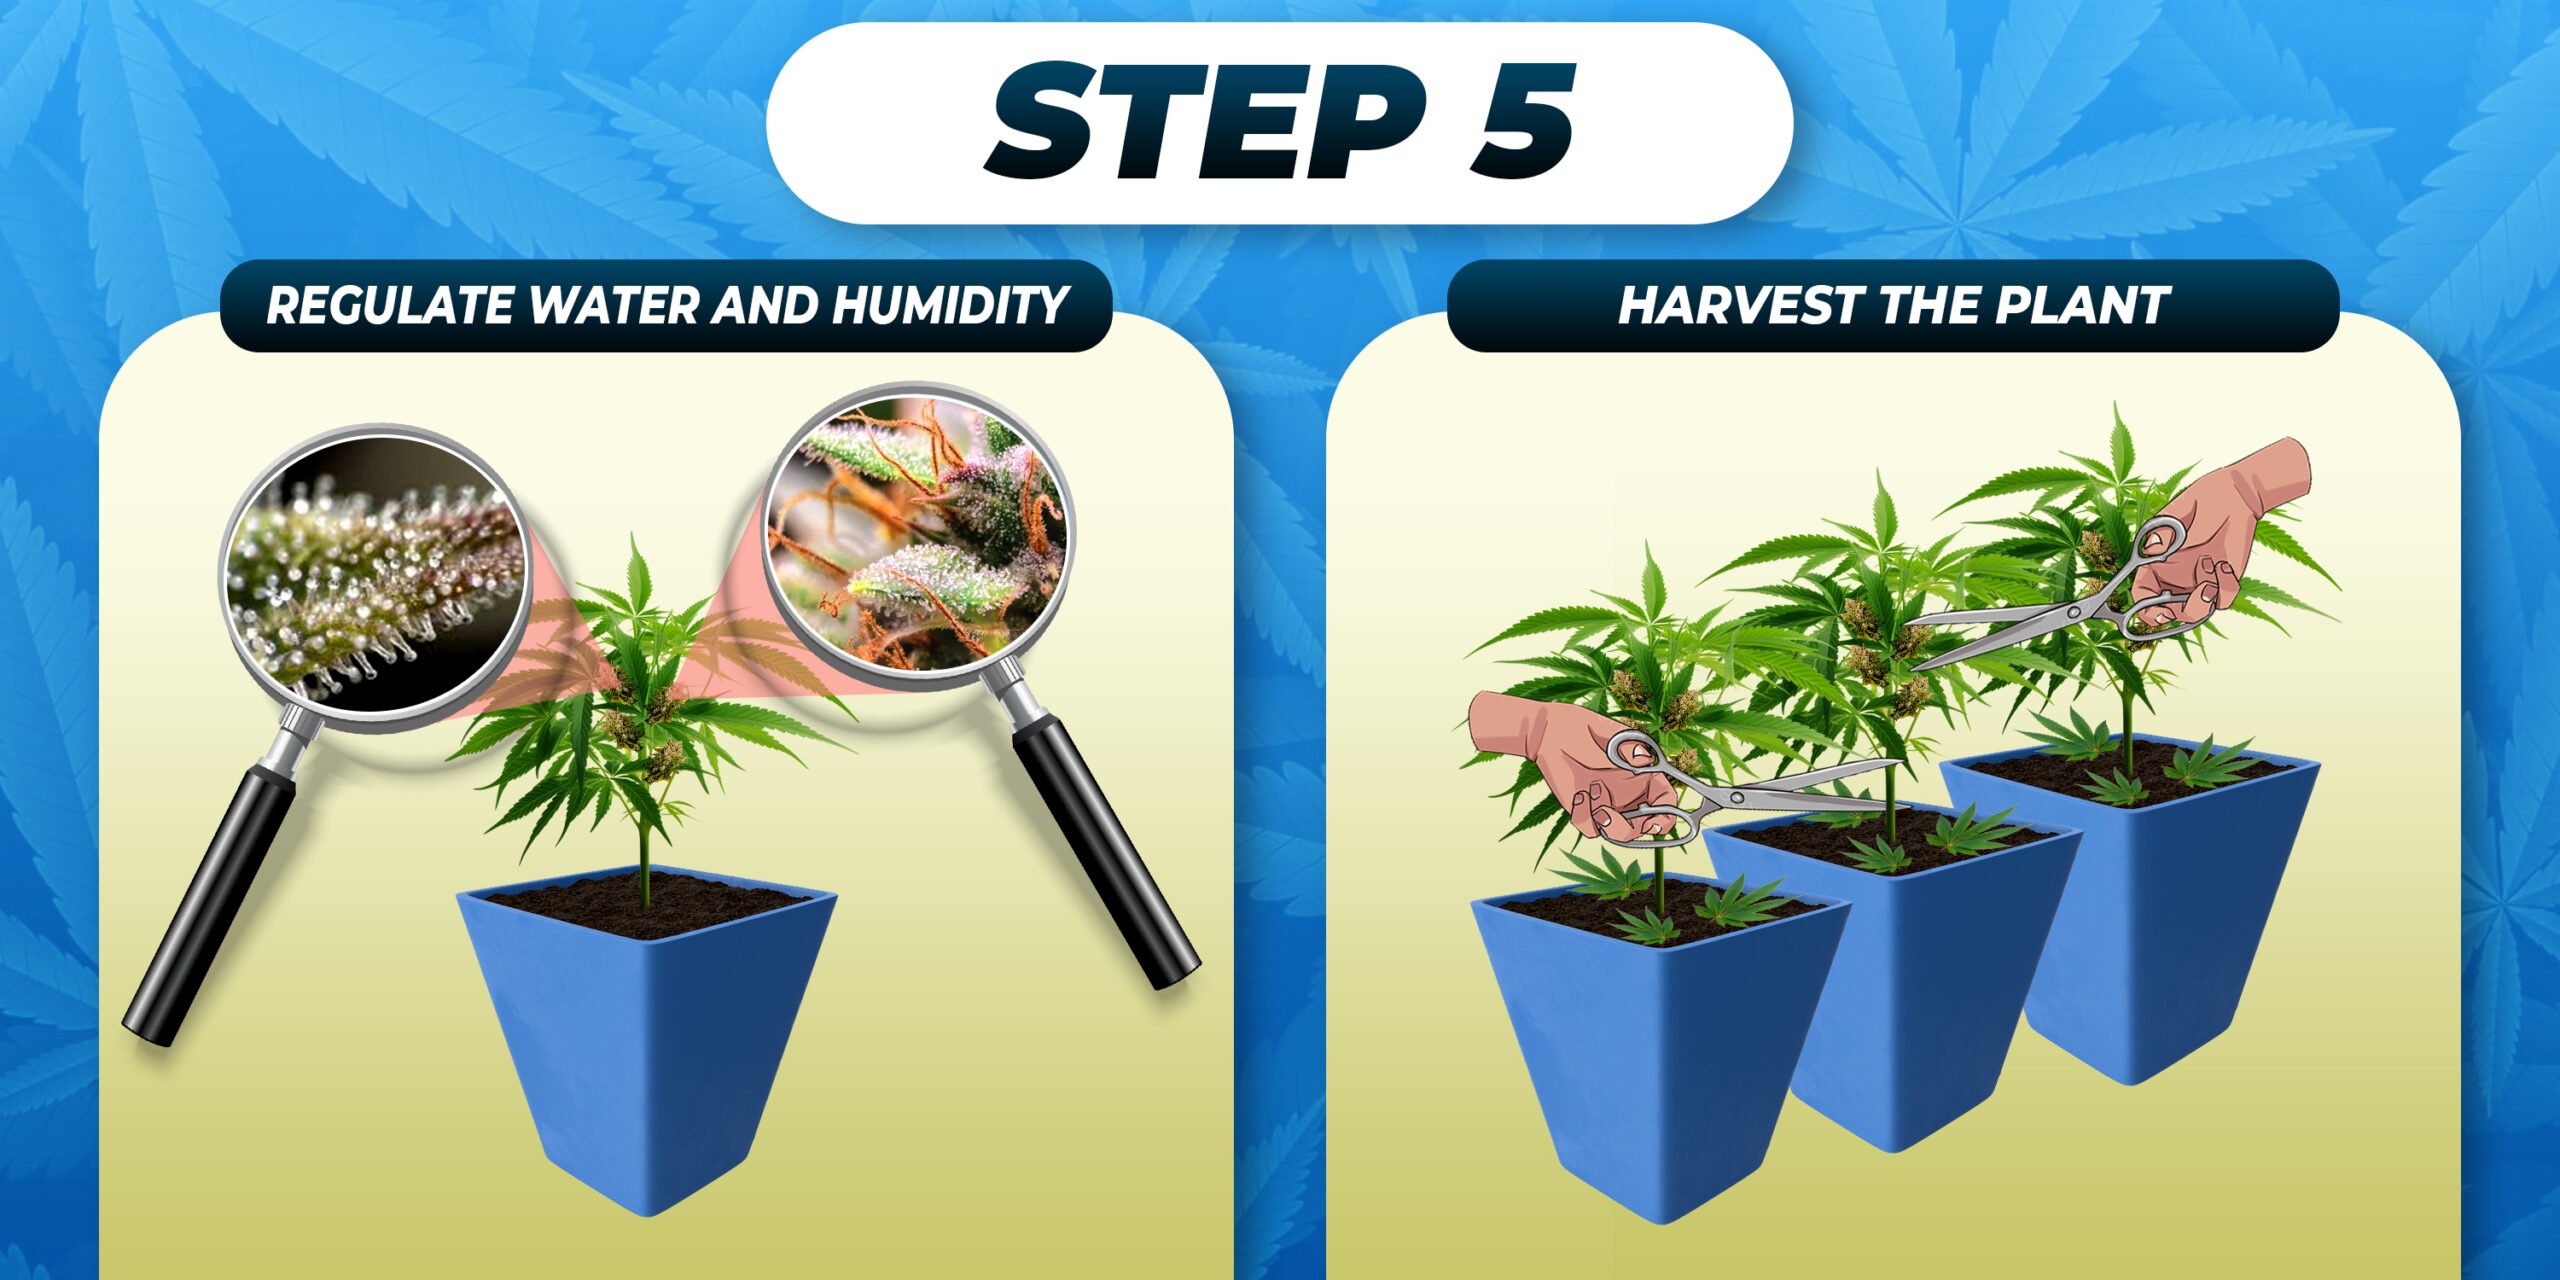
Check Trichomes and Pistils Use a magnifying glass to inspect trichomes—harvest when most trichomes are cloudy, with some turning amber. Aim to harvest when 70-90% of the pistils have changed from white to brown.
Harvest the Plant Cut the entire plant or harvest individual branches. Remove large fan leaves if you plan to dry the plant, or trim them while wet if preferred.
Step 6: Drying and Curing
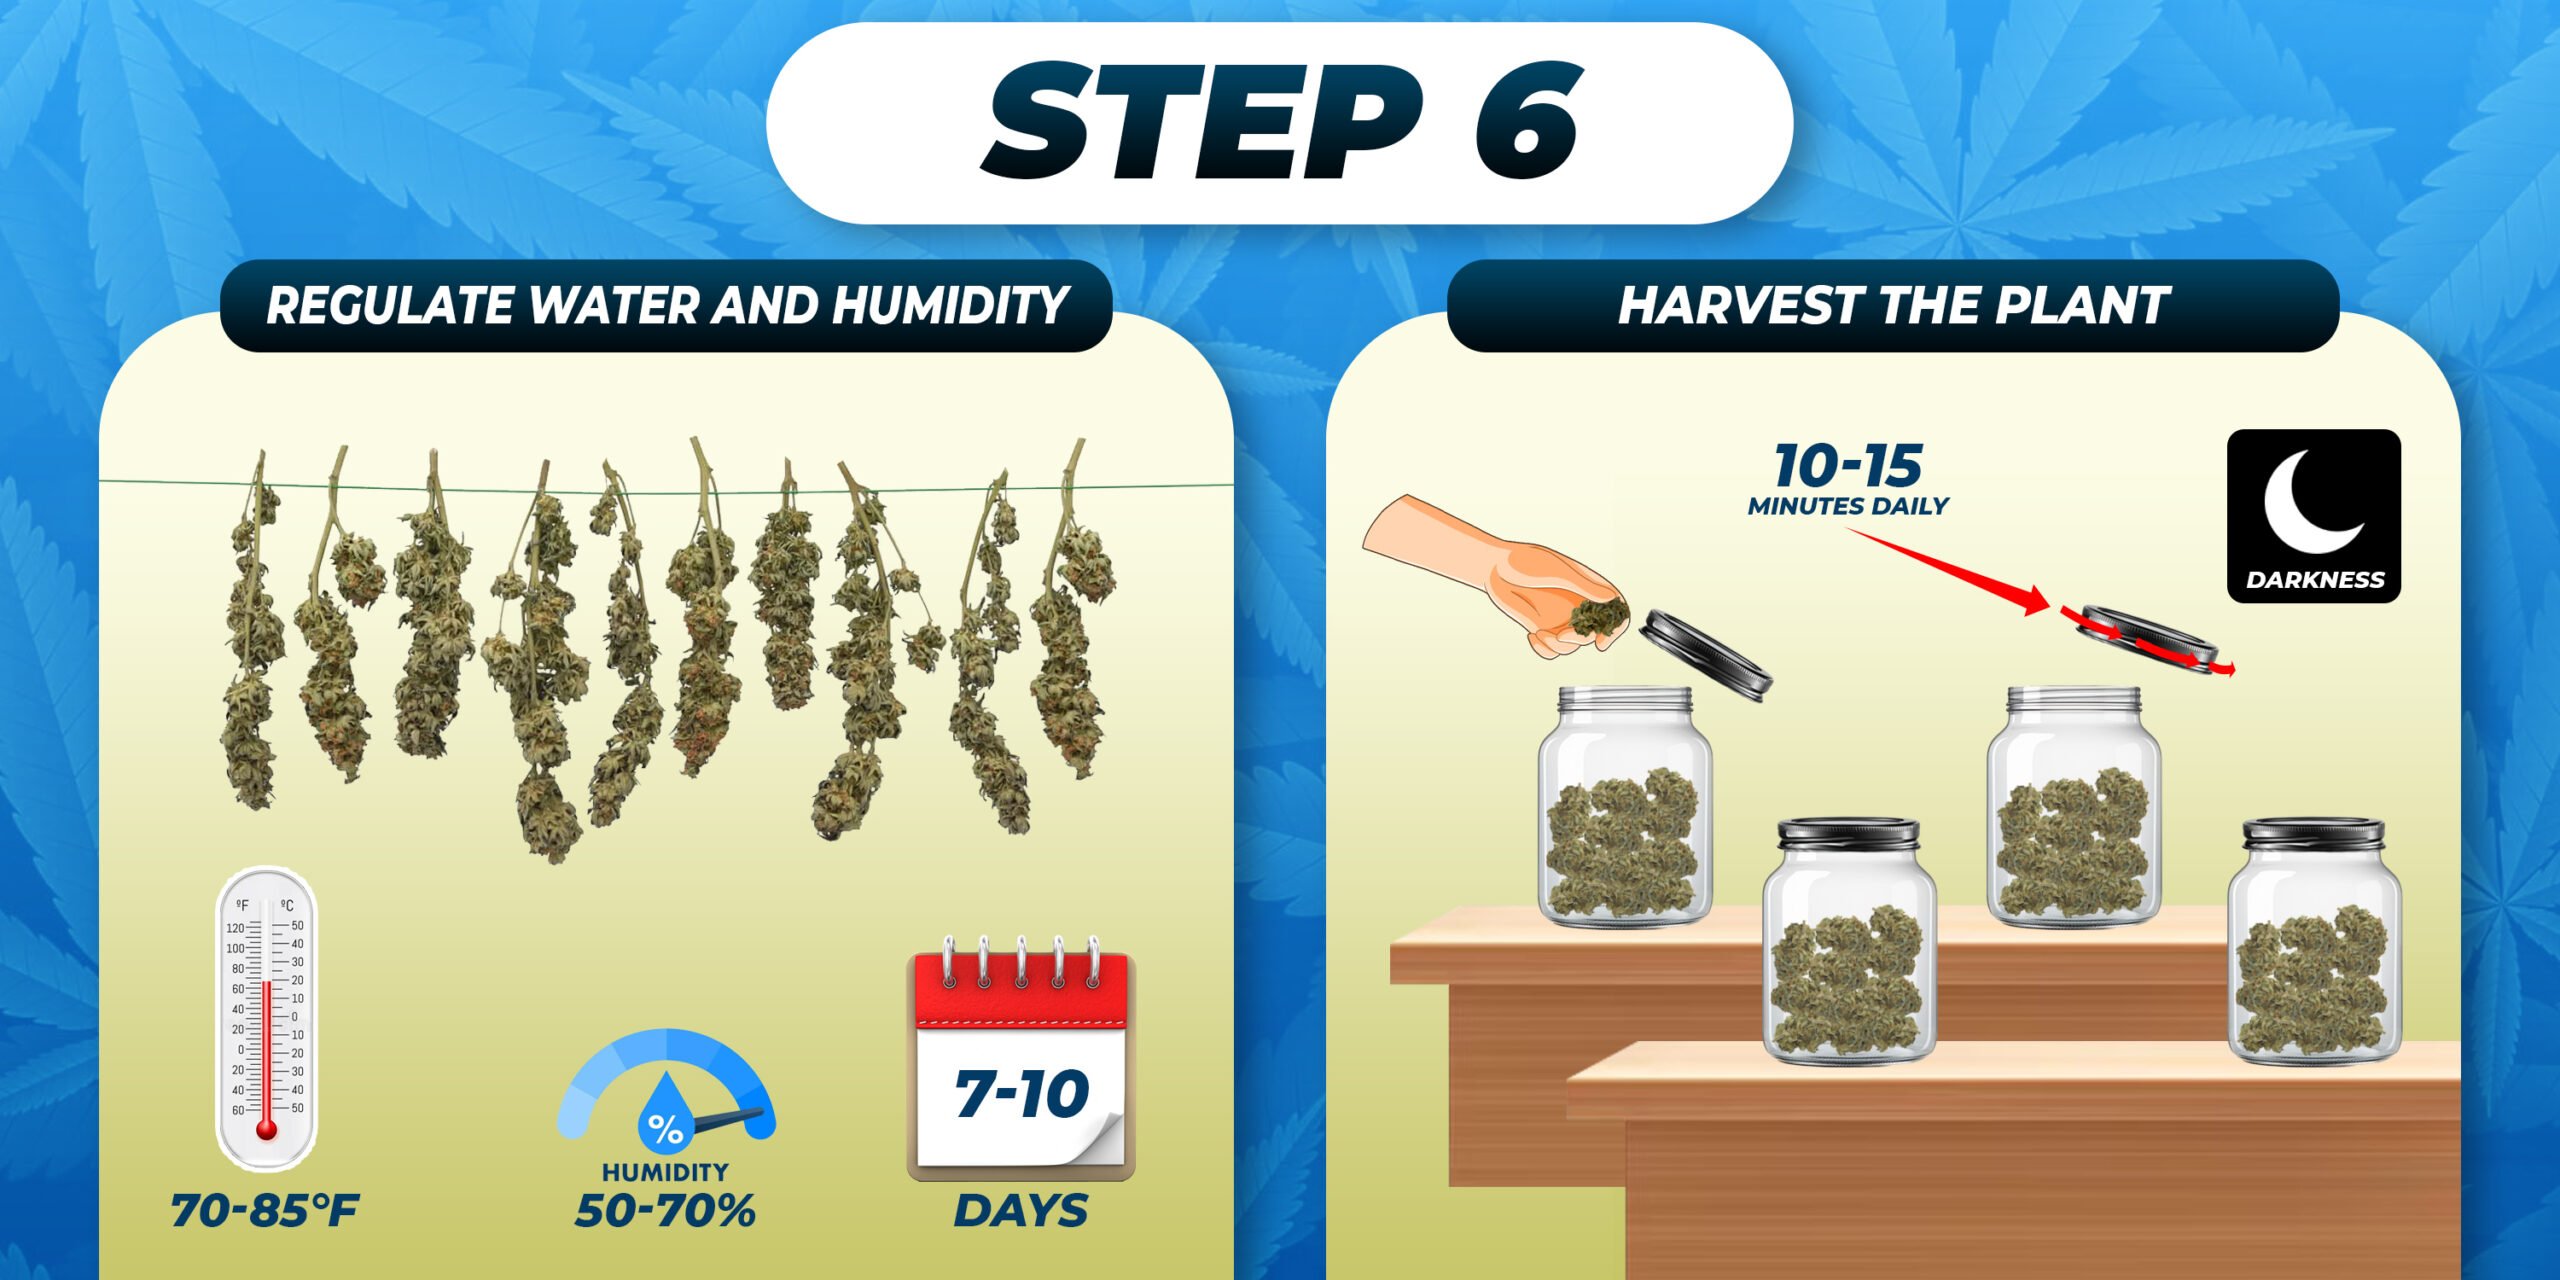
Dry Your Buds Hang the plant upside down or lay the buds on drying racks in a dark, well-ventilated space. Keep the temperature between 60-70°F (15-21°C) and humidity around 45-55%. Drying usually takes 7-10 days, and buds are ready when small stems snap instead of bending.
Cure for Best Flavor Place dried buds in airtight glass jars and store them in a cool, dark place. Open the jars for 10-15 minutes daily for the first week to release moisture. Continue curing for 2-4 weeks for a better taste and smoother smoke. For maximum potency, cure for 6-8 weeks.