


Are You 18 Or Over?
YesOr
No By clicking yes, you certify that you are over 18. By using this website, you agree to our legal disclaimer.
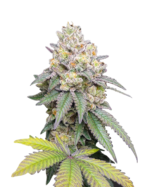
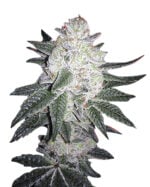
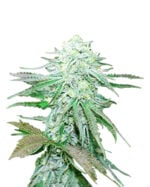
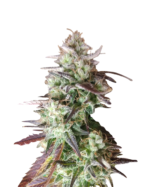
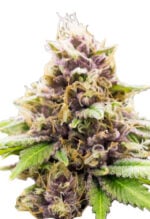
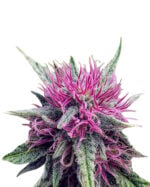
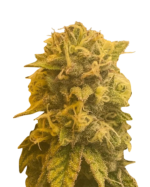
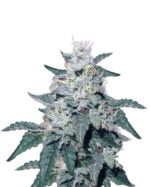
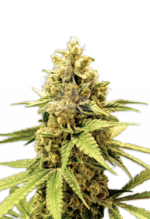
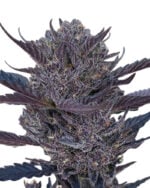
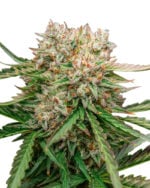
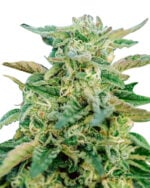
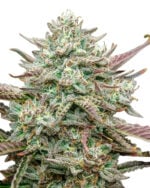
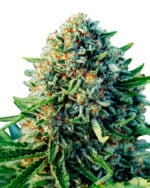
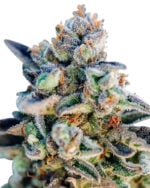
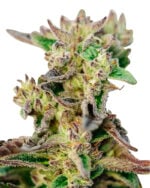
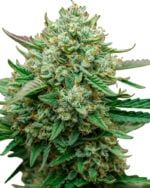
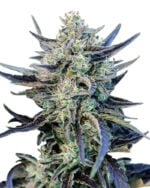
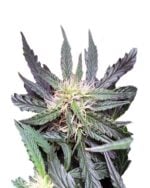
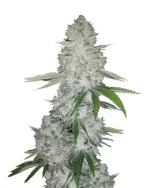
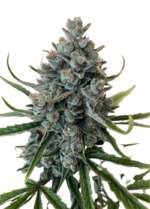
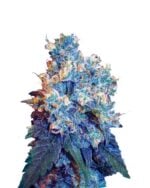
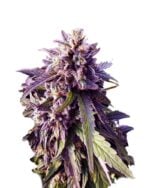
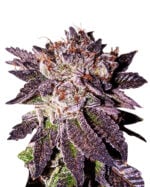
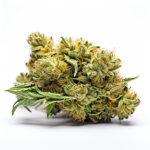
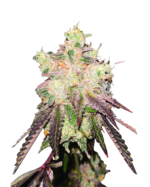
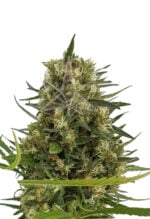
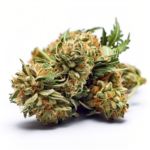
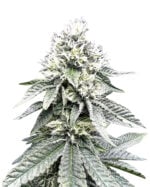
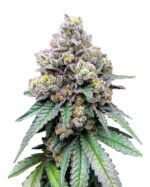
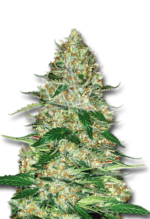
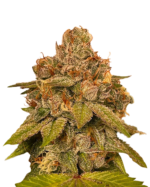
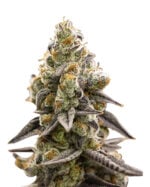
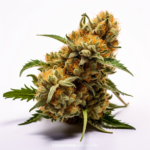
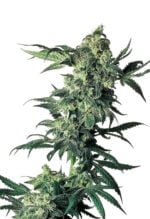
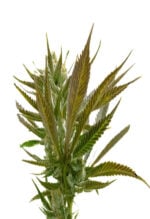
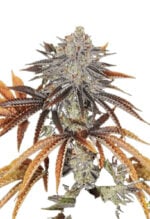
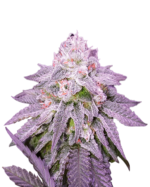
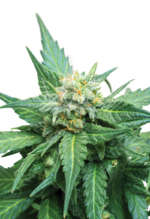
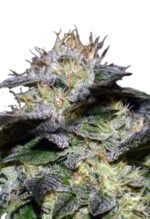
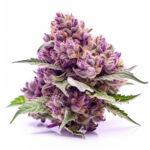
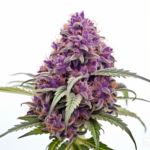
605+ Cannabis Strains over 20 Breeders worldwide.
TRACK YOUR GROW CYCLE FROM GERMINATION TO HARVEST


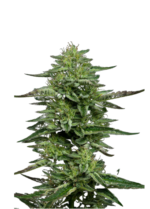

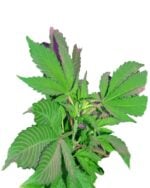

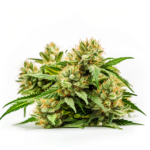
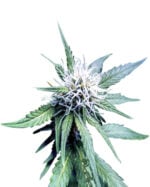
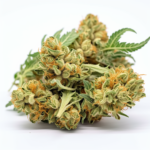
You can choose from a lot of seeds for sale based on your taste and preference. The best place to buy Cannabis Seeds offers you with different flavors, We have 5 main varieties: Autoflowering, Regular, CBD, Fast Version and Feminized seeds.
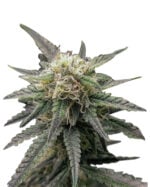

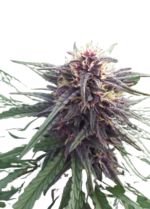
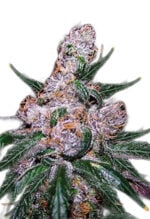
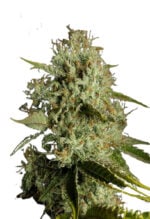
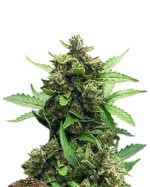
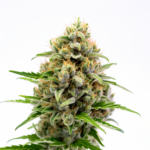
Rocket Seeds has the best feminized seeds in the market in producing rocket-fast huge yields!
With our feminized Cannabis Seeds for sale, no more male cannabis plants will grow in your garden, so you can enjoy harvesting a huge amount of those luscious buds. These top pot seeds are available for purchase because we want you to have the greatest possible experience.
These seeds are best for growers who don’t want the hassle of cutting down male cannabis plants and for enthusiasts who wish to have huge yields to indulge in.

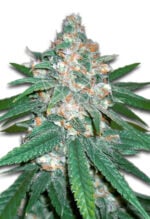
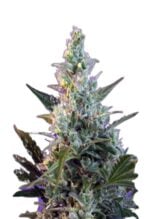
Make your life easier with autoflowering seeds from Rocket Seeds! With these premium Cannabis Seeds for sale, you don’t have to worry about the sunlight. With our autoflowering seeds, just wait for the right time and your Cannabis Seeds are ready to harvest. These seeds mostly grow shorter plants than regular seeds, so they are perfect if you want to plant indoors and if you prefer stealth cultivation.
These seeds are best for new cannabis growers who want to join in the fun of cannabis cultivation and want great success in doing so.

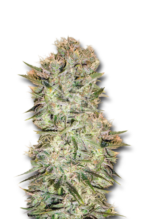
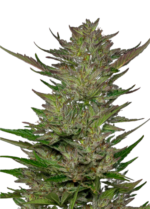
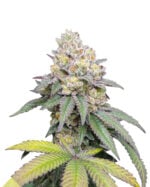
Get a blast from the past with Rocket Seeds’ regular seeds! These seeds are the solid foundation of what we have today. Regular seeds have a 50/50 chance of producing either male or female marijuana plants. With our premium regular Cannabis Seeds for sale, expect to have potent genetics best for breeding and discovering new strains for the future.
If you want to experiment and make your own strain that will someday be known worldwide, this is the best Cannabis Seeds for you!
Rocket Seeds flies into the medical field with our high CBD Cannabis Seeds for sale. Rocket Seeds provides the highest line-up of CBD strains ideal for aches, discomfort, inflammation, and mood-boosting strains. If you’re searching for a specific strain required for a particular form of medical problem, then trust that we’ve got what you need.
These seeds are specially developed for enthusiasts who want relief from discomfort and patients who would like to try marijuana as a treatment for their conditions.

Blast into the unknown with the fast version seeds of Rocket Seeds! These fast version Cannabis Seeds for sale are known to be fast flowering, meaning they bloom 1 to 2 weeks earlier than normal seeds. Quick genetics from the mix of classic strains with their strongest autoflowering varieties have been produced by Rocket Seeds to produce the fast version of seeds. Additionally, fast flowering strain is perfect for developing our iconic Rocket genes while maintaining all their top qualities.
These seeds are best for restless growers anxious to receive their precious harvests, as well as for growers in northern regions with harsh environments.


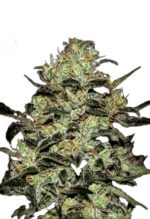
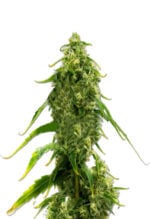
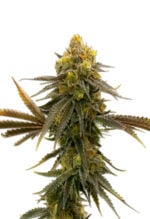
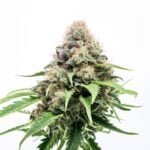
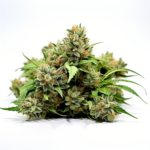
Rocket Seeds offers a collection of top-quality Cannabis Seeds for sale that are carefully grown, selected, and treated to ensure they are healthy and ready to germinate. These seeds are feminized, autoflowering, and have high THC concentrations and yields, as well as distinctive aromas and scents. They also have good genetics and are resistant to pests and diseases, resulting in healthier and more fruitful plants.

The best place to buy Cannabis Seeds is here at Rocket Seeds and we offer a variety of payment options. When you purchase online, you can pay through prepaid, debit, or credit Discover, American Express, Mastercard or Visa cards. You can also pay using Bitcoin. For Canadian customers, EMT Interact is also accepted as a payment option. Mail in Cash and Money order payments are accepted by USPS money only.

Rocket Seeds has successfully delivered in 49 countries. We guarantee that your order will arrive at your doorstep. North America orders are delivered within 5-7 business days while International orders are within 7-14 business days. We offer discrete shipping option based on your preference. Its shipping policy is among the best in the market, and has many trusted customers. Shop now and receive your order right away.
Payments can be made using Discover, American Express, Visa, Mastercard, Bitcoin, and US and Canadian dollars. Once you’ve placed your order, you can find our mailing address at check-out. If opting for Bitcoin, click on its option to be led to our automatic payment portal. Note: Complete your payment within 10 minutes to ensure it is timely. If you face any issues or wish to transact using Bitcoin manually, contact our support at info@rocketseeds.com. US customers can call us at +1 (818) 707-5308 and those in Canada at +1 (236) 260-0505. After making a Bitcoin payment, share your transaction ID with us. Once we confirm, we’ll process your order.
To properly germinate your seeds from Rocket Seeds, collect the following items before starting. These tools help prevent cross-contamination while maximizing your potential success with germination.
With your tools collected, you can now start germinating your seeds!
Soak your Cannabis Seeds in room-temperature spring water in a glass cup for 14 to 18 hours. Be careful not to soak them for too long, or they may become waterlogged. You can use your fingers to ensure they are fully submerged, but it’s unnecessary. If the seeds start to crack, it’s time to move on to the next step.
Soak seeds in water for 14-18 hours, then place them on a damp paper towel on a ceramic plate. Keep the plate in a warm, dark, and open area, and moisten the paper towel. Do not use sealed containers, as they can harm germination. A white taproot should begin to grow in a few days. Once the taproot reaches 0.5-0.75 inches, you can proceed to the next step.
Once the taproot is 0.5-0.75 inches long, it’s ready to be planted. Use plain soil for potting and the first three weeks of growth. Keep an eye on your plant’s development. Remember, the taproot is a baby seedling, so keep it strong and healthy. Avoid giving too many nutrients at this stage, as it may damage the seedling.
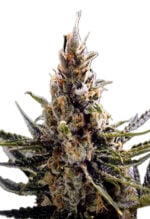
We at Rocket Seeds have a wide array of Cannabis Seeds. You can mainly choose from regular, feminized, and autoflowering seeds. Additionally, High CBD seeds are also available for medical marijuana users, and fast version seeds for a quicker harvest.
Getting Cannabis Seeds from a trustworthy source is important. Rocket Seeds was founded in Los Angeles, California, on March 13th, 2019. In partnership with Crop King Seeds, based in the USA, we aim to serve home growers in the US and internationally. Together, we are now one of the largest seed banks in North America, offering great genetics at affordable prices.
Receive 1 free seed by confirming your 5-star review left for our company, Rocket Seeds. Get 10 free seeds when your order subtotal exceeds $420. Be sure to check out our Sale page for fantastic deals and promotions, including opportunities to receive free seeds.
We do not apply coupons to ongoing sales.
Are You 18 Or Over?
YesOr
No By clicking yes, you certify that you are over 18. By using this website, you agree to our legal disclaimer.